Operations
Loading a disk into the drive
Note: Label all disks before loading them into the jukebox. Some application software packages require that you load and eject disks by using instructions in the software. If you use a software application to manage files in the jukebox, check the software documentation before proceeding with these steps.
1.Start with READY, or LOAD *displaying on the control panel.
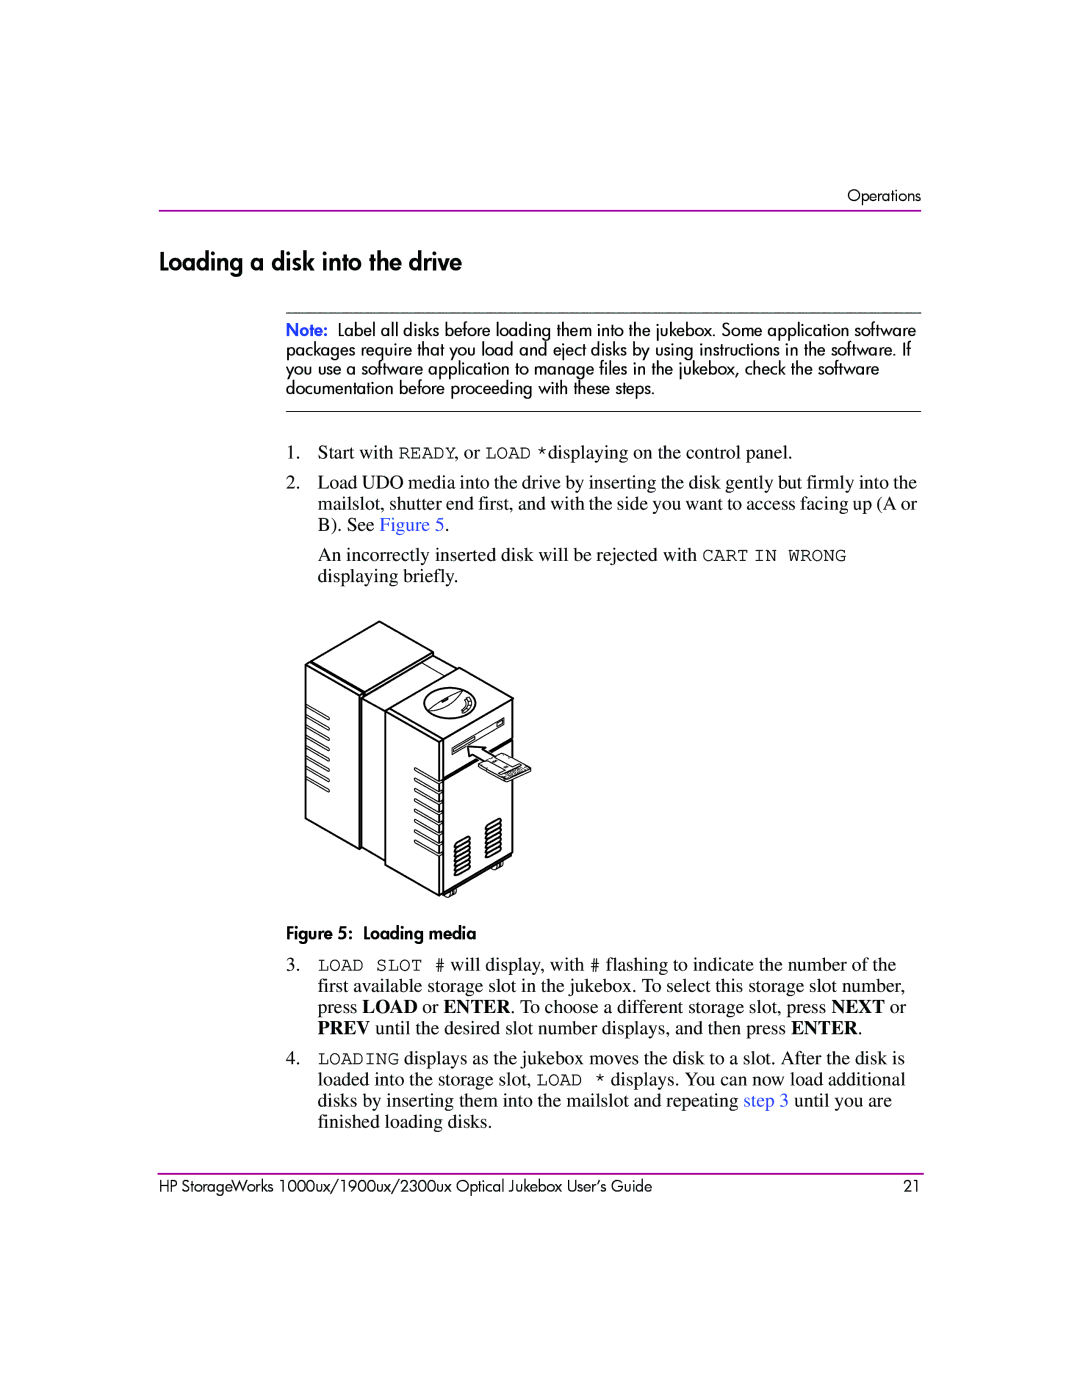
2.Load UDO media into the drive by inserting the disk gently but firmly into the mailslot, shutter end first, and with the side you want to access facing up (A or B). See Figure 5.
An incorrectly inserted disk will be rejected with CART IN WRONG displaying briefly.
Figure 5: Loading media
3.LOAD SLOT # will display, with # flashing to indicate the number of the first available storage slot in the jukebox. To select this storage slot number, press LOAD or ENTER. To choose a different storage slot, press NEXT or PREV until the desired slot number displays, and then press ENTER.
4.LOADING displays as the jukebox moves the disk to a slot. After the disk is loaded into the storage slot, LOAD * displays. You can now load additional disks by inserting them into the mailslot and repeating step 3 until you are finished loading disks.
HP StorageWorks 1000ux/1900ux/2300ux Optical Jukebox User’s Guide | 21 |