Inserting and replacing the print cartridges
To prepare the printer and cartridges
1.Make sure the power is on.
2.Raise the main cover of the printer.
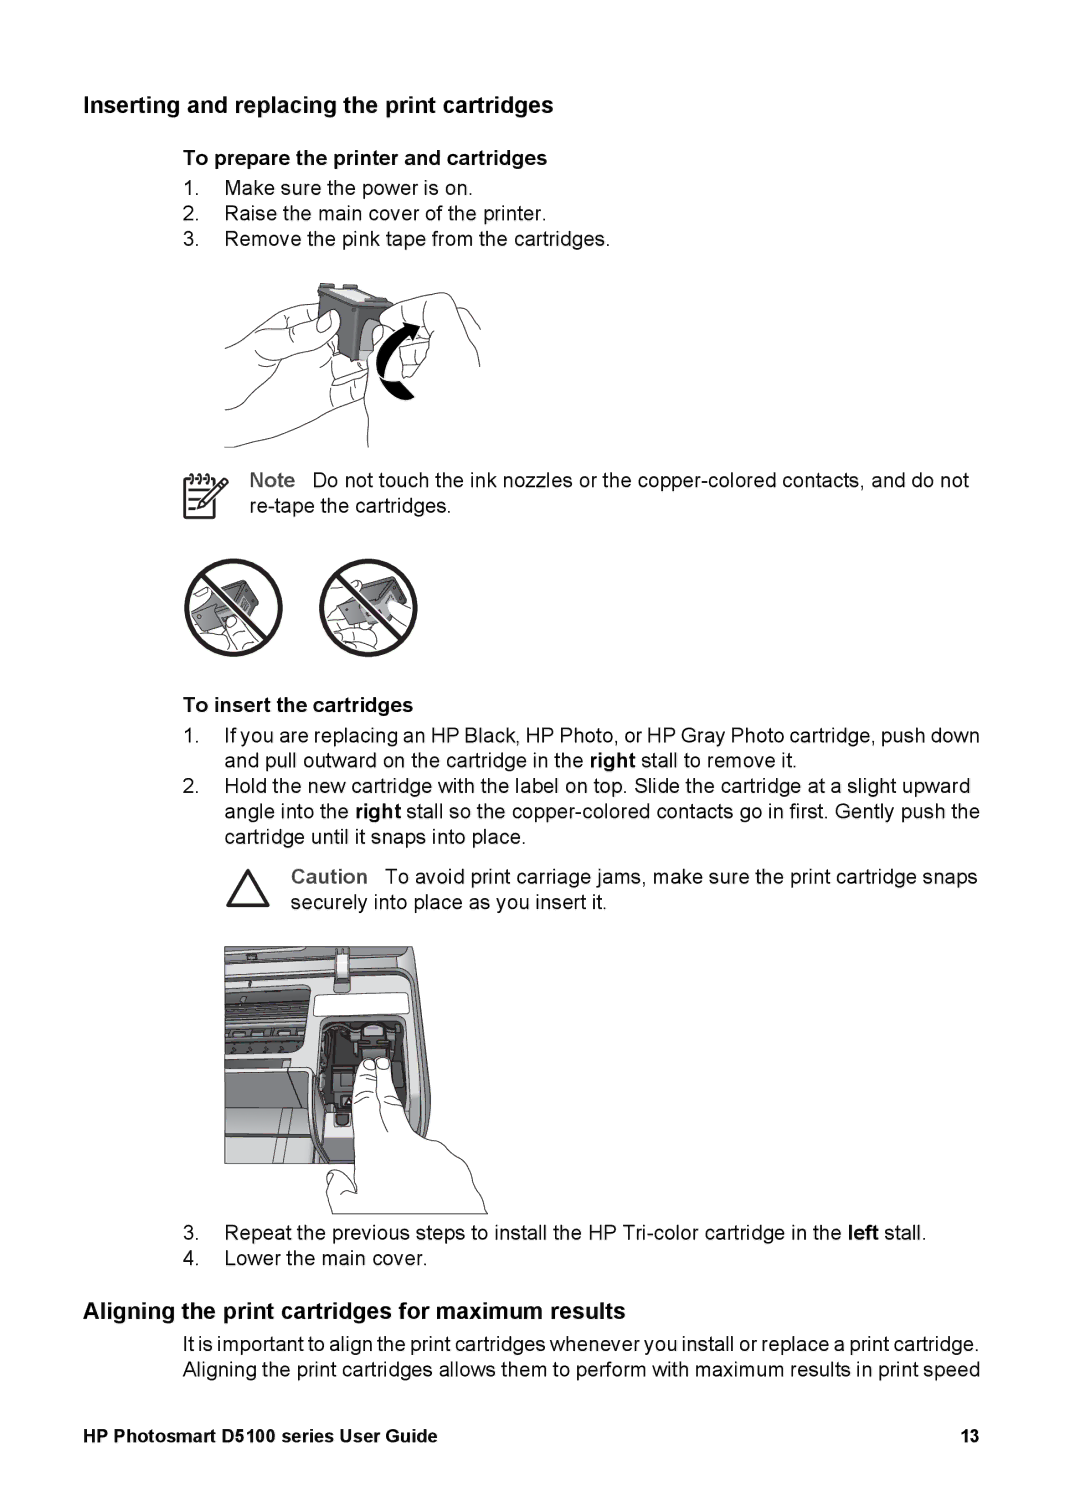
3.Remove the pink tape from the cartridges.
Note Do not touch the ink nozzles or the
To insert the cartridges
1.If you are replacing an HP Black, HP Photo, or HP Gray Photo cartridge, push down and pull outward on the cartridge in the right stall to remove it.
2.Hold the new cartridge with the label on top. Slide the cartridge at a slight upward angle into the right stall so the
Caution To avoid print carriage jams, make sure the print cartridge snaps securely into place as you insert it.
3.Repeat the previous steps to install the HP
4.Lower the main cover.
Aligning the print cartridges for maximum results
It is important to align the print cartridges whenever you install or replace a print cartridge. Aligning the print cartridges allows them to perform with maximum results in print speed
HP Photosmart D5100 series User Guide | 13 |