9.Close and lock the printer window.
10.The
Replace the printhead cleaning kit
When the front panel prompts you to replace the printhead cleaning kit, you should replace first the printhead cleaning cartridge, then the ink funnel, then the printhead cleaning container.
Replace the printhead cleaning cartridge
A message appears on the front panel when the printhead cleaning cartridge is almost full, and again when it is completely full and must be changed. Follow these precautions when removing a printhead cleaning cartridge:
●Be careful not to get ink on your hands. Ink may be on, around and inside the replaced printhead cleaning cartridge.
●Always handle and store the replaced printhead cleaning cartridge upright to avoid spilling any ink.
![]() WARNING! Make sure that the printer wheels are locked (the brake lever is pressed down) to prevent the printer from moving.
WARNING! Make sure that the printer wheels are locked (the brake lever is pressed down) to prevent the printer from moving.
Remove the printhead cleaning cartridge
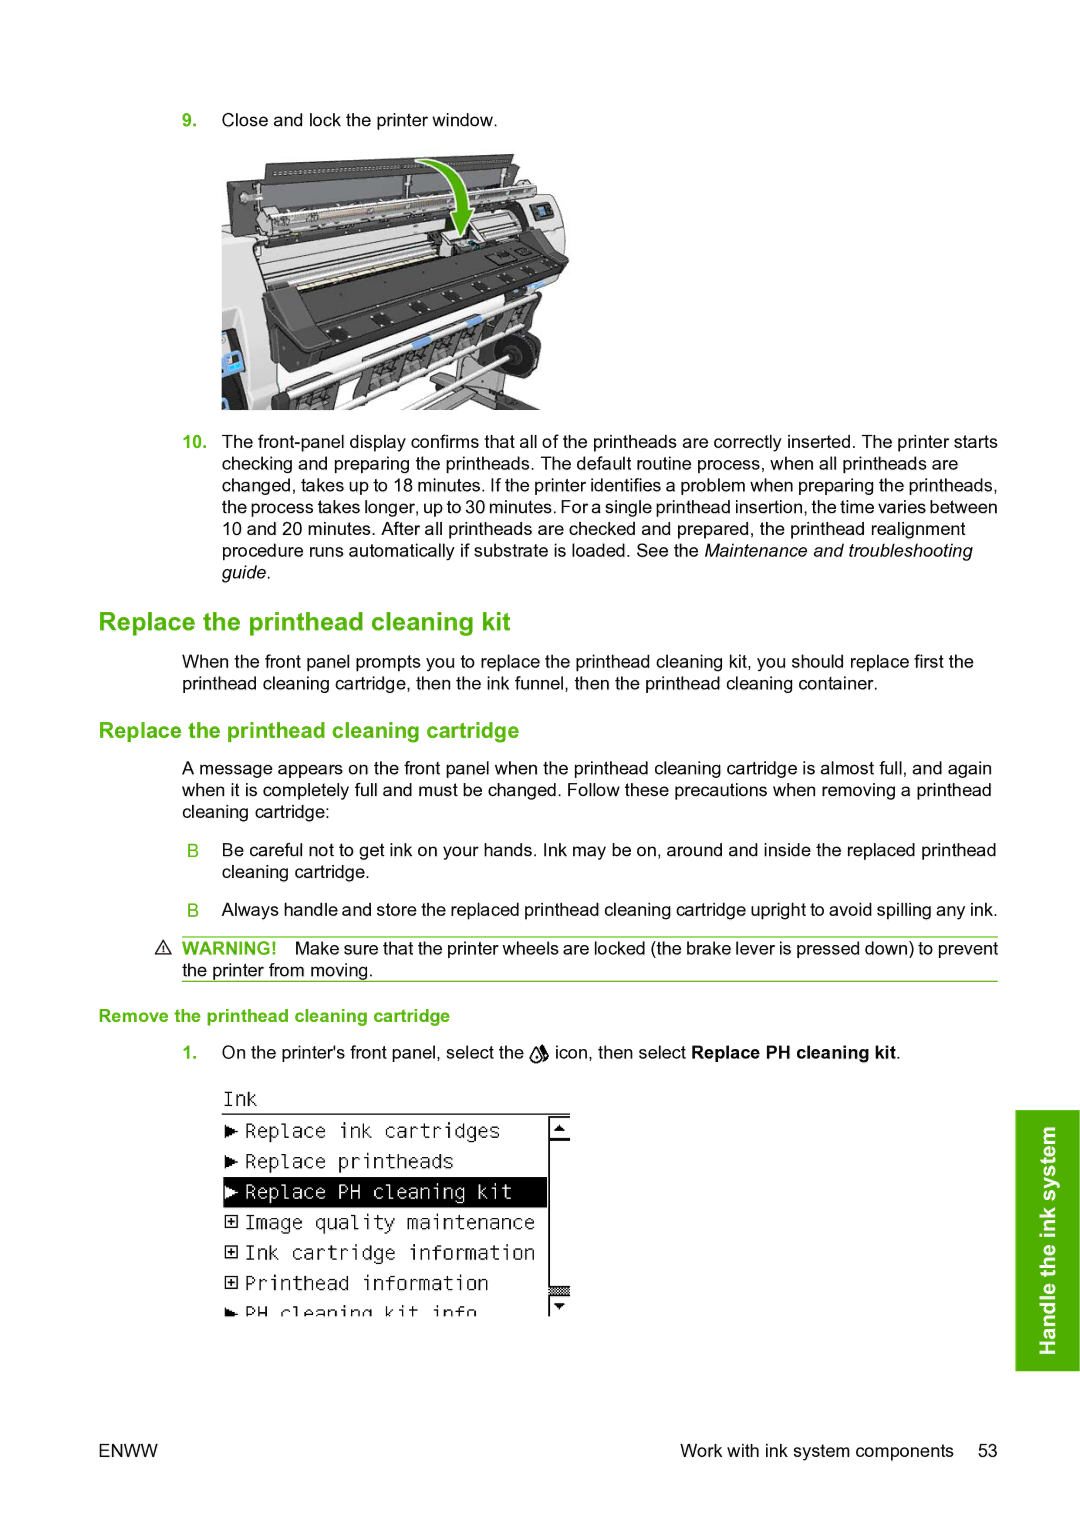
1. On the printer's front panel, select the ![]() icon, then select Replace PH cleaning kit.
icon, then select Replace PH cleaning kit.
Handle the ink system
ENWW | Work with ink system components 53 |