be known in advance to make a connection.
•Apply Changes: Click to save and apply the current settings.
•Reset: Click to clear and reset the current settings.
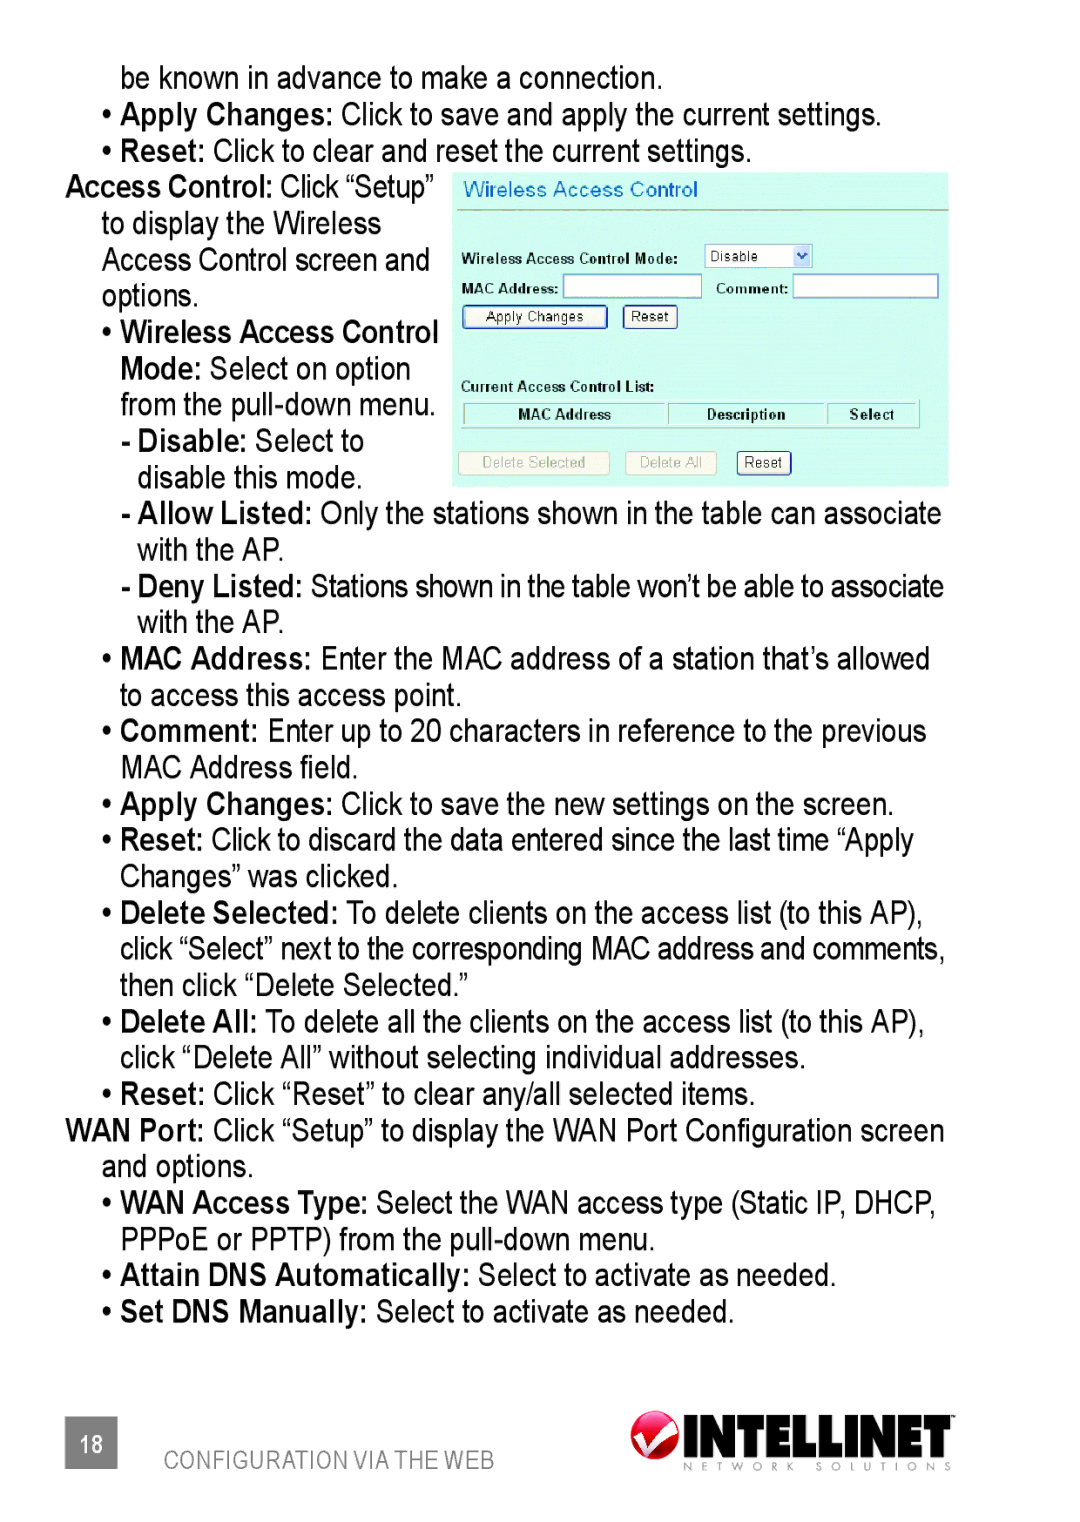
Access Control: Click “Setup” to display the Wireless Access Control screen and options.
•Wireless Access Control Mode: Select on option from the
-Disable: Select to disable this mode.
-Allow Listed: Only the stations shown in the table can associate with the AP.
-Deny Listed: Stations shown in the table won’t be able to associate with the AP.
•MAC Address: Enter the MAC address of a station that’s allowed to access this access point.
•Comment: Enter up to 20 characters in reference to the previous
MAC Address field.
•Apply Changes: Click to save the new settings on the screen.
•Reset: Click to discard the data entered since the last time “Apply Changes” was clicked.
•Delete Selected: To delete clients on the access list (to this AP), click “Select” next to the corresponding MAC address and comments, then click “Delete Selected.”
•Delete All: To delete all the clients on the access list (to this AP), click “Delete All” without selecting individual addresses.
•Reset: Click “Reset” to clear any/all selected items.
WAN Port: Click “Setup” to display the WAN Port Configuration screen and options.
•WAN Access Type: Select the WAN access type (Static IP, DHCP,
PPPoE or PPTP) from the
•Attain DNS Automatically: Select to activate as needed.
•Set DNS Manually: Select to activate as needed.
18CONFIGURATION VIA THE WEB