2 OVERVIEW
2 Overview
2.1Label Locations
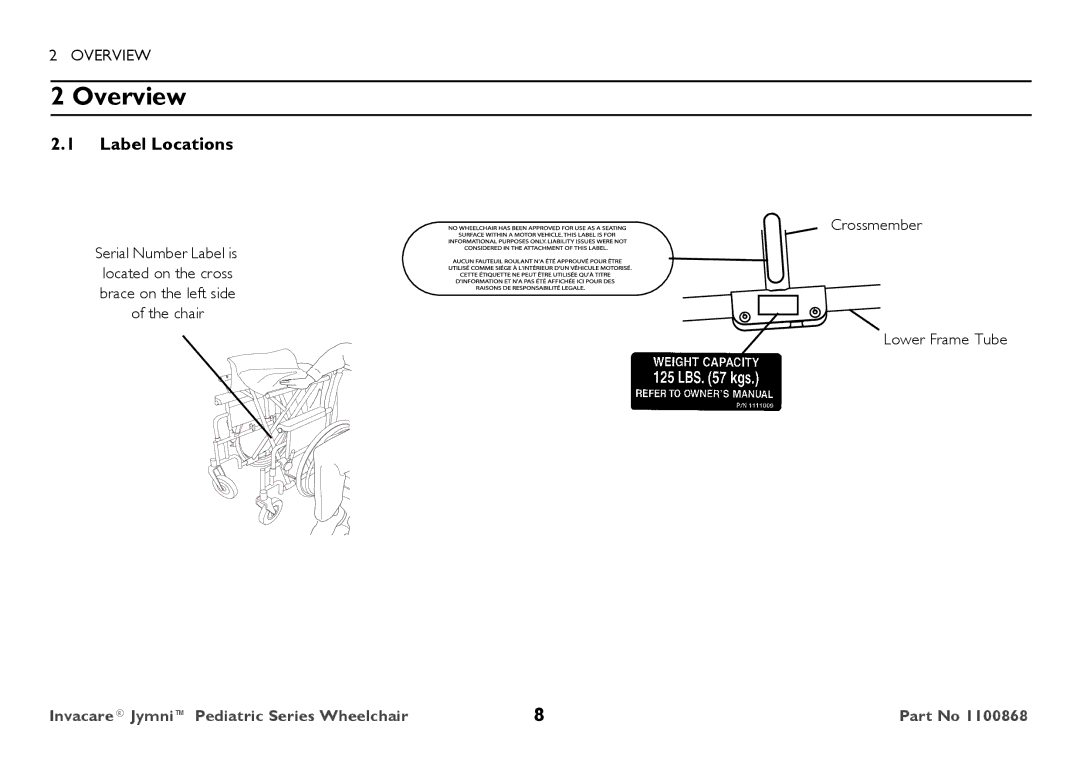
Crossmember
Serial Number Label is located on the cross
brace on the left side of the chair
Lower Frame Tube
Invacare® Jymni™ Pediatric Series Wheelchair | 8 | Part No 1100868 |
2 OVERVIEW
Serial Number Label is located on the cross
brace on the left side of the chair
Invacare® Jymni™ Pediatric Series Wheelchair | 8 | Part No 1100868 |