INSTALLATION OF THE MEDIAMASTER
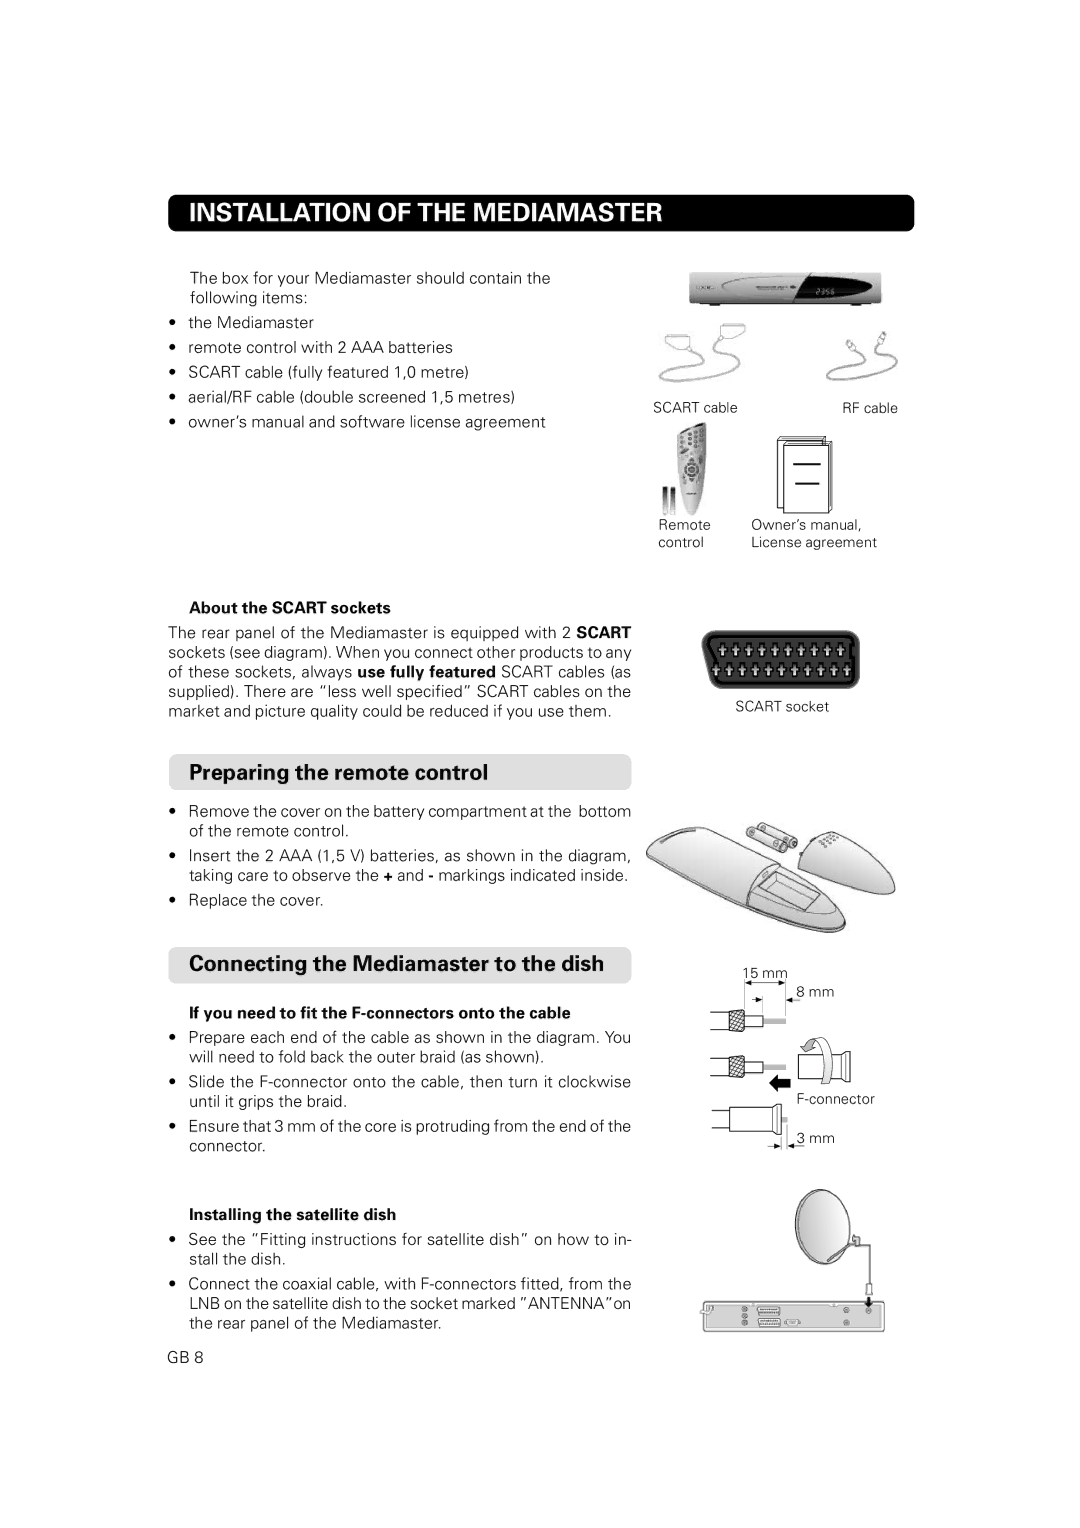
The box for your Mediamaster should contain the following items:
• the Mediamaster |
|
• remote control with 2 AAA batteries |
|
• SCART cable (fully featured 1,0 metre) |
|
• aerial/RF cable (double screened 1,5 metres) | RF cable |
SCART cable | |
• owner’s manual and software license agreement |
|
Remote | Owner’s manual, |
control | License agreement |
About the SCART sockets |
|
The rear panel of the Mediamaster is equipped with 2 SCART |
|
sockets (see diagram). When you connect other products to any |
|
of these sockets, always use fully featured SCART cables (as |
|
supplied). There are “less well specified” SCART cables on the | SCART socket |
market and picture quality could be reduced if you use them. |
Preparing the remote control
•Remove the cover on the battery compartment at the bottom of the remote control.
•Insert the 2 AAA (1,5 V) batteries, as shown in the diagram, taking care to observe the + and - markings indicated inside.
•Replace the cover.
Connecting the Mediamaster to the dish
If you need to fit the F-connectors onto the cable
•Prepare each end of the cable as shown in the diagram. You will need to fold back the outer braid (as shown).
•Slide the
•Ensure that 3 mm of the core is protruding from the end of the connector.
Installing the satellite dish
•See the ”Fitting instructions for satellite dish” on how to in- stall the dish.
•Connect the coaxial cable, with
GB 8
15 mm
8 mm
3 mm