CA-MXDVA9 specifications
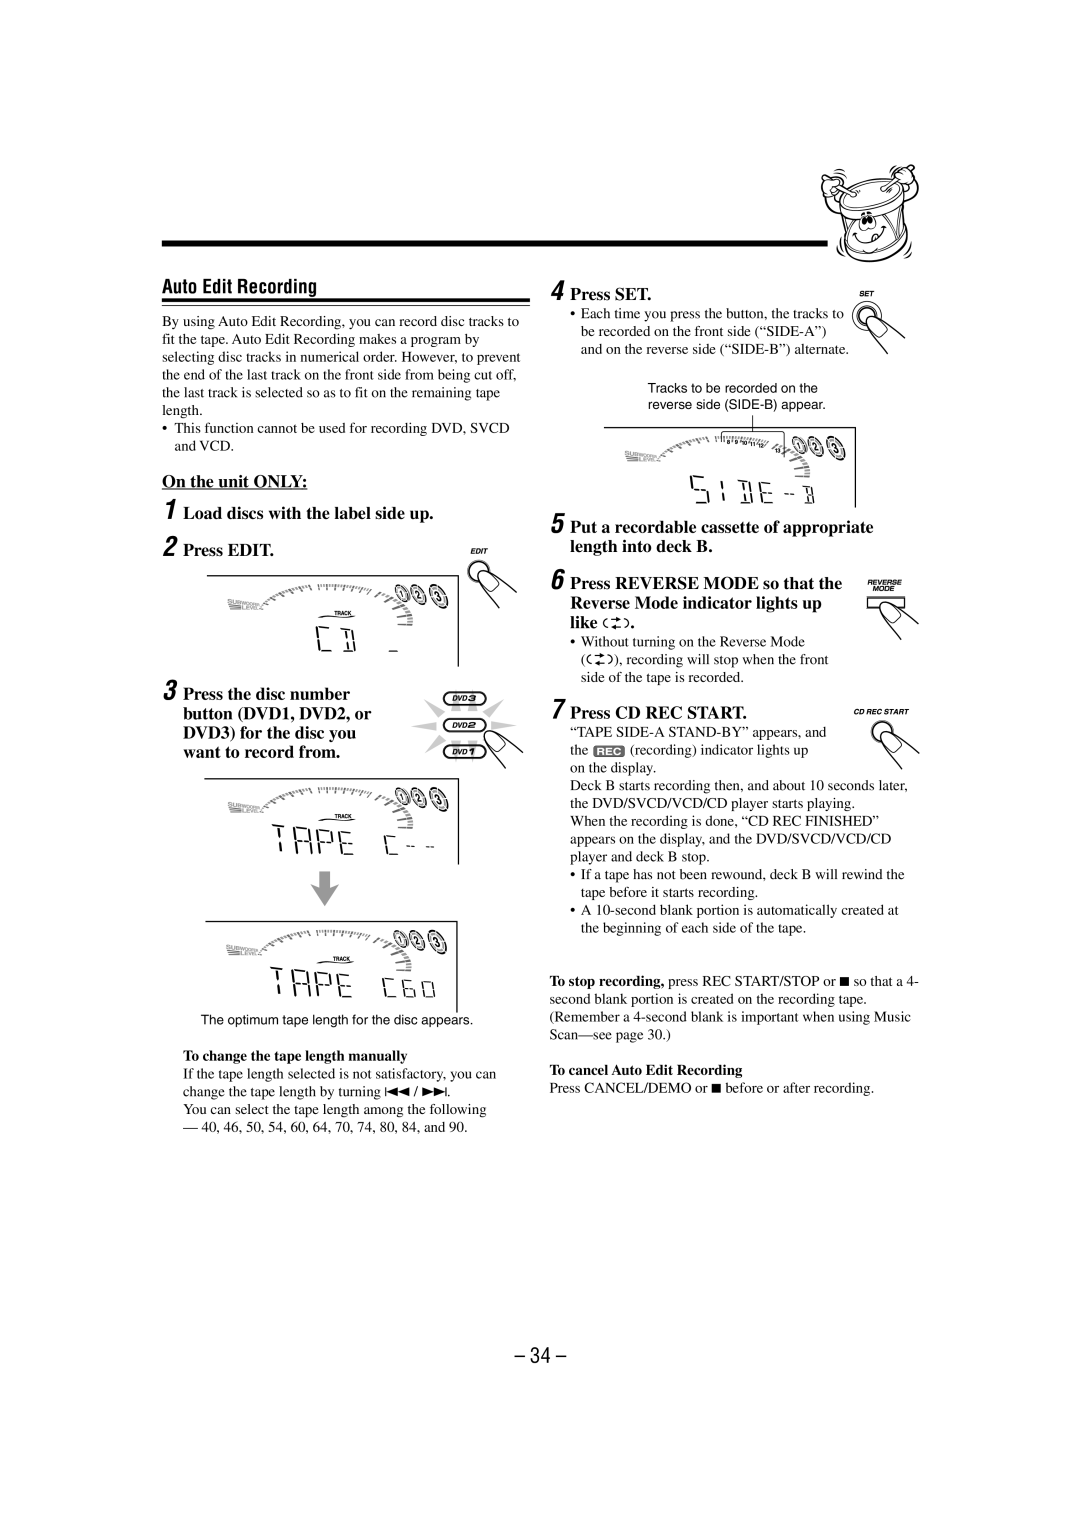
The JVC CA-MXDVA9 and CA-MXDVB10 are compact audio systems that offer an impressive combination of features and technologies designed for music enthusiasts and casual listeners alike. These systems are notable for their sleek design and user-friendly interfaces, making them an excellent addition to any home or office environment.One of the standout features of the JVC CA-MXDVA9 and CA-MXDVB10 is their multi-format playback capabilities. Both systems support a range of audio formats, including CD, MP3, and WMA, providing flexibility for users to enjoy their favorite music from various sources. Additionally, the systems come equipped with USB ports that allow for direct playback from USB flash drives, enhancing convenience and accessibility.
The CA-MXDVA9 and CA-MXDVB10 also boast advanced sound technologies. The systems utilize JVC’s proprietary digital sound enhancement technology, which elevates audio quality by processing sound in real-time to deliver clearer highs and deeper lows. This ensures that users experience rich, immersive sound whether they're listening to music, watching movies, or playing video games.
Connectivity is another strong point for these audio systems. Both models feature built-in Bluetooth technology, enabling users to stream music wirelessly from their smartphones, tablets, or laptops. This wireless capability ensures an effortless listening experience without the hassle of cables. Additionally, the auxiliary input allows for connecting various devices, making it versatile for different media players.
The design of the JVC CA-MXDVA9 and CA-MXDVB10 is sleek and modern, making them aesthetically pleasing while also being functional. They are compact in size, making them easy to fit into any space without compromising on sound quality. The front-panel display is intuitive, allowing users to navigate through their music library with ease.
Moreover, the systems come with a built-in FM/AM tuner, providing access to local radio stations. The ability to preset favorite stations ensures that users can quickly access their preferred channels.
In conclusion, the JVC CA-MXDVA9 and CA-MXDVB10 are dynamic compact audio systems that cater to a wide array of audio needs. With their multi-format playback, advanced sound processing technologies, and Bluetooth connectivity, they represent an excellent choice for those looking to enhance their audio experience. Their stylish design and practical features make them a valuable addition to any audio setup.

