CA-NXG9 specifications
The JVC CA-NXG9 is a powerful and versatile audio system that appeals to music enthusiasts and casual listeners alike. With its sleek design and robust performance, this unit brings an immersive sound experience to any setting, be it at home or during outdoor gatherings.At the heart of the CA-NXG9 is its impressive 200 watts of total output power, ensuring that the music can be enjoyed at high volumes without sacrificing clarity. The system includes an advanced bass reflex design that optimizes low-frequency sound, producing deep, resonant bass that adds depth to any track. This feature makes it particularly appealing for genres that rely heavily on bass, such as electronic, hip-hop, and rock.
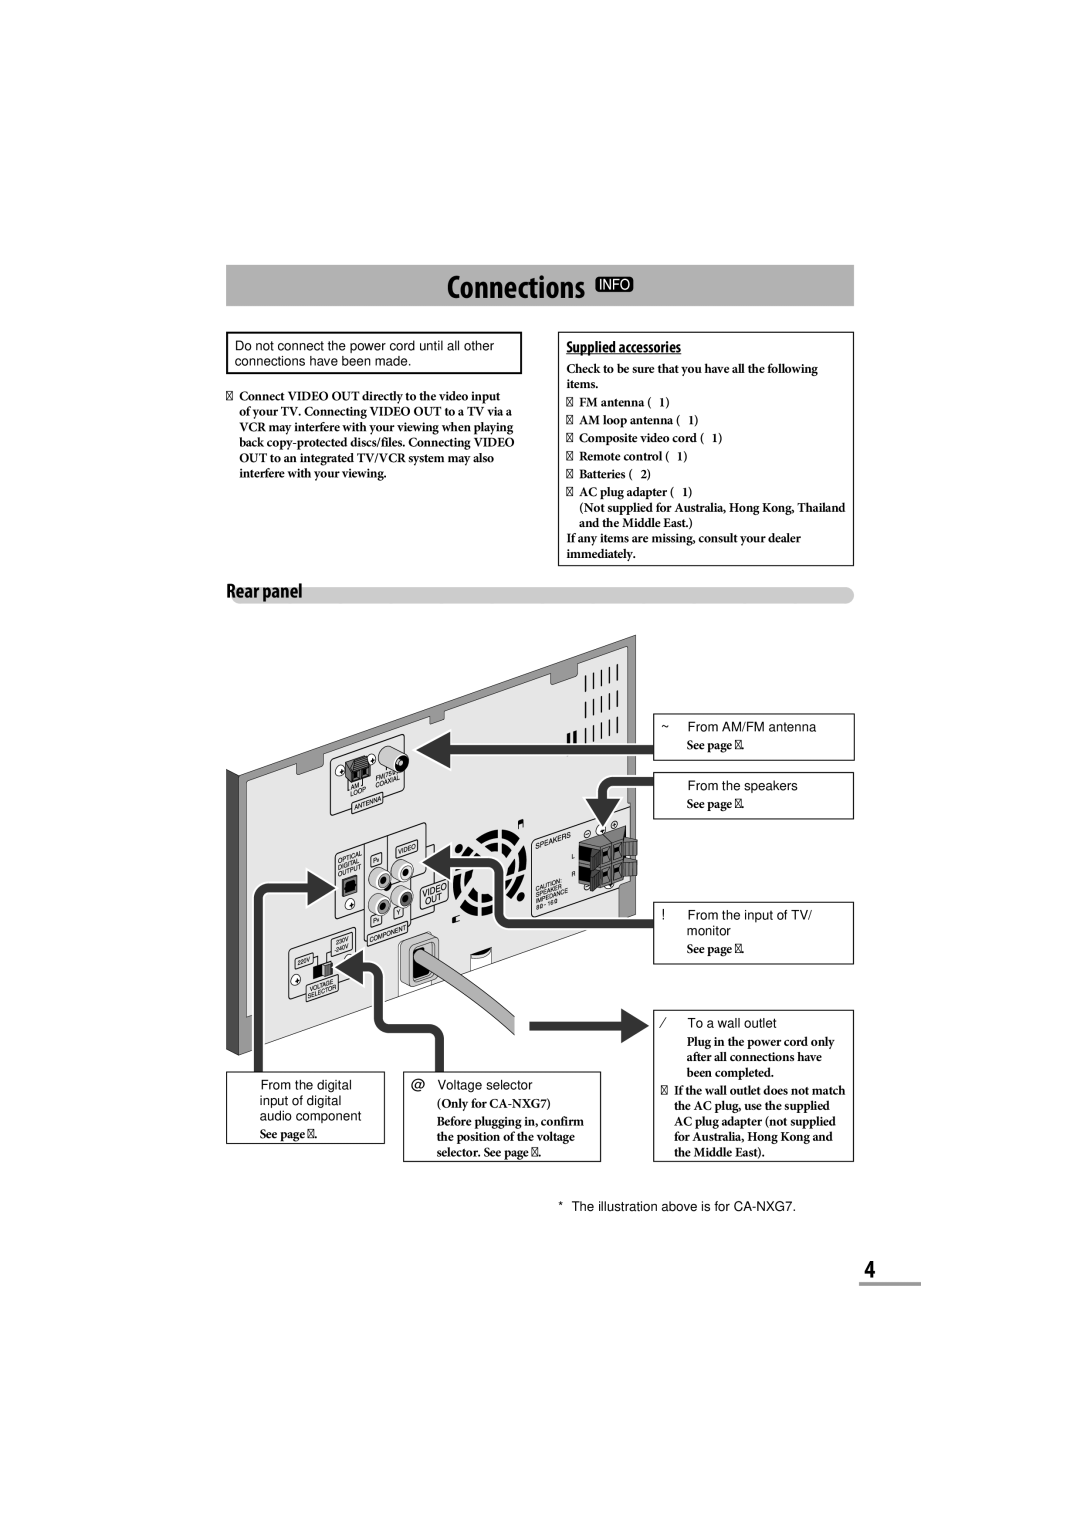
One standout characteristic of the CA-NXG9 is its Bluetooth connectivity. Users can easily stream music from their smartphones, tablets, or other Bluetooth-enabled devices, providing a wire-free experience for a more convenient setup. The system is also equipped with a USB port, allowing users to play music directly from USB flash drives. This dual connectivity ensures a broad range of playback options, catering to different user preferences.
In addition to traditional audio playback methods, the CA-NXG9 supports multiple formats, including MP3, WMA, and WAV. This versatility enables listeners to enjoy their favorite tracks without worrying about compatibility issues. For those who still appreciate the classic sound of CDs, the system includes a built-in CD player, further enhancing its functionality.
Moreover, the JVC CA-NXG9 is designed with user-friendliness in mind. It features a clear, backlit LCD display that makes navigating through playlists and settings simple, even in low-light conditions. The intuitive remote control adds another layer of convenience, allowing users to adjust volume, change tracks, and select modes from a distance.
The system is equipped with a range of audio enhancement technologies, including a equalizer with preset sound modes. These modes let users customize their listening experience according to their mood or the genre of music they are enjoying.
With its combination of powerful sound, versatile connectivity, and user-friendly design, the JVC CA-NXG9 is an ideal audio solution for anyone looking to elevate their music experience. Whether for personal enjoyment or entertaining guests, it delivers quality performance across multiple formats and settings.

