Other Convenient Functions (Continued)
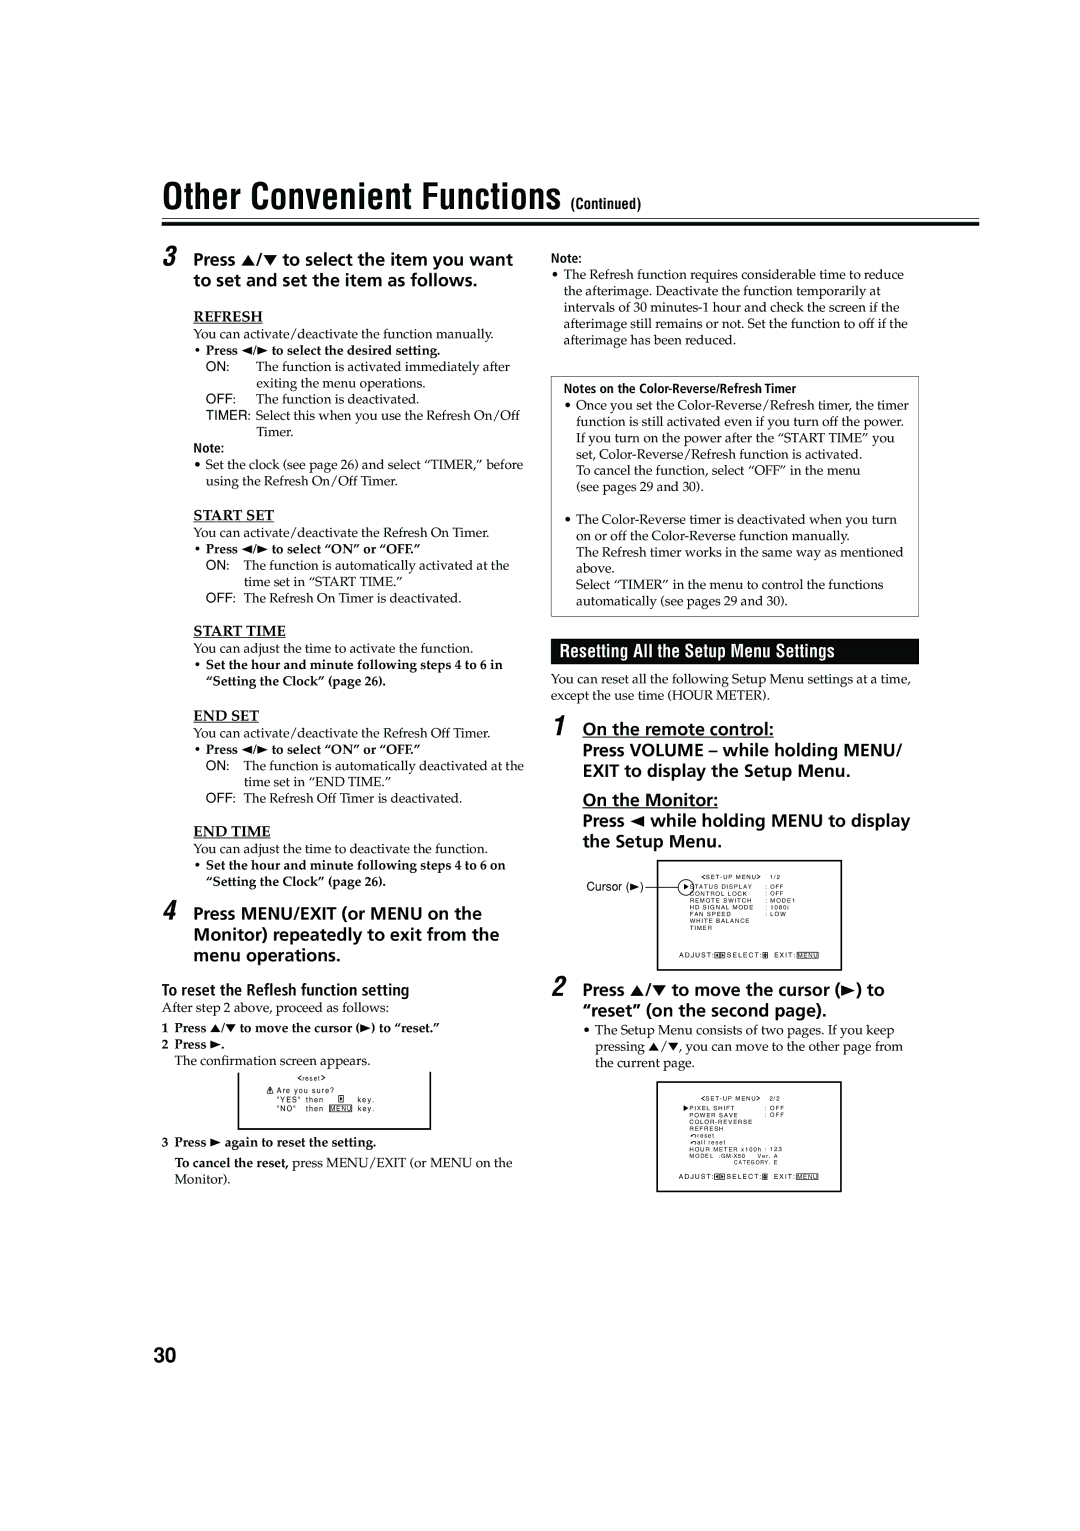
3 Press 5/∞ to select the item you want to set and set the item as follows.
REFRESH
You can activate/deactivate the function manually.
•Press 2/3 to select the desired setting.
ON: The function is activated immediately after exiting the menu operations.
OFF: The function is deactivated.
TIMER: Select this when you use the Refresh On/Off
Timer.
Note:
•Set the clock (see page 26) and select “TIMER,” before using the Refresh On/Off Timer.
START SET
You can activate/deactivate the Refresh On Timer.
•Press 2/3 to select “ON” or “OFF.”
ON: The function is automatically activated at the time set in “START TIME.”
OFF: The Refresh On Timer is deactivated.
Note:
•The Refresh function requires considerable time to reduce the afterimage. Deactivate the function temporarily at intervals of 30
Notes on the
•Once you set the
To cancel the function, select “OFF” in the menu (see pages 29 and 30).
•The
The Refresh timer works in the same way as mentioned above.
Select “TIMER” in the menu to control the functions automatically (see pages 29 and 30).
START TIME
You can adjust the time to activate the function.
•Set the hour and minute following steps 4 to 6 in “Setting the Clock” (page 26).
END SET
You can activate/deactivate the Refresh Off Timer.
•Press 2/3 to select “ON” or “OFF.”
ON: The function is automatically deactivated at the time set in “END TIME.”
OFF: The Refresh Off Timer is deactivated.
END TIME
You can adjust the time to deactivate the function.
•Set the hour and minute following steps 4 to 6 on “Setting the Clock” (page 26).
4 Press MENU/EXIT (or MENU on the Monitor) repeatedly to exit from the menu operations.
To reset the Reflesh function setting
After step 2 above, proceed as follows:
1Press 5/∞ to move the cursor (3) to “reset.”
2Press 3.
The confirmation screen appears.
r e s e t |
|
A r e y o u s u r e ? |
|
" Y E S " t h e n | k e y . |
" N O " t h e n M E N U k e y .
3Press 3 again to reset the setting.
To cancel the reset, press MENU/EXIT (or MENU on the Monitor).
Resetting All the Setup Menu Settings
You can reset all the following Setup Menu settings at a time, except the use time (HOUR METER).
1 On the remote control:
Press VOLUME – while holding MENU/ EXIT to display the Setup Menu.
On the Monitor:
Press 2 while holding MENU to display the Setup Menu.
Cursor (3) |
|
| S E T - U P M E N U | 1 / 2 |
|
| |||||
|
| S T A T U S D I S P L A Y | : O F F |
| |||||||
|
|
| |||||||||
|
|
| C O N T R O L L O C K | : O F F |
| ||||||
|
|
| R E M O T E S W I T C H | : M O D E 1 |
| ||||||
|
|
| H D S I G N A L M O D E | : 1 0 8 0 i |
| ||||||
|
|
| F A N S P E E D | : L O W |
| ||||||
|
|
| W H I T E B A L A N C E |
|
|
|
| ||||
|
|
| T I M E R |
|
|
|
| ||||
|
|
| A D J U S T : |
|
|
| S E L E C T : |
| E X I T : |
|
|
|
|
|
|
| M E N U |
| |||||
|
|
|
|
|
|
|
|
|
|
|
|
2 Press 5/∞ to move the cursor (3) to “reset” (on the second page).
•The Setup Menu consists of two pages. If you keep pressing 5/∞, you can move to the other page from the current page.
S E T - U P M E N U | 2 / 2 |
|
| |||||
P I X E L S H I F T | : O F F | |||||||
P O W E R S A V E | : O F F | |||||||
C O L O R - R E V E R S E |
|
|
|
| ||||
R E F R E S H |
|
|
|
| ||||
r e s e t |
|
|
|
|
|
|
|
|
a l l r e s e t |
|
|
|
| ||||
H O U R M E T E R x 1 0 0 h : 1 2 3 | ||||||||
M O D E L | :GM - X50 V e r . A | |||||||
|
|
|
| C A T E G O R Y . E | ||||
A D J U S T : |
|
|
| S E L E C T : |
| E X I T : |
|
|
|
|
| M E N U |
| ||||
|
|
|
|
|
|
|
|
|
30
