66 EN | OTHER USEFUL FUNCTIONS (cont.) |
| *The default setting is bold in the table below. |
L“REAR AUX
“VIDEO”separate signals) to use as the video input terminal
“S-VIDEO”
Make sure to select the correct terminal; otherwise, you may fail in recording (editing) on this VCR.
L“REAR AUX
“VIDEO” | separate signals) to use as the video input terminal |
| Make sure to select the correct terminal; otherwise, you may fail in recording (editing) |
| |
| on this VCR. |
Additional settings “ADDITIONAL”
|
|
| *The default setting is bold in the table below. | ||
|
|
|
|
| |
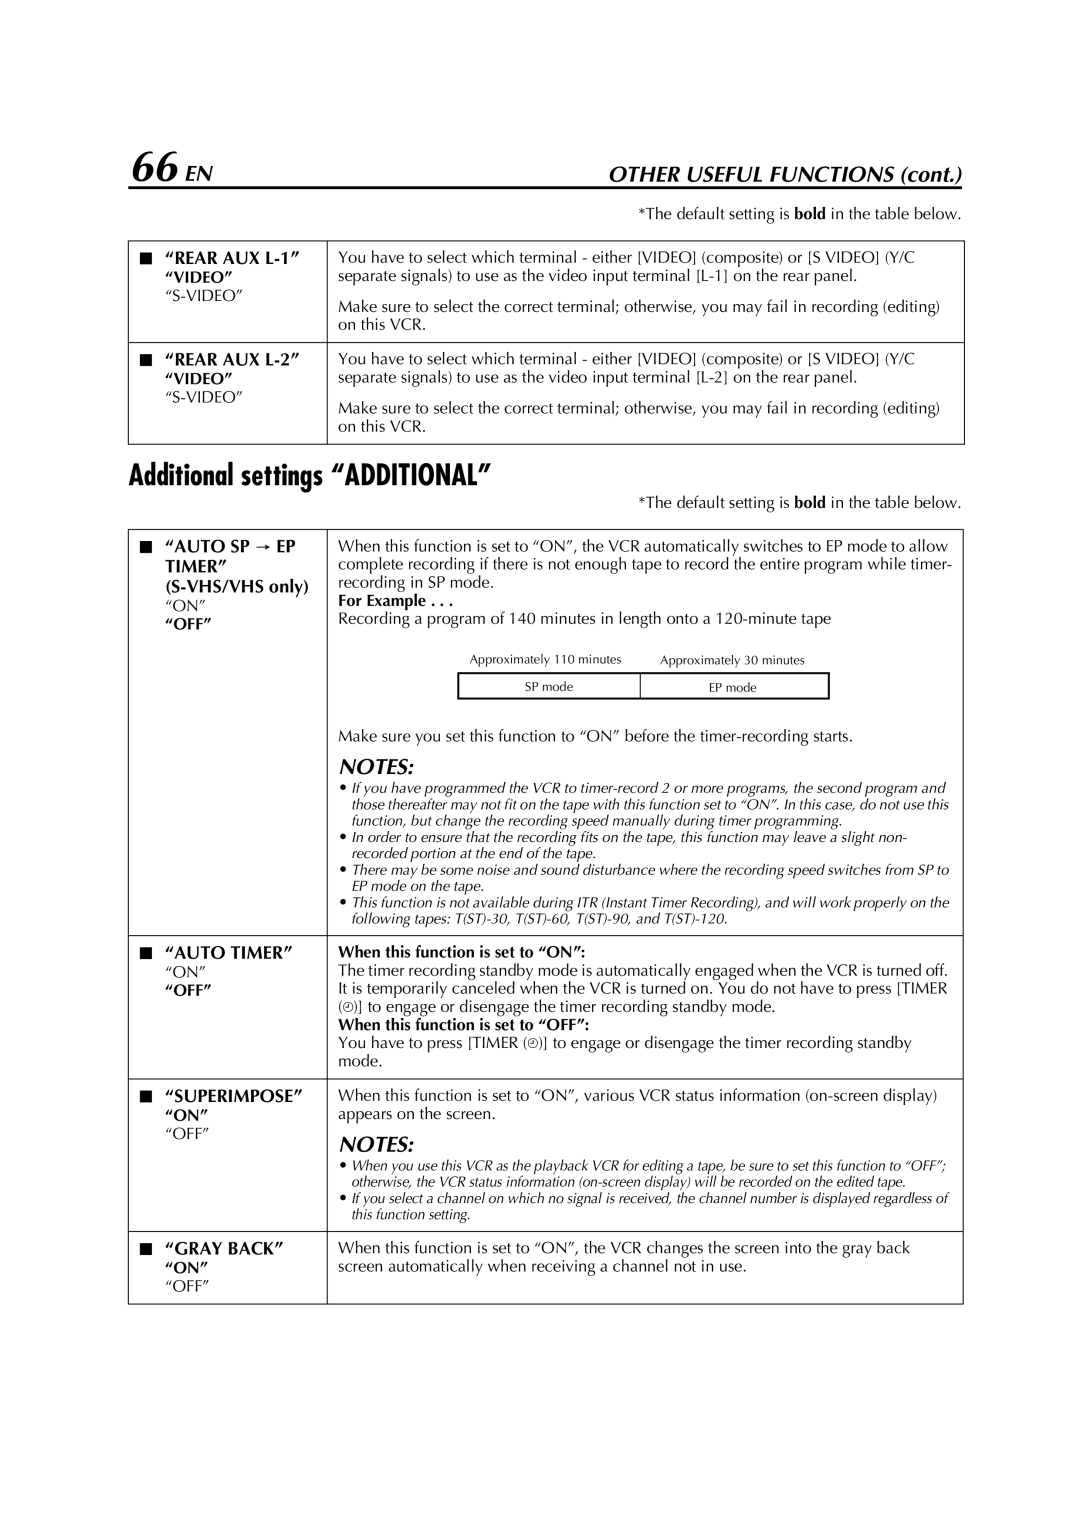
L “AUTO SP N EP | When this function is set to “ON”, the VCR automatically switches to EP mode to allow | ||||
TIMER” | complete recording if there is not enough tape to record the entire program while timer- | ||||
recording in SP mode. |
|
| |||
“ON” | For Example . . . |
|
| ||
Recording a program of 140 minutes in length onto a | |||||
“OFF” | |||||
|
|
|
| ||
|
| Approximately 110 minutes | Approximately 30 minutes | ||
|
|
|
|
| |
|
| SP mode | EP mode |
| |
| Make sure you set this function to “ON” before the | ||||
| NOTES: |
|
| ||
| • If you have programmed the VCR to | ||||
| those thereafter may not fit on the tape with this function set to “ON”. In this case, do not use this | ||||
| function, but change the recording speed manually during timer programming. | ||||
| • In order to ensure that the recording fits on the tape, this function may leave a slight non- | ||||
| recorded portion at the end of the tape. |
|
| ||
| • There may be some noise and sound disturbance where the recording speed switches from SP to | ||||
| EP mode on the tape. |
|
| ||
| • This function is not available during ITR (Instant Timer Recording), and will work properly on the | ||||
| following tapes: | ||||
|
|
|
|
| |
L “AUTO TIMER” | When this function is set to “ON”: |
|
| ||
“ON” | The timer recording standby mode is automatically engaged when the VCR is turned off. | ||||
“OFF” | It is temporarily canceled when the VCR is turned on. You do not have to press [TIMER | ||||
| (j)] to engage or disengage the timer recording standby mode. | ||||
| When this function is set to “OFF”: |
|
| ||
| You have to press [TIMER (j)] to engage or disengage the timer recording standby | ||||
| mode. |
|
| ||
|
|
|
|
| |
L “SUPERIMPOSE” | When this function is set to “ON”, various VCR status information | ||||
“ON” | appears on the screen. |
|
| ||
“OFF” | NOTES: |
|
| ||
|
|
| |||
| • When you use this VCR as the playback VCR for editing a tape, be sure to set this function to “OFF”; | ||||
| otherwise, the VCR status information | ||||
| • If you select a channel on which no signal is received, the channel number is displayed regardless of | ||||
| this function setting. |
|
| ||
|
|
|
|
| |
L “GRAY BACK” | When this function is set to “ON”, the VCR changes the screen into the gray back | ||||
“ON” | screen automatically when receiving a channel not in use. | ||||
“OFF” |
|
|
|
| |
|
|
|
|
| |
