70 EN | OTHER USEFUL FUNCTIONS (cont.) |
i.LINK Set Up
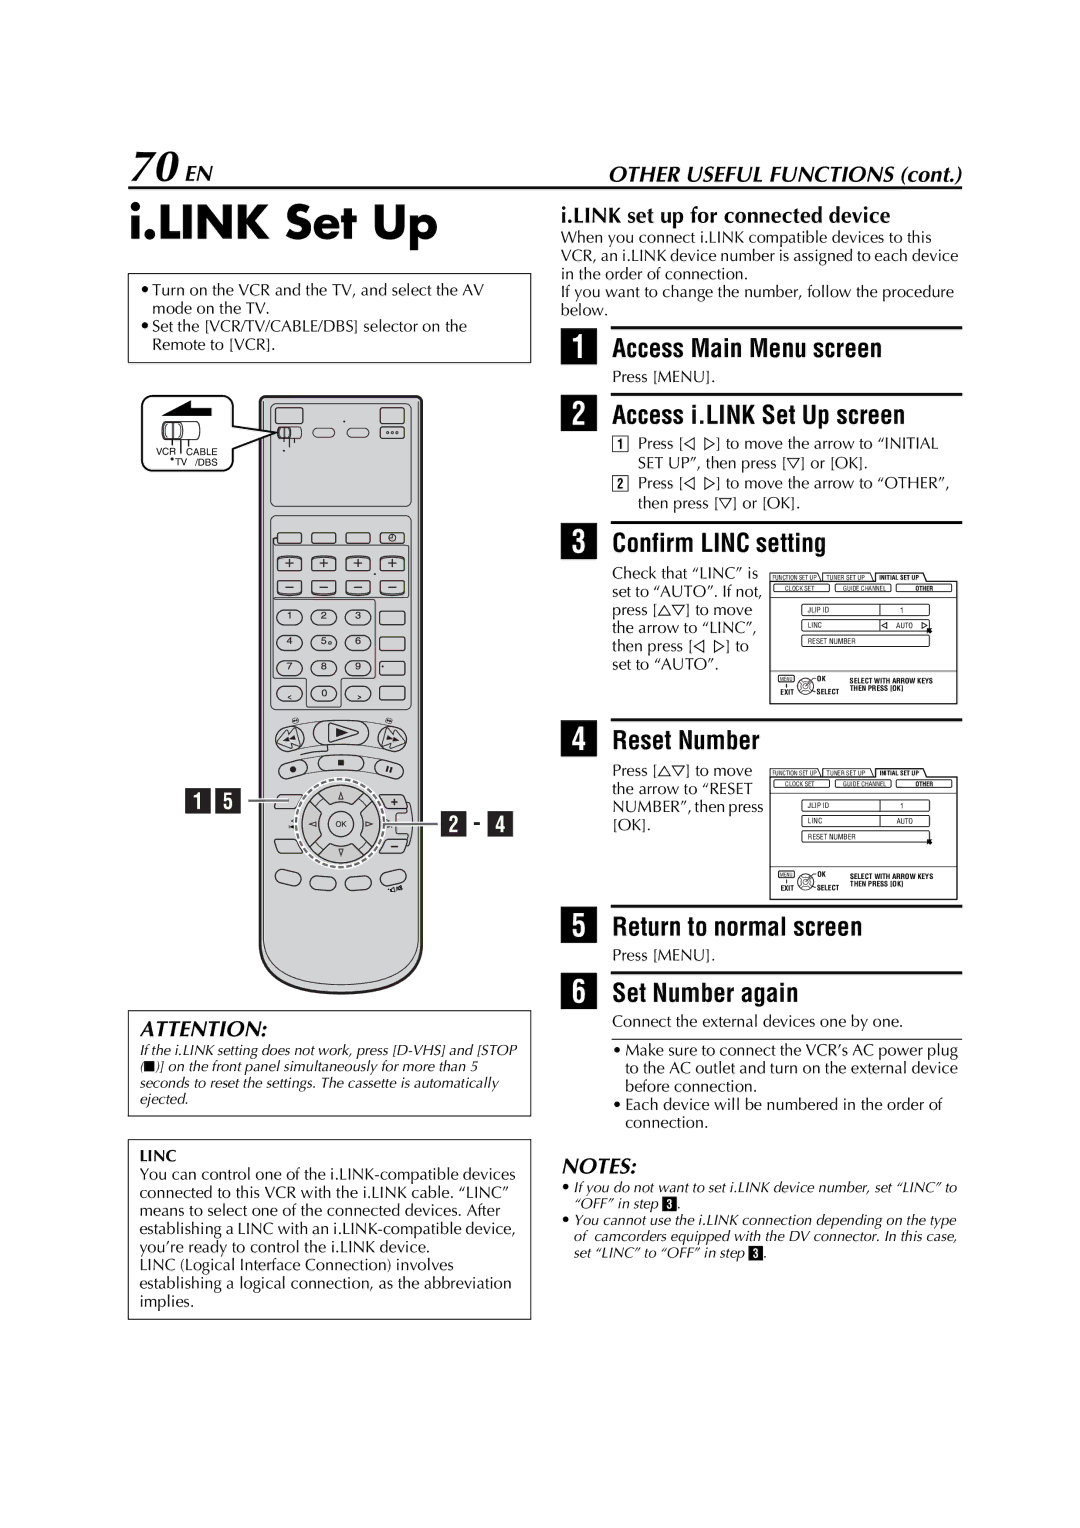
•Turn on the VCR and the TV, and select the AV mode on the TV.
•Set the [VCR/TV/CABLE/DBS] selector on the Remote to [VCR].
VCR CABLE
![]() TV /DBS
TV /DBS
i.LINK set up for connected device
When you connect i.LINK compatible devices to this VCR, an i.LINK device number is assigned to each device in the order of connection.
If you want to change the number, follow the procedure below.
AAccess Main Menu screen
Press [MENU].
BAccess i.LINK Set Up screen
APress [D E] to move the arrow to “INITIAL SET UP”, then press [G] or [OK].
BPress [D E] to move the arrow to “OTHER”, then press [G] or [OK].
CConfirm LINC setting
Check that “LINC” is set to “AUTO”. If not, press [FG] to move the arrow to “LINC”, then press [D E] to set to “AUTO”.
FUNCTION SET UP | TUNER SET UP | INITIAL SET UP | ||
CLOCK SET |
| GUIDE CHANNEL | OTHER | |
JLIP ID |
| 1 |
| |
LINC |
| AUTO |
| |
RESET NUMBER |
|
| ||
MENU | OK | SELECT WITH ARROW KEYS | ||
EXIT | SELECT | THEN PRESS [OK] |
| |
|
|
| ||
AE
![]()
![]()
![]()
![]()
![]()
![]() B - D
B - D
DReset Number
Press [FG] to move the arrow to “RESET NUMBER”, then press [OK].
FUNCTION SET UP | TUNER SET UP | INITIAL SET UP | ||
CLOCK SET |
| GUIDE CHANNEL | OTHER | |
JLIP ID |
| 1 |
| |
LINC |
| AUTO |
| |
RESET NUMBER |
|
| ||
MENU | OK | SELECT WITH ARROW KEYS | ||
EXIT | SELECT | THEN PRESS [OK] |
| |
|
|
| ||
ATTENTION:
If the i.LINK setting does not work, press
LINC
You can control one of the
LINC (Logical Interface Connection) involves establishing a logical connection, as the abbreviation implies.
EReturn to normal screen
Press [MENU].
FSet Number again
Connect the external devices one by one.
•Make sure to connect the VCR’s AC power plug to the AC outlet and turn on the external device before connection.
•Each device will be numbered in the order of connection.
NOTES:
•If you do not want to set i.LINK device number, set “LINC” to “OFF” in step C.
•You cannot use the i.LINK connection depending on the type of camcorders equipped with the DV connector. In this case, set “LINC” to “OFF” in step C.