( Add Time Button (+DUREE) adds time to end of recording (5 minutes each time button is pressed.) ☞ pg. 43
) Daily Button (QTDN) enables timer recording of daily serials. ☞ pg. 43
qWeekly Button (HEBDO) enables timer record- ing of weekly serials. ☞ pg. 43
w AUX Button selects recorder's auxiliary input mode. ☞ pg. 48
eTimer Button (AUTO) — same as button on recorder. ☞ pg. 43
r Channel +/– Button (CHAINE) — same as button on recorder. ☞ pg. 35
tDATE +/– Button inputs date of program for timer recording. ☞ pg. 44
yTV/SAT./MAG. Switch enables remote control of VCR or connected TV or satellite receiver. ☞ pg. 26, 27
uTV/VIDEO Button switches control between TV and VCR. ☞ pg. 26
iFast Forward Button
o Pause Button — same as button on recorder. ☞ pg. 29
p Stop Button — same as button on recorder.
☞pg. 28
QProgramme Check Button (CONTROLE PROG) accesses Program screens (next program's information screen appears each time button is pressed). ☞ pg. 47
W OK Button enters selections made in
E VOL. TV %Þ Button controls volume of con- nected TV. ☞ pg. 26
![]()
![]()
![]()
![]()
![]()
![]()
![]()
![]()
![]()
![]()
![]()
![]()
![]()
![]()
![]()
![]()
![]()
![]()
![]()
![]()
![]()
![]()
![]()
![]()
![]()
![]()
![]()
![]()
![]()
![]()
![]()
![]()
![]() 9
9![]()
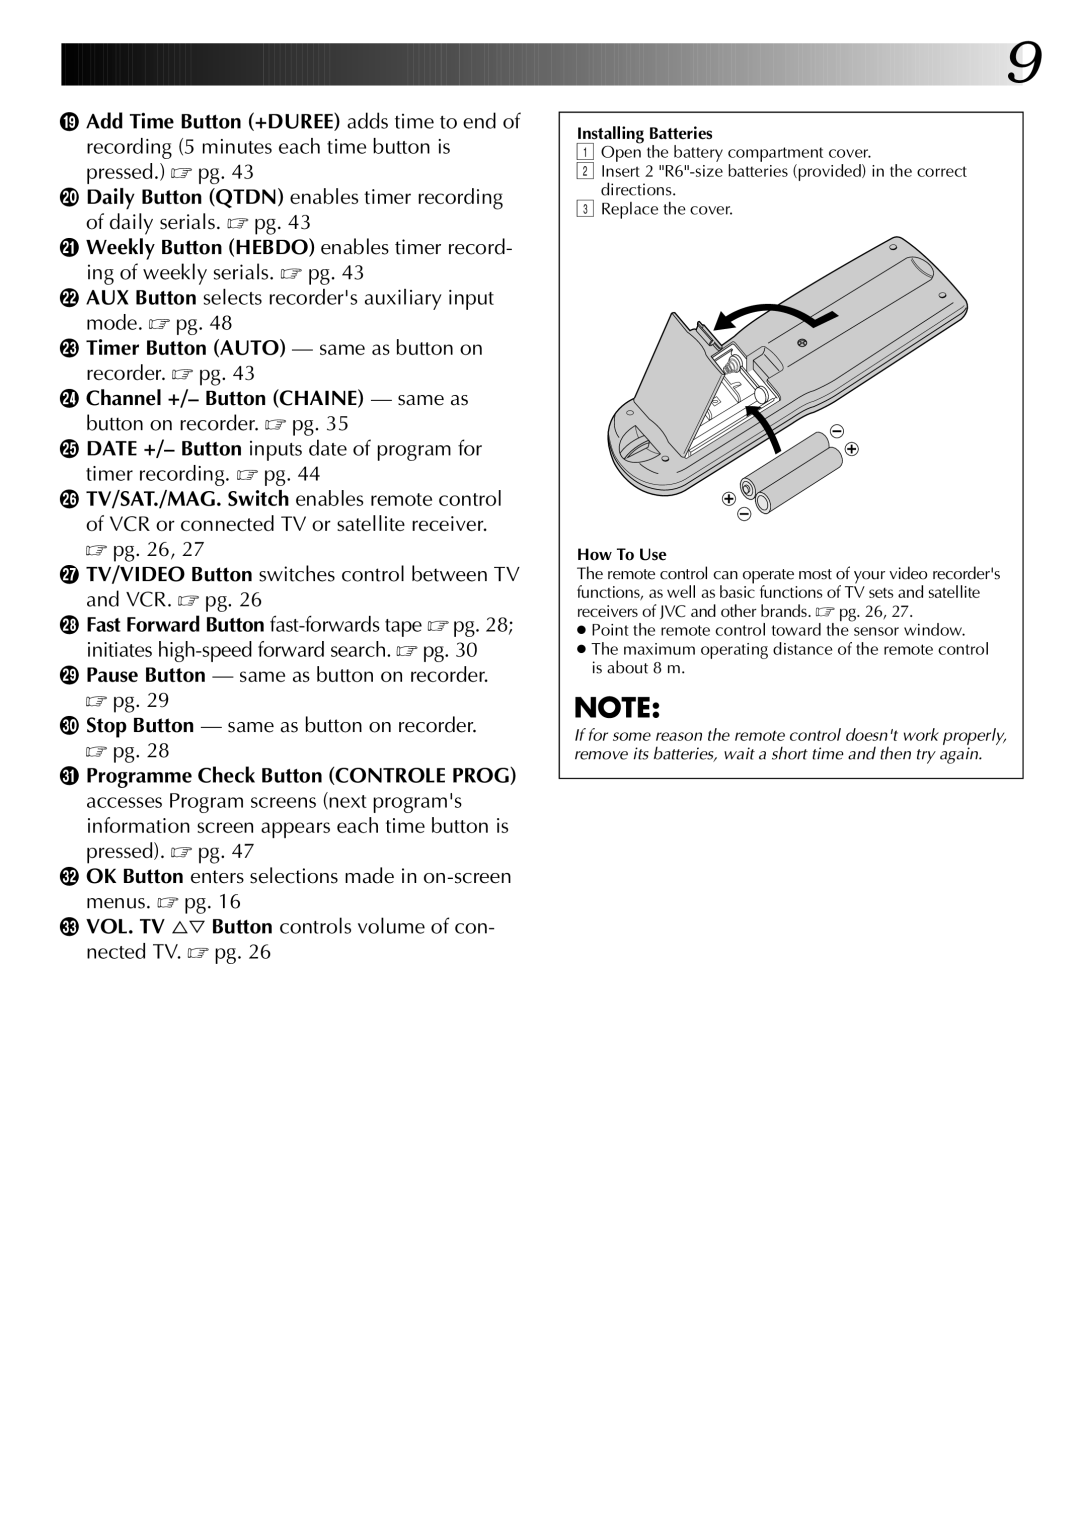
Installing Batteries
1Open the battery compartment cover.
2Insert 2
3Replace the cover.
How To Use
The remote control can operate most of your video recorder's functions, as well as basic functions of TV sets and satellite receivers of JVC and other brands. ☞ pg. 26, 27.
●Point the remote control toward the sensor window.
●The maximum operating distance of the remote control is about 8 m.
NOTE:
If for some reason the remote control doesn't work properly, remove its batteries, wait a short time and then try again.