18![]()
![]()
![]()
![]()
![]()
![]()
![]()
![]()
![]()
![]()
![]()
![]()
![]()
![]()
![]()
![]()
![]()
![]()
![]()
![]()
![]()
![]()
![]()
![]()
![]()
![]()
![]()
![]()
![]()
![]()
![]()
![]()
![]()
![]()
![]()
![]()
![]()
![]()
![]()
![]()
![]()
![]()
![]()
![]()
![]()
![]()
![]()
![]()
![]()
![]()
![]()
![]()
![]()
![]()
![]()
![]()
![]()
![]()
![]()
![]()
![]()
![]()
![]()
![]() INITIAL
INITIAL![]()
![]() SETTINGS
SETTINGS![]() (cont.)
(cont.)![]()
![]()
![]()
Using The
Confirmation
Screen
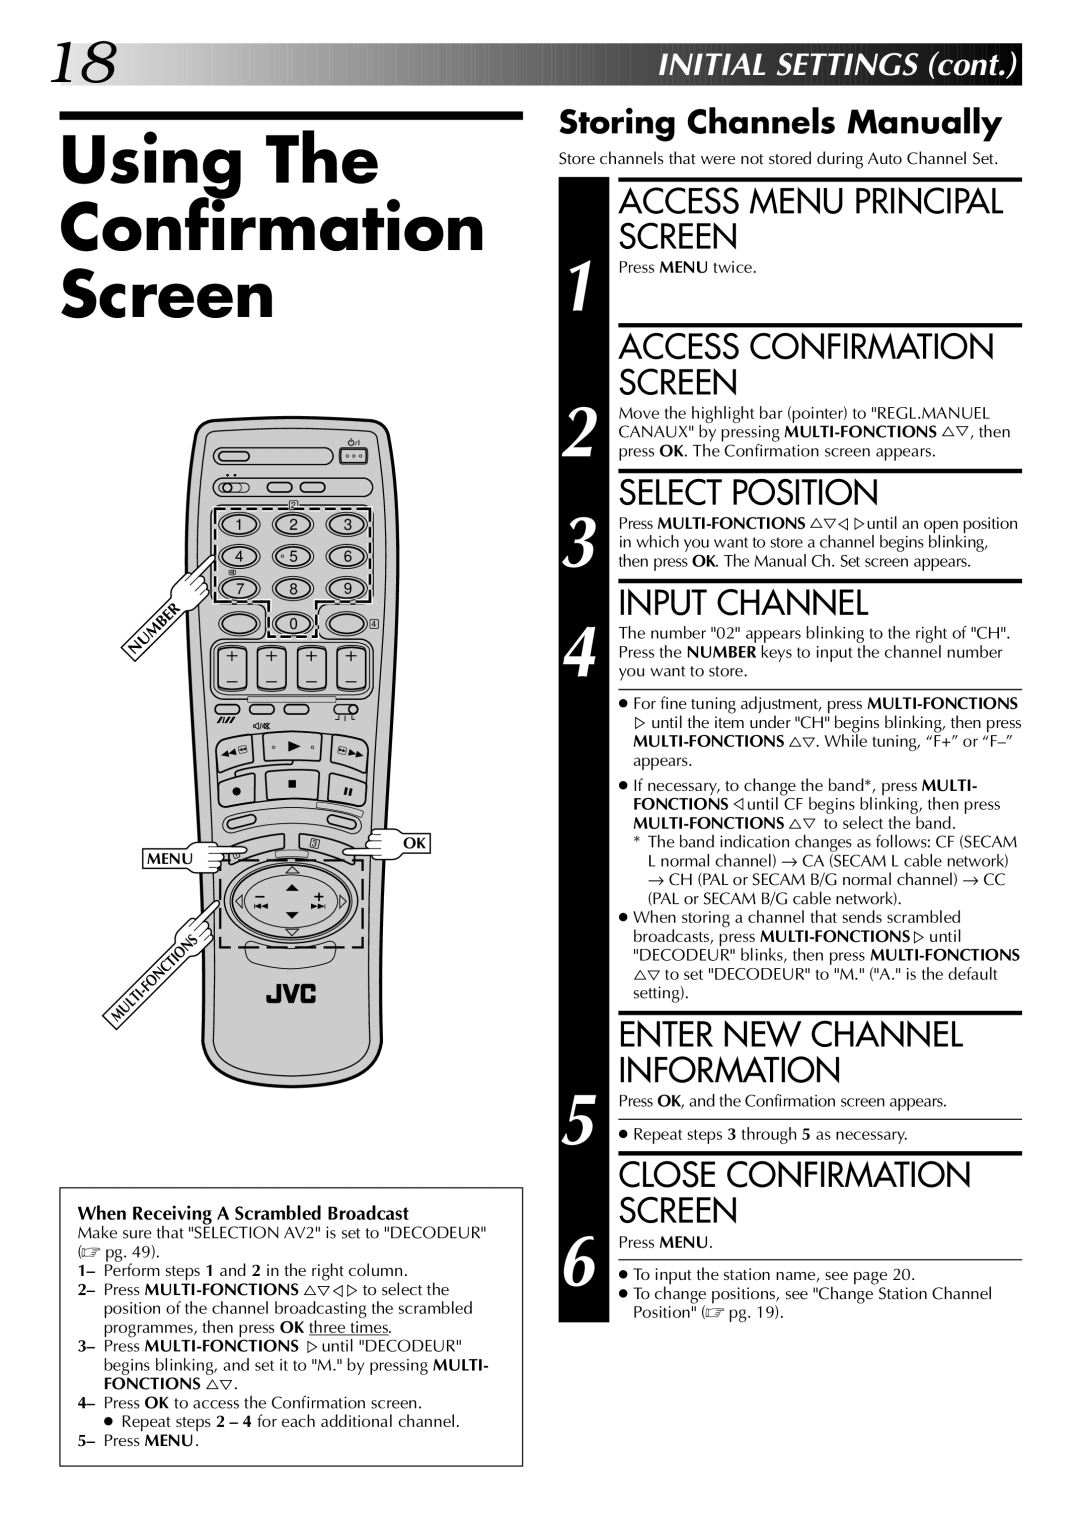
| 2 |
|
1 | 2 | 3 |
4 | 5 | 6 |
7 | 8 | 9 |
NUMBER | 0 | 4 |
|
3 | OK |
MENU | 1 |
| |
| |
MULTI |
|
When Receiving A Scrambled Broadcast
Make sure that "SELECTION AV2" is set to "DECODEUR" (☞ pg. 49).
1– Perform steps 1 and 2 in the right column.
2– Press
3– Press
FONCTIONS %Þ.
4– Press OK to access the Confirmation screen.
●Repeat steps 2 – 4 for each additional channel.
5– Press MENU.
Storing Channels Manually
Store channels that were not stored during Auto Channel Set.
ACCESS MENU PRINCIPAL SCREEN
1 Press MENU twice.
ACCESS CONFIRMATION SCREEN
2 Move the highlight bar (pointer) to "REGL.MANUEL CANAUX" by pressing
SELECT POSITION
3 Press
INPUT CHANNEL
4 The number "02" appears blinking to the right of "CH". Press the NUMBER keys to input the channel number you want to store.
●For fine tuning adjustment, press
%until the item under "CH" begins blinking, then press
●If necessary, to change the band*, press MULTI- FONCTIONS Þuntil CF begins blinking, then press
*The band indication changes as follows: CF (SECAM L normal channel) → CA (SECAM L cable network) → CH (PAL or SECAM B/G normal channel) → CC (PAL or SECAM B/G cable network).
●When storing a channel that sends scrambled
broadcasts, press
| ENTER NEW CHANNEL | |
5 | INFORMATION | |
Press OK, and the Confirmation screen appears. | ||
| ||
|
| |
| ● Repeat steps 3 through 5 as necessary. | |
|
| |
| CLOSE CONFIRMATION | |
6 | SCREEN | |
Press MENU. | ||
| ||
● To input the station name, see page 20. | ||
● To change positions, see "Change Station Channel | ||
| Position" (☞ pg. 19). |