Timer Recording Manually
Note:
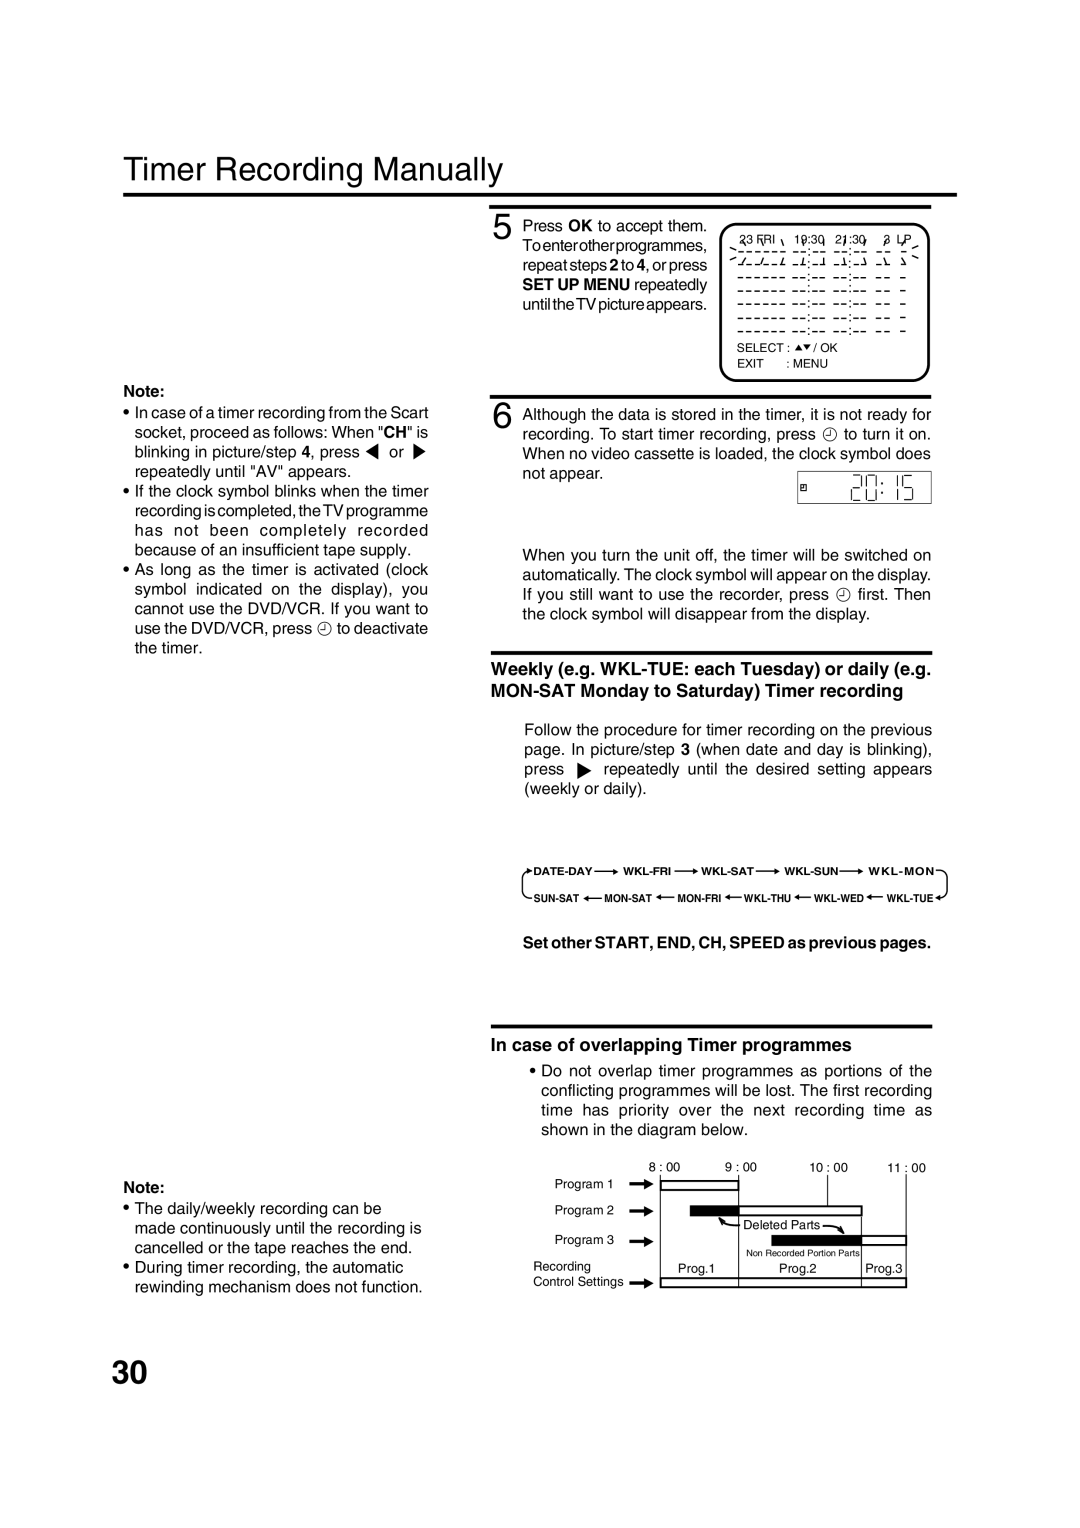
5 Press OK to accept them. Toenterotherprogrammes, repeat steps 2 to 4, or press SET UP MENU repeatedly until the TV picture appears.
23 FRI | 19:30 | 21:30 3 LP |
| : | : |
| : | : |
| : | : |
| : | : |
| : | : |
| : | : |
| : | : |
SELECT : / OK | ||
EXIT | : MENU |
|
•In case of a timer recording from the Scart
socket, proceed as follows: When "CH" is
blinking in picture/step 4, press ![]() or
or ![]() repeatedly until "AV" appears.
repeatedly until "AV" appears.
•If the clock symbol blinks when the timer recording is completed, the TV programme has not been completely recorded because of an insufficient tape supply.
•As long as the timer is activated (clock symbol indicated on the display), you cannot use the DVD/VCR. If you want to use the DVD/VCR, press •to deactivate the timer.
6 Although the data is stored in the timer, it is not ready for recording. To start timer recording, press • to turn it on. When no video cassette is loaded, the clock symbol does not appear.![]()
![]()
![]()
![]()
![]()
When you turn the unit off, the timer will be switched on automatically. The clock symbol will appear on the display. If you still want to use the recorder, press • first. Then the clock symbol will disappear from the display.
Weekly (e.g.
Follow the procedure for timer recording on the previous page. In picture/step 3 (when date and day is blinking), press ▼ repeatedly until the desired setting appears (weekly or daily).
![]() DATE-DAY
DATE-DAY![]()
![]()
![]()
![]()
![]()
![]()
![]()
![]()
![]()
Set other START, END, CH, SPEED as previous pages.
Note:
•The daily/weekly recording can be made continuously until the recording is cancelled or the tape reaches the end.
•During timer recording, the automatic rewinding mechanism does not function.
In case of overlapping Timer programmes
•Do not overlap timer programmes as portions of the conflicting programmes will be lost. The first recording time has priority over the next recording time as shown in the diagram below.
| 8 : 00 | 9 : 00 | 10 : 00 | 11 : 00 |
Program 1 |
|
|
|
|
Program 2 |
|
|
|
|
|
| Deleted Parts |
| |
Program 3 |
|
|
|
|
|
| Non Recorded Portion Parts |
| |
Recording | Prog.1 |
| Prog.2 | Prog.3 |
Control Settings |
|
|
|
|
30
