Main
SAFETY FIRST
Safety Precautions
MOISTURE CONDENSATION
IMPORTANT
If this product is not supplied fitted with a mains plug then follow the instructions given below:
SAFETY FIRST (cont.)
Some Dos And Donts On The Safe Use Of Equipment
Page
6
About Discs
Recordable/playable discs
DVD-RAM Discs
DVD-R/RW Discs
Discs for Playback Only
Unplayable Discs
Marks of discs in this instruction manual
Region Number
DISC INFORMATION (cont.)
Recording Medium and Format
DVD-RA M
DVD-RW (VR mode)
DVD-RW (Video mode)
DVD-R
DVD VIDEO Marks
Marks related to video
Marks related to audio
DISC INFORMATION (cont.)
Placing a Disc
Opening the disc tray Press x on the unit or remote control to open the disc tray.
Discs without cartridges
DVD-RAM discs contained in cartridges
Care and Handling of Discs
FRONT VIEW
REAR VIEW
FRONT DISPLAY PANEL
AVPS/PDC Indicator pg. 59
Disc Type/Status Indicator
BVR Mode Indicator pg. 106
CTimer Recording Indicator pg.56, 58, 60, 63
Page
ON-SCREEN DISPLAY
REMOTE CONTROL
How To Use
Check Contents
CHECK ALL THE CONTENTS SHOWN BELOW
INSTALLING YOUR NEW UNIT (cont.)
Basic Connections
A
B
C
S-VIDEO Connection
A
B
INSTALLING YOUR NEW UNIT (cont.)
Component Video Connection
A
B
INITIAL SETTINGS
Auto Set Up
Auto Channel Set/Auto Clock Set/ Auto Guide Program Number Set
B
After Auto Set Up is completed, perform Monitor Set on page 25.
Preset Download
Auto Channel Set by Downloading from TV/Auto Clock Set/Auto Guide Program Number Set
On the unit Press 1 on the unit. On the remote control Press DVD 1 on the remote control.
B
APress ENTER.
Results of Auto Set Up/Preset Download appearing on the front display panel
INFORMATION
Just Clock
Monitor Set
B C
8MONITOR TYPE
Language
B C
Language Code List
28
Satellite Receiver Control Setting
Installing Satellite Controller
A
B
C
A
testing.
B
C D
E
T-V Link Functions
TV Auto Power On
Unit Auto Standby
Direct Rec
If the satellite receivers channel number has been changed to the same one as you set in stepE.
Basic Playback
APress x to open the disc tray. BPlace the disc on the disc tray.
CPress x to close the disc tray.
C
D
Playback Features
DVD menu
1 2
Locating the start point of the item or skip the item
Press 2 or 6 during playback.
When a DVD-RAM/RW/R disc is played
When a DVDVIDEO, Audio CD or Video CD disc is played
High-Speed Search
Resume Function
1
Press 8 during playback.
2
Press 4 in stop mode. The unit starts playback from the resume point.
Switching Time Indication
During playback
Each time you press AUDIO or we
Press ANGLE or we
In stop mode
Audio Channel Selection
Playback Control (PBC) Function Locating a desired scene using the menu of a Video CD with PBC
1
In stop mode
2
Live Memory Playback
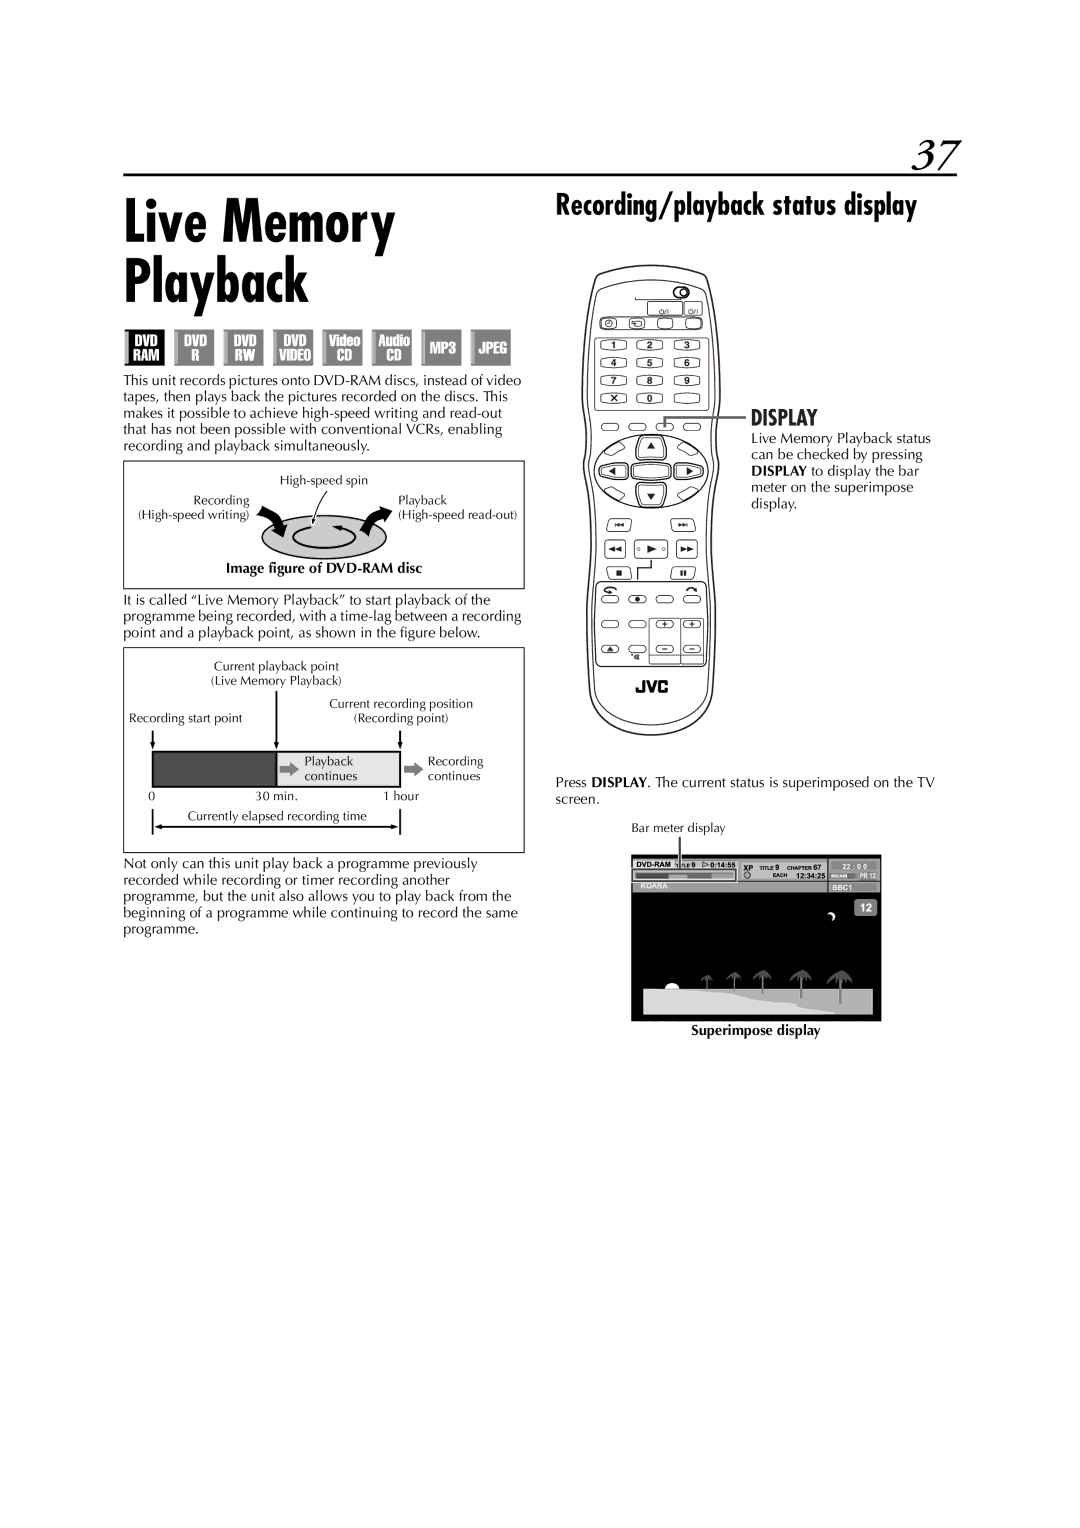
Recording/playback status display
Overview of Live Memory Playback
Display during Live Memory Playback
Filename [DR-M1EK_07Playback.fm] Masterpage:Left+
Page 40 August 15, 2003 7:53 pm
Buttons to be used during Live Memory Playback
Available buttons Functions
LIVE CHECK
8
9
To play back from the beginning of the programme while recording
1
To move back the playback position slightly while recording (One Touch Replay function)
1
Press .
Using Play Set Up Menu
How to Access Play Set Up Menu
Basic operation on Play Set Up Menu
3
Repeat Playback
3
A-B Repeat Playback
3
4
Random Playback
Programme Playback
3
4
Locating the beginning of a desired selection
2
3
4
Time Search
3
Simulated Surround Effect
Adjusting the picture quality
Select the switching interval of the slide show
Setting the progressive mode
Parental Lock
To set Parental Lock for the first time
A
B C D E F
G
A
B
C
To temporarily release Parental Lock
A
B
Country/Area Code List for Parental Lock
Page
RECORDING
Basic Recording
B
D
E
F
Recording Features
Recording Speed
Instant Timer Recording (ITR)
1
Press 7 on the unit.
Free Rate Function
To record the entire programme within the actual remaining disc space
To record the entire programme by specifying the desired recording time
To record a 25-min. long daily programme five times just on a same disc for example
Receiving Stereo and Bilingual Programmes
VIDEO Plus+ Timer Programming
B
C
D
E
required.
F
G
H
Manual Timer Programming
D
E
F
to select STOP, then press rt repeatedly to set the desired stop time.
G
to select TV PROG, then press rt repeatedly to select the desired channel.
H
On-Disc Timer Programming
To make the disc for On-Disc Timer Programming
D
E
F
to select STOP, then press rt repeatedly to set the desired stop time.
G
to select TV PROG, then press rt repeatedly to select the desired channel.
H
How discs are overwritten
Check, cancel and change programmes
A
D
E
F
When programmes overlap each other
A
Overlapping programmes appear on the TV screen.
B
or changed.
Press rt. To cancel the programme Press &.
Automatic Satellite Programme Recording
B
C
Recording mode.
66
Library Database DVD Navi
The display for original recording
The display for play list
DVD men u
The display for library
Scan for Beginning(s) of Programme(s)
C D
E
F
G
Modify Original
Modify Index
B
C
D
A
B
C
D
screen.
A
B C
Protect title
B
C
B
C
Delete unwanted part of the programme
B
Modify Play List
8Play List
Create Play List
C
D
H
Add scenes to a play list
E
Move scenes
E
Delete unwanted part from play list
Play back play list
A
C
D
Delete play list
B
Modify Library
Scan for Programme from library
B
C
D
C
D
E
Delete information
B
C
D
Playback with MP3/JPEG Navigation
Locating the desired group and tracks
B
C
D E
Programme Playback
A
DV Dubbing
B
C
D
E
Edit From A Camcorder
B
B
D
E
Edit To Or From Another Recorder
B
D
E
Output/Input Set
L-1 Output and L-1 Input Setting (L-1 OUTPUT and L-1 INPUT)
B
C
IN/OUT connector.
A
DECODER connector.
F-1 Input Setting (F-1 INPUT)
A
S-VIDEO connector.
8L-2 SELECT
Digital Audio Dubbing
B
C
D
E
Remote Control Functions
Remote 1/2/3/4 Code Switching
On the remote control
A
B
A
Keep pressing SET UP down during stepA. Enter your TVs brand code using the number keys, then
Press TV/CBL/SAT1 on the units remote control to turn on the TV and try operations ( stepB).
B
Before performing the following steps:
A
B
Press the corresponding button: TV/CBL/SAT 1, TV/ CBL DVD PR+/, number keys.
Slide the TV/CABLE/SAT/DVD switch to CABLE/SAT.
90
Connecting To A Satellite Receiver
Connecting To A Dolby Digital Decoder or An Amplifier With Built-in DTS
Make connections.
CAUTIONS:
When you cant switch the audio channel of a bilingual programme
92
Mode Set
B C
AUDIO OUTPUT
8DIGITAL AUDIO OUT
8ANALOG AUDIO OUT
8D. RANGE CONTROL
8OUTPUT LEVEL
RECORDING SET
8SAVE AS LIBRARY
8XP MODE REC AUDIO
8AUDIO REC
8DIRECT REC
DISPLAY SET
8SUPERIMPOSE
8GREY BACK
8DIMMER
8POWER SAVE
OTHERS
8AUTO TIMER
VIDEO Plus+ System Setup
Guide Program Number Set
B C
D
E
T uner Set
Auto Channel Set
B
C
Manual Channel Set
B
C
D E
F
G
Delete A Channel
B
C
D
E
Set Stations (B)
A
C
D
Filename [DR-M1EK_11Subsidiary.fm] Masterpage:Left+
Page 102 August 18, 2003 12:04 pm
TV Station And ID List
STATION NAME ID*
STATION NAME ID*
TV Station Channel Number Guide
Clock Set
B C
D
E
data.
F
Format a disc
Format a DVD-RAM disc
B C
Format a DVD-RW disc
A
Finalise a disc
Finalise a DVD-R/RW disc
A
Cancel the finalisation of a DVD-RW disc
Scan Mode Set
A
TROUBLESHOOTING
GENERAL
PLAYBACK
TROUBLESHOOTING (cont.)
RECORDING
INITIALIZING
ON-SCREEN MESSAGES
MESSAGE DESCRIPTION
TROUBLESHOOTING (cont.)
ON-SCREEN MESSAGES (cont.)
MESSAGE DESCRIPTION
GLOSSARY
114
GENERAL
VIDEO/AUDIO
TUNER/TIMER
ACCESSORIES
LIST OF TERMS