![]()
![]()
![]() EN 25
EN 25
STEP BY STEP CAPTURE
Use the Step by Step Capture mode when you want to: •Capture images from a video source unit with no JLIP connector •Capture images from video units with video output connectors •Capture a smaller number of images
•Confirm the images being captured.
|
|
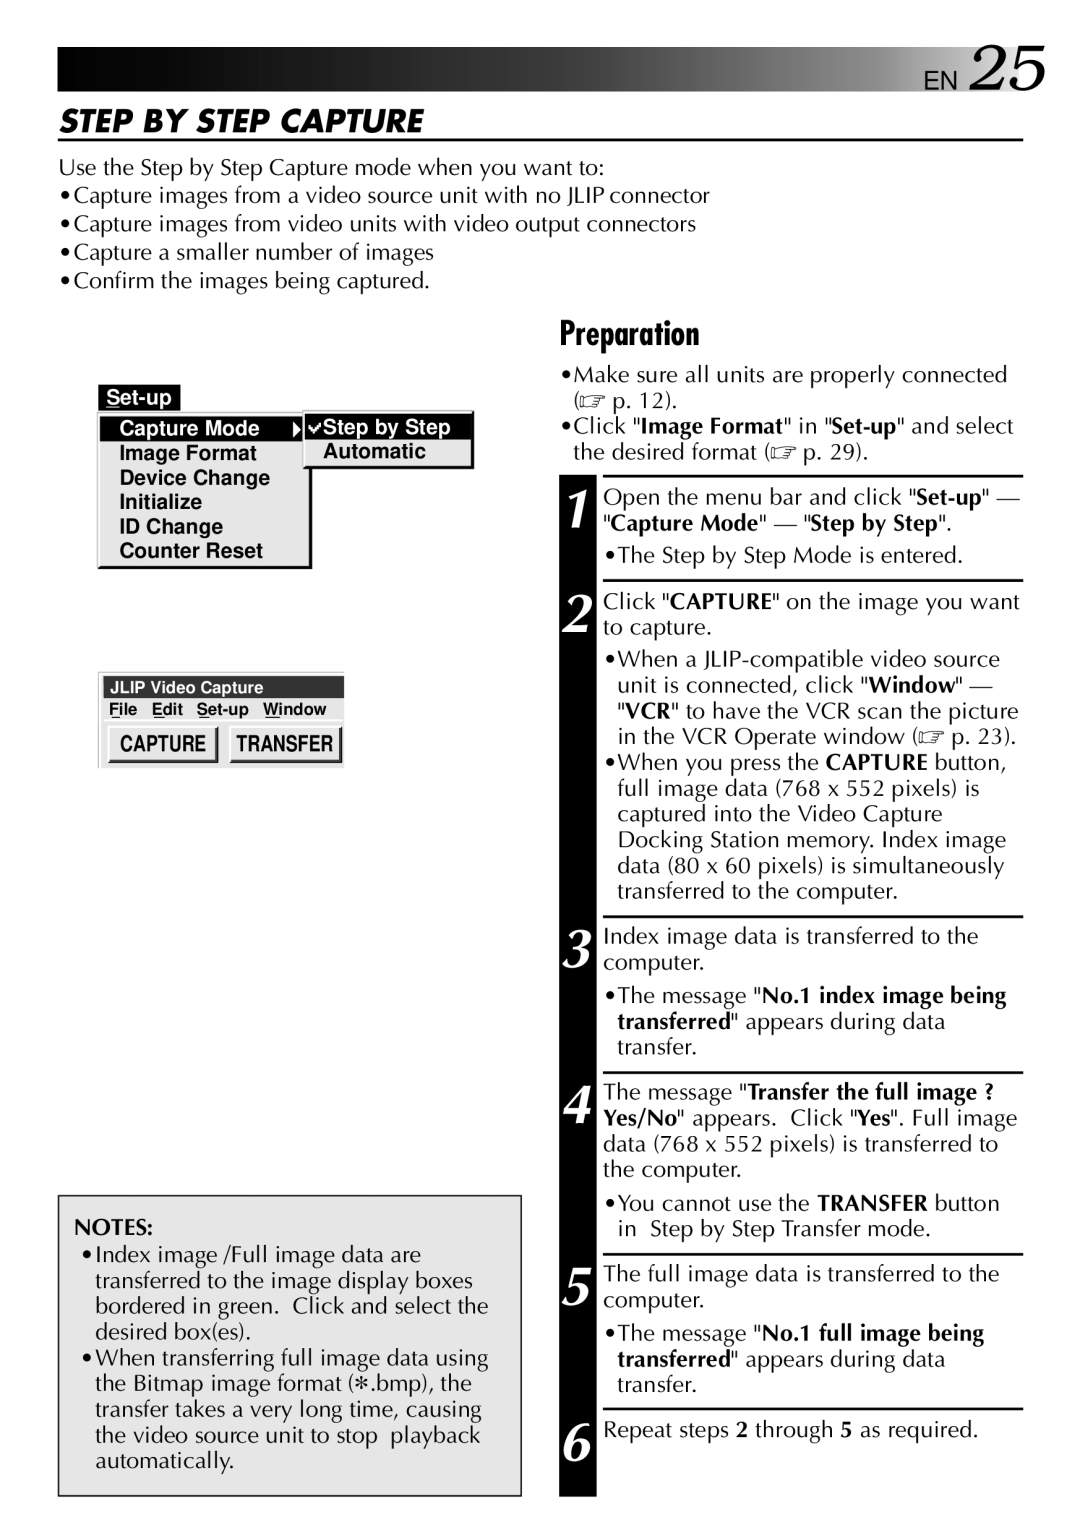
Capture Mode | Step by Step |
Image Format | Automatic |
Device Change |
|
Initialize |
|
ID Change |
|
Counter Reset |
|
|
|
JLIP Video Capture
File Edit
CAPTURE 
 TRANSFER
NOTES:
•Index image /Full image data are transferred to the image display boxes bordered in green. Click and select the desired box(es).
•When transferring full image data using the Bitmap image format (9.bmp), the transfer takes a very long time, causing the video source unit to stop playback automatically.
Preparation
•Make sure all units are properly connected (☞ p. 12).
•Click "Image Format" in
1 Open the menu bar and click
•The Step by Step Mode is entered.
2 Click "CAPTURE" on the image you want to capture.
•When a
•When you press the CAPTURE button, full image data (768 x 552 pixels) is captured into the Video Capture Docking Station memory. Index image data (80 x 60 pixels) is simultaneously transferred to the computer.
3 Index image data is transferred to the computer.
•The message "No.1 index image being transferred" appears during data transfer.
4 The message "Transfer the full image ? Yes/No" appears. Click "Yes". Full image data (768 x 552 pixels) is transferred to the computer.
•You cannot use the TRANSFER button in Step by Step Transfer mode.
5 The full image data is transferred to the computer.
•The message "No.1 full image being transferred" appears during data transfer.