34

 EN
EN 


 JLIP
JLIP
 PLAYER
 SOFT
SOFT WARE
WARE
USING JLIP PLAYER SOFTWARE DATA
The
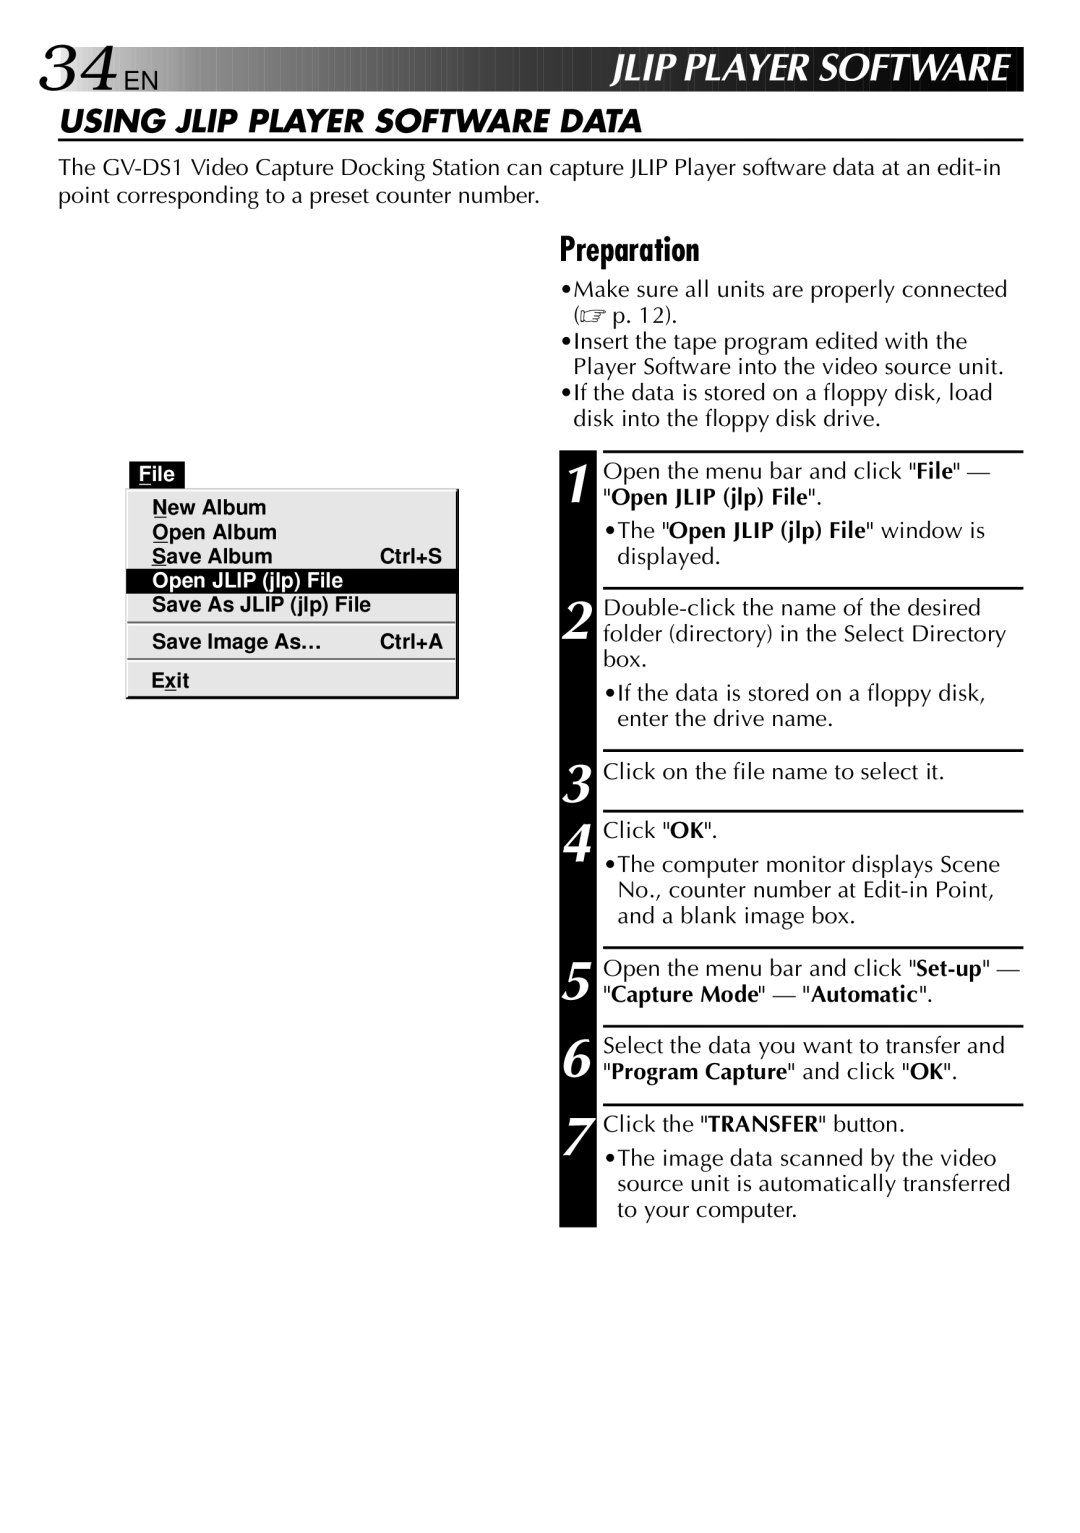
File
New Album |
|
Open Album |
|
Save Album | Ctrl+S |
Open JLIP (jlp) File |
|
Save As JLIP (jlp) File |
|
Save Image As… | Ctrl+A |
Exit |
|
|
|
Preparation
•Make sure all units are properly connected (☞ p. 12).
•Insert the tape program edited with the Player Software into the video source unit.
•If the data is stored on a floppy disk, load disk into the floppy disk drive.
1 Open the menu bar and click "File" — "Open JLIP (jlp) File".
•The "Open JLIP (jlp) File" window is displayed.
2
•If the data is stored on a floppy disk, enter the drive name.
3 Click on the file name to select it.
4 Click "OK".
•The computer monitor displays Scene No., counter number at
5 Open the menu bar and click
6 Select the data you want to transfer and "Program Capture" and click "OK".
7 Click the "TRANSFER" button.
•The image data scanned by the video source unit is automatically transferred to your computer.