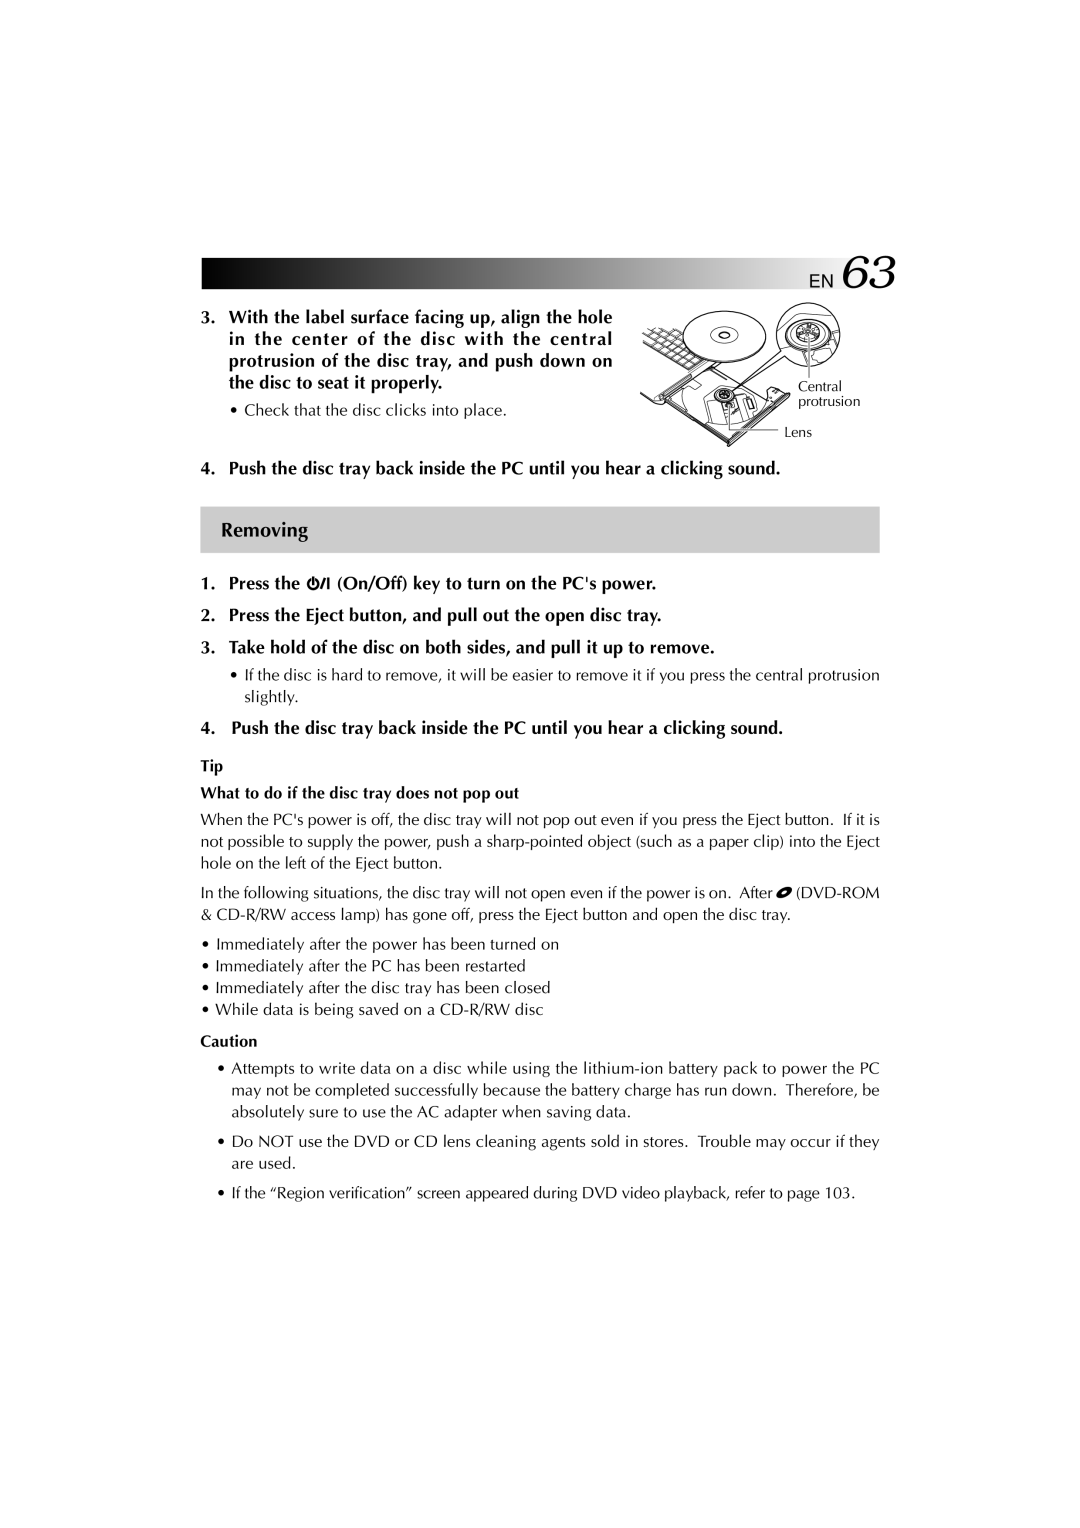
3.With the label surface facing up, align the hole in the center of the disc with the central protrusion of the disc tray, and push down on the disc to seat it properly.
• Check that the disc clicks into place.
EN 63
Central protrusion
Lens
4. Push the disc tray back inside the PC until you hear a clicking sound.
Removing
1.Press the ![]()
![]() (On/Off) key to turn on the PC's power.
(On/Off) key to turn on the PC's power.
2.Press the Eject button, and pull out the open disc tray.
3.Take hold of the disc on both sides, and pull it up to remove.
•If the disc is hard to remove, it will be easier to remove it if you press the central protrusion slightly.
4.Push the disc tray back inside the PC until you hear a clicking sound.
Tip
What to do if the disc tray does not pop out
When the PC's power is off, the disc tray will not pop out even if you press the Eject button. If it is not possible to supply the power, push a
In the following situations, the disc tray will not open even if the power is on. After ![]()
•Immediately after the power has been turned on
•Immediately after the PC has been restarted
•Immediately after the disc tray has been closed
•While data is being saved on a
Caution
•Attempts to write data on a disc while using the
•Do NOT use the DVD or CD lens cleaning agents sold in stores. Trouble may occur if they are used.
•If the “Region verification” screen appeared during DVD video playback, refer to page 103.