18 EN | EDITING |
Editing
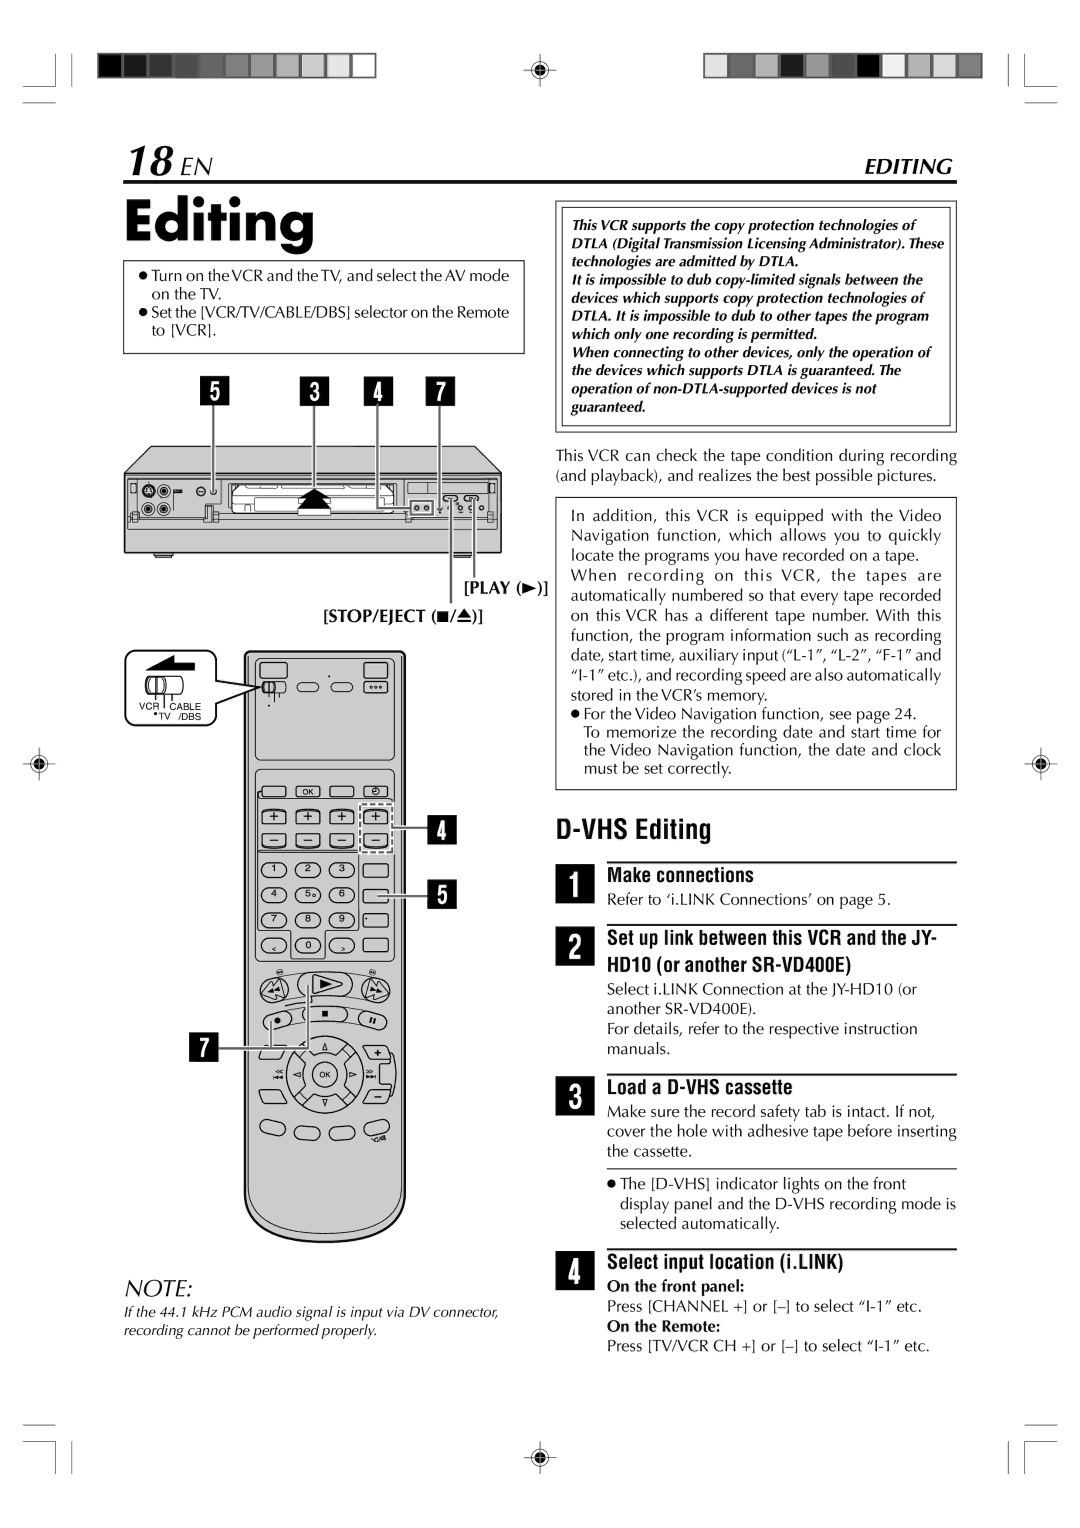
●Turn on the VCR and the TV, and select the AV mode on the TV.
●Set the [VCR/TV/CABLE/DBS] selector on the Remote to [VCR].
53 4 7
IN |
+ |
[PLAY (3)] |
[STOP/EJECT (7/0)] |
VCR CABLE
![]() TV /DBS
TV /DBS
This VCR supports the copy protection technologies of DTLA (Digital Transmission Licensing Administrator). These technologies are admitted by DTLA.
It is impossible to dub
When connecting to other devices, only the operation of the devices which supports DTLA is guaranteed. The operation of
This VCR can check the tape condition during recording (and playback), and realizes the best possible pictures.
In addition, this VCR is equipped with the Video Navigation function, which allows you to quickly locate the programs you have recorded on a tape.
When recording on this VCR, the tapes are automatically numbered so that every tape recorded on this VCR has a different tape number. With this function, the program information such as recording date, start time, auxiliary input
●For the Video Navigation function, see page 24.
To memorize the recording date and start time for the Video Navigation function, the date and clock must be set correctly.
![]()
![]()

![]()
![]()
![]() 4
4 ![]()
![]()
![]()
![]() 5
5
7
NOTE:
If the 44.1 kHz PCM audio signal is input via DV connector, recording cannot be performed properly.
D-VHS Editing
1 Make connections
Refer to ‘i.LINK Connections’ on page 5.
2Set up link between this VCR and the JY- HD10 (or another
Select i.LINK Connection at the
For details, refer to the respective instruction manuals.
3 Load a D-VHS cassette
Make sure the record safety tab is intact. If not, cover the hole with adhesive tape before inserting the cassette.
●The
4 Select input location (i.LINK)
On the front panel:
Press [CHANNEL +] or
On the Remote:
Press [TV/VCR CH +] or