Ojal autombtico

(continuacibn)

Boutonniere

automatique

(suite)

(_0 Ranura

guia


Fente de guidage


(_

Bloque

guia


(_

Doigt de guidage


Placa guia para ojales

(_

Plaque guide de boutonniere


(_

Plantilla

de ojales


(_

Gabarit


Enganche


Cliquet


(_) Marca de posicien


_) Marque de repere


(_

Dentada


(_

Pignon


(_

Placa base


_

laque de base


_)

Palanca


Levier


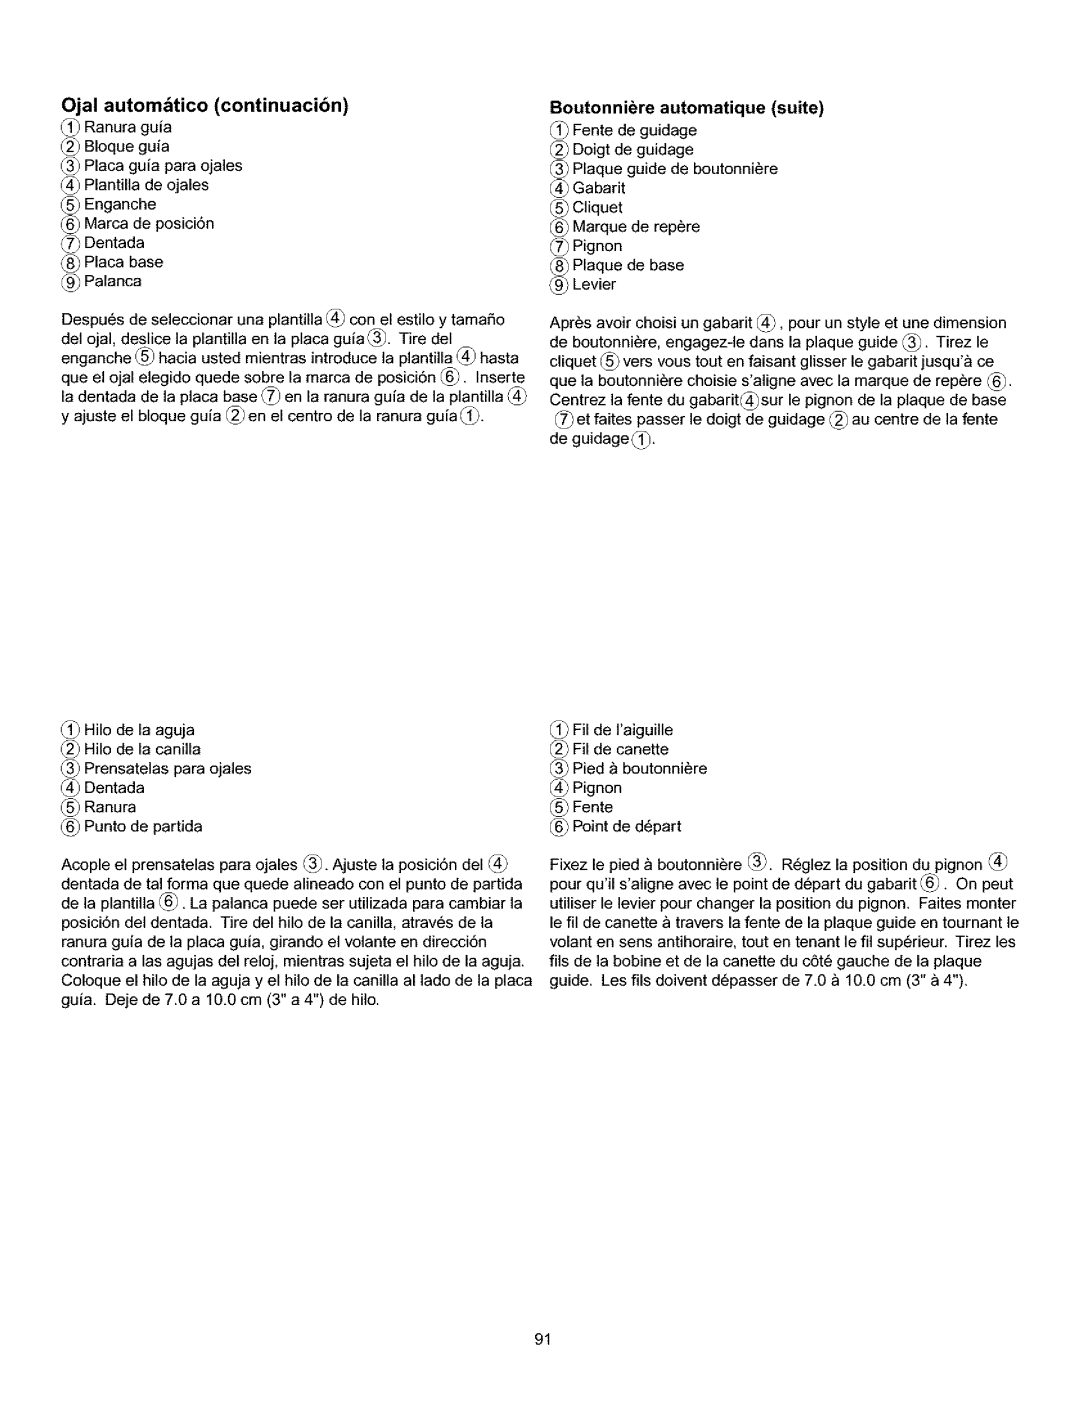
Despues de seleccionar una plantilla _:) con el estilo y tamaeo del ojal, deslice la plantilla en la placa guia(_. Tire del enganche @ hacia usted mientras introduce la plantilla _) hasta que el ojal elegido quede sobre la marca de posicien _). Inserte la dentada de la placa base (_0 en la ranura guia de la plantilla (_ y ajuste el bloque guia (_ en el centro de la ranura guia (_0.

(_0 Hilo de la aguja (_ Hilo de la canilla

_) Prensatelas para ojales (_) Dentada

@ Ranura

(_) Punto de partida

Apres avoir choisi un gabarit (_:), pour un style et une dimension de boutonniere, engagez-le dans la plaque guide (_. Tirez le cliquet @ vers vous tout en faisant glisser le gabarit jusqu'_ ce que la boutonniere choisie s'aligne avec la marque de repere (_. Centrez la fente du gabarit@sur le pignon de la plaque de base (_0et faites passer le doigt de guidage (_ au centre de la fente de guidage(_0.

(_ Fil de I'aiguille (_) Fil de canette

(_ Pied _ boutonniere (_ Pignon

(_ Fente

_) Point de depart

Acople el prensatelas para ojales (_. Ajuste la posicien del (_ dentada de tal forma que quede alineado con el punto de partida de la plantilla (_). La palanca puede ser utilizada para cambiar la posicien del dentada. Tire del hilo de la canilla, atraves de la ranura guia de la placa guia, girando el volante en direccien contraria alas agujas del reloj, mientras sujeta el hilo de la aguja. Coloque el hilo de la aguja y el hilo de la canilla al lado de la placa guia. Deje de 7.0 a 10.0 cm (3" a 4") de hilo.

Fixez le pied _ boutonniere (_. Reglez la position du pignon (_ pour qu'ils'aligne avec le point de depart du gabarit _). On peut utiliser le levier pour changer la position du pignon. Faites monter le fil de canette _ travers la fente de la plaque guide en tournant le volant en sens antihoraire, tout en tenant le fil superieur. Tirez les ills de la bobine et de la canette du cet6 gauche de la plaque guide. Les ills doivent depasser de 7.0 _ 10.0 cm (3" _ 4").

91

Page 99
Image 99
Kenmore 385.161302 owner manual Boutonniere Automatique

385.161302 specifications

The Kenmore 385.161302 is a versatile and robust sewing machine designed to cater to a variety of sewing needs. Renowned for its user-friendly features, this model is ideal for both beginners and seasoned sewists, making it a popular choice among enthusiasts.

One of the standout features of the Kenmore 385.161302 is its built-in stitches. The machine offers over 20 stitch options, including essential utility stitches, decorative stitches, and stretch stitches. This variety allows users to tackle different projects, from simple hems to intricate embroidery patterns. The automatic stitch selector simplifies the process of choosing the right stitch for every task, enhancing convenience and efficiency.

Another key characteristic of this model is its adjustable stitch length and width. This feature enables users to customize their stitches according to the fabric type and project requirements. Whether working on lightweight fabrics or heavy materials, the Kenmore 385.161302 provides the flexibility needed for various sewing scenarios.

The sewing machine also boasts an automatic bobbin winding system, which saves time and minimizes the hassle typically associated with manually winding bobbins. The machine's drop-in bobbin system ensures easy loading and prevents tangling of threads, allowing for smooth and uninterrupted sewing.

Users will appreciate the built-in needle threader, which simplifies the threading process and aids in reducing eye strain, especially beneficial for those who sew for extended periods. Additionally, the Kenmore 385.161302 features a free arm, making it easier to sew cylindrical items such as sleeves and pant hems.

Equipped with a sturdy metal frame, this machine delivers durability and stability during use, making it ideal for heavy-duty sewing tasks. The high speed of 750 stitches per minute speeds up the sewing process while maintaining precision and accuracy.

In conclusion, the Kenmore 385.161302 stands out due to its extensive features and user-friendly technology. With its variety of stitch options, adjustable settings, and practical enhancements like automatic functions and a free arm, this sewing machine is designed to accommodate diverse sewing projects. Whether you are new to sewing or an experienced seamstress, the Kenmore 385.161302 is equipped to meet your crafting needs with ease and efficiency.