Installation
Installing the Antenna Units
•Attach the antenna to the inner glass surface of the rear window using
•If the surface temperature of the glass of the rear window is low, warm it by turning on the power of the rear defogger. A cold window glass surface will weaken the adhesive strength of the
Also, if installation inside the cabin is performed on a day with high humidity or when it is raining, the high humidity level will weaken the adhesive strength of the
•Do not install the antenna in a location where it may obstruct the field of view during driving, such as on the windshield.
1Check the location where the antenna is to be attached.Clean off any grease or dirt from the installation location using the supplied glass cleaner (Accessory Q), clean the area with water and allow to dry.
2CAUTION
Clean the glass thoroughly as failure to clean the glass can not only weaken the adhesive strength of the
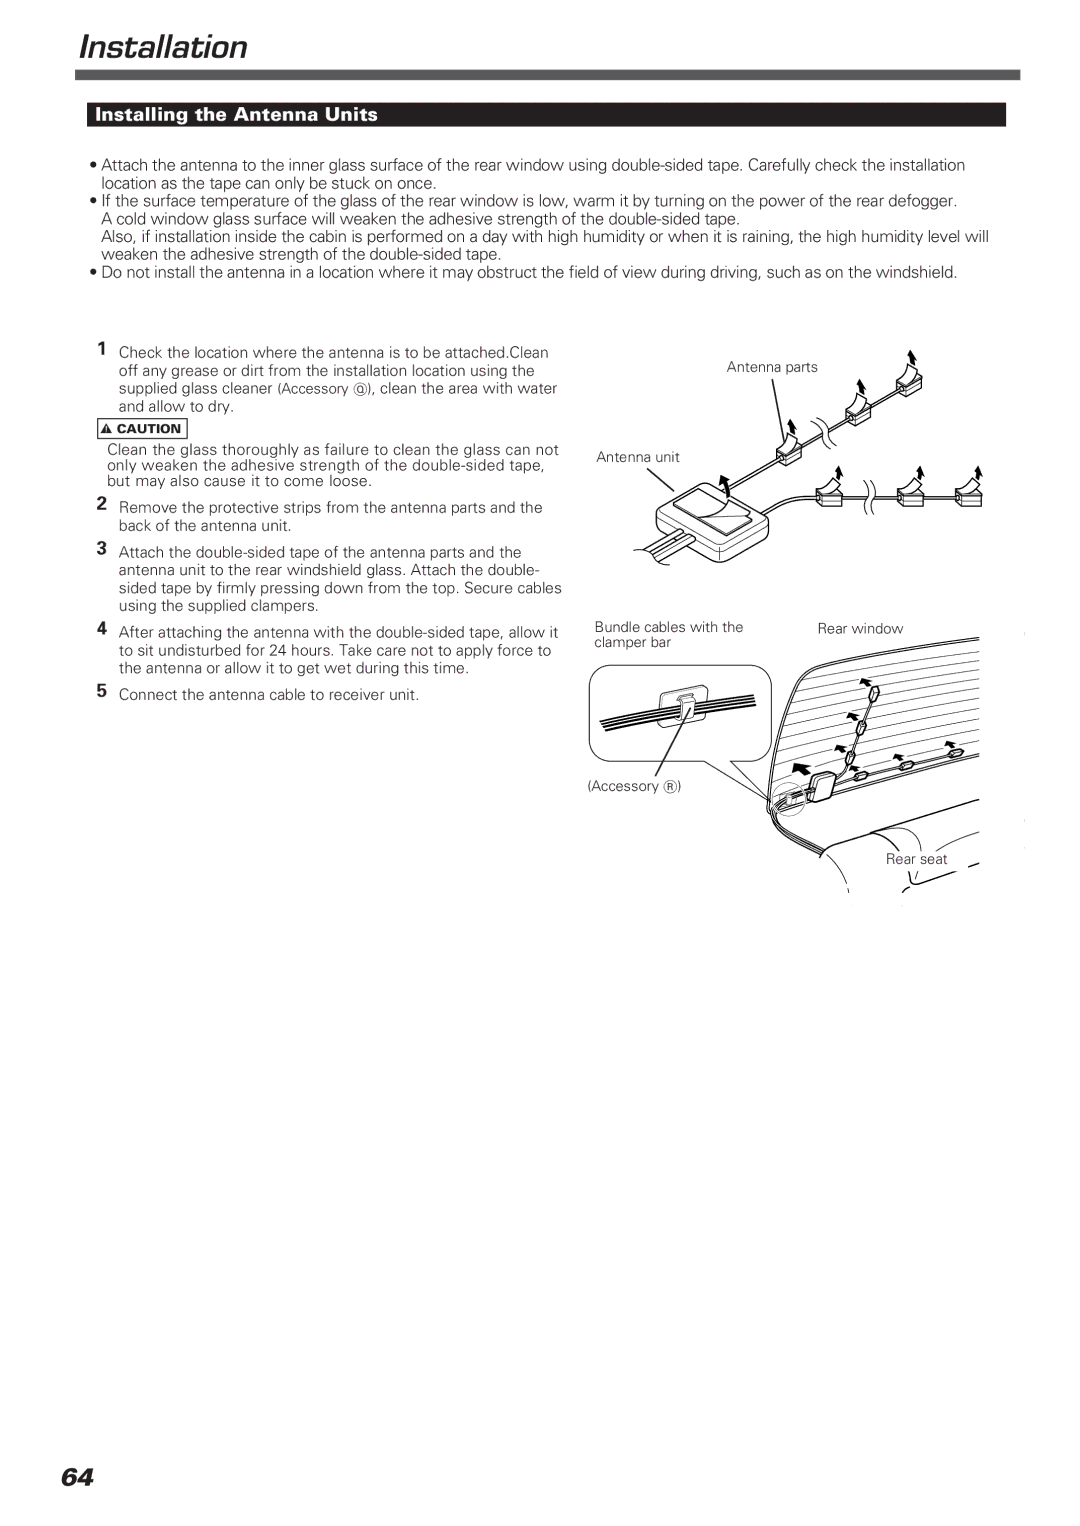
2Remove the protective strips from the antenna parts and the back of the antenna unit.
3Attach the
4After attaching the antenna with the
5Connect the antenna cable to receiver unit.
Antenna parts
Antenna unit
Bundle cables with the | Rear window |
clamper bar |
|
|
(Accessory R)
Rear seat
64
