Adding a Border to Your Picture
You can add a border or logo (or both) to your picture. When you use the Border feature, the camera Preview turns on automatically to help you frame the picture and see if the border selected works well with your subject. If you like the border, go ahead and take the picture. If you do not like the border, select a different one. Although borders are not included on the camera memory card, you can create and add your own borders or logos. For more information, refer to the KODAK DC5000 Border Transfer Application online help or the ReadMe file. Once the
picture is taken, the border cannot be removed.
| 1 |
Menu |
|
Capture | 2 |
Review |
|
Setup |
|
| 3 |
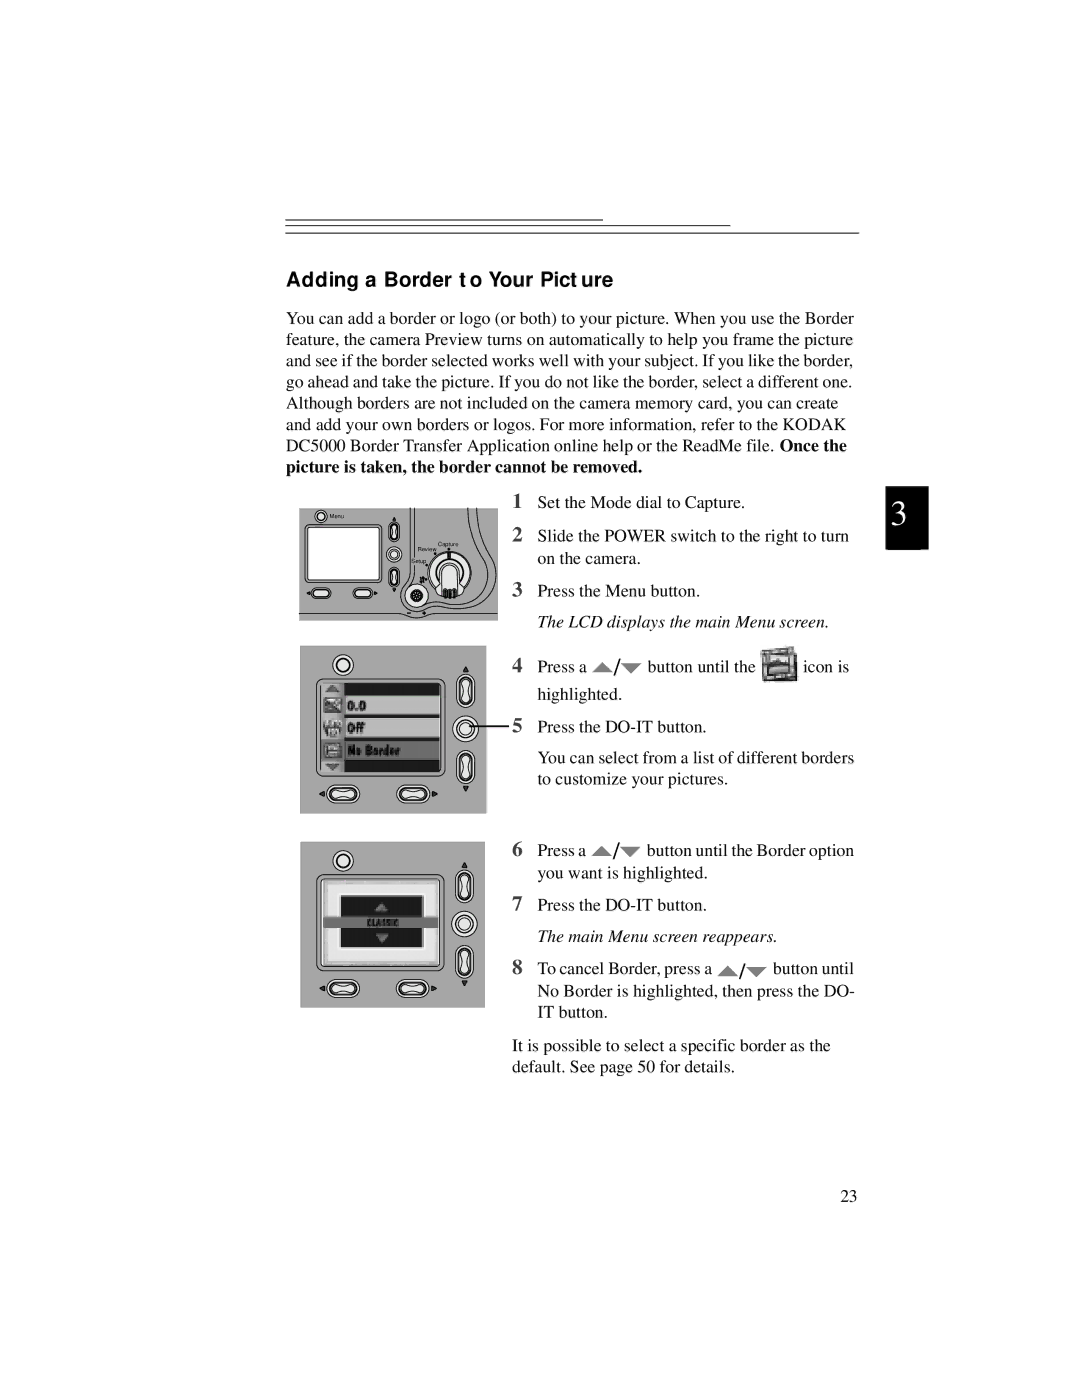
Set the Mode dial to Capture. | 3 |
|
Slide the POWER switch to the right to turn |
| |
|
| |
on the camera. |
|
|
Press the Menu button. |
|
|
The LCD displays the main Menu screen.
4 Press a | / | button until the | icon is |
highlighted.
![]() 5 Press the
5 Press the
You can select from a list of different borders to customize your pictures.
6Press a ![]() /
/![]() button until the Border option
button until the Border option
you want is highlighted.
7Press the
The main Menu screen reappears.
8 To cancel Border, press a ![]() /
/![]() button until No Border is highlighted, then press the DO- IT button.
button until No Border is highlighted, then press the DO- IT button.
It is possible to select a specific border as the default. See page 50 for details.
23