Previewing a Picture Before it is Taken
If you want to see what a picture looks like before you take it, preview the image on the LCD on the back of your camera. The live image that appears is very helpful for framing your subject, especially when using the
| 1 |
Menu | 2 |
| |
| Capture |
Review | 3 |
Setup |
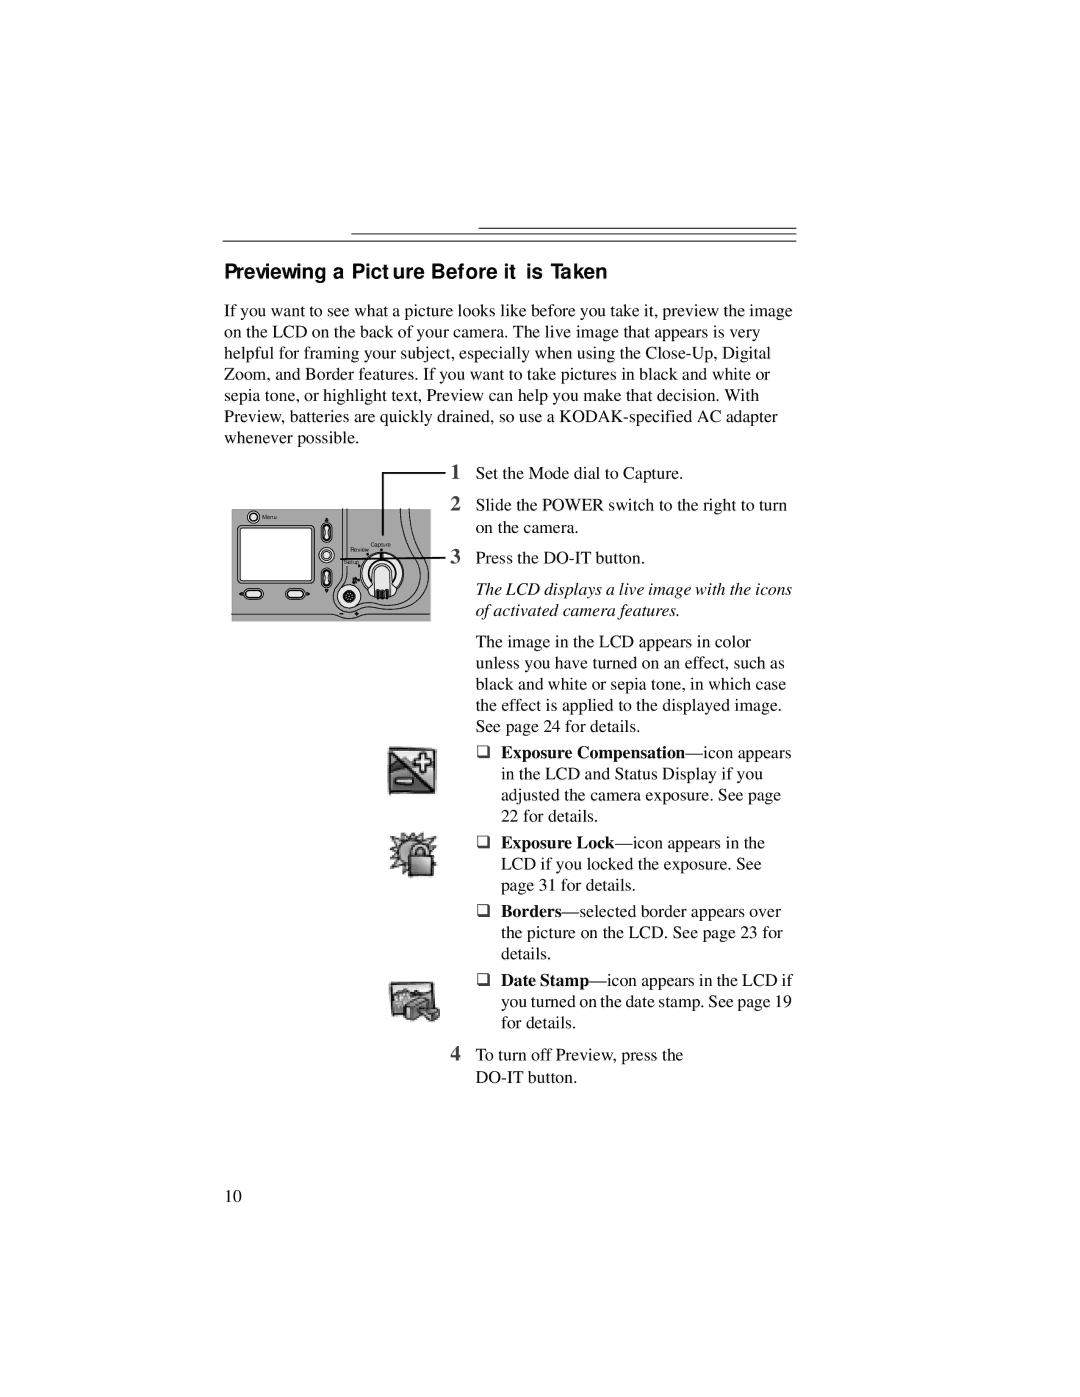
Set the Mode dial to Capture.
Slide the POWER switch to the right to turn on the camera.
Press the
The LCD displays a live image with the icons of activated camera features.
The image in the LCD appears in color unless you have turned on an effect, such as black and white or sepia tone, in which case the effect is applied to the displayed image. See page 24 for details.
θExposure
θExposure
θ
θDate
4To turn off Preview, press the
10