User’s Guide
Page
About the Camera’s Weatherproof & Rugged Design
Important Camera Information
Page
Table of Contents
Reviewing Your Pictures
Customizing Your Pictures
Personalizing Your Camera
Connecting Your Camera
Installing Your Software
Tips and Troubleshooting
Warranty and Regulatory Information
Where to Get Help
Appendix
Getting Started
Loading Batteries
Preparing to Take Pictures
Turning the Camera On and Off
Checking Batteries
Page
Inserting a Camera Memory Card
Removing a Camera Memory Card
Main Camera Setup screen appears
Setting the Clock on Your Camera
Date/Time screen appears
Adjusting the LCD Brightness
Attaching the Neck Strap
Page
Taking Pictures
Previewing a Picture Before it is Taken
Pressing the Shutter Button
Zooming in on Your Subject
LCD displays the Delete Picture screen
Viewing the Picture Just Taken
Picture is permanently deleted from the camera memory card
Main Menu screen appears
Setting a Quickview for Each Picture
Current setting is checked
Main Menu screen reappears
Setting the Flash
Flash setting icon changes Status Display
Photographing Distant Subjects
Photographing Close-Ups
Self-timer icon appears in the Status Display
Putting Yourself in the Picture
LCD displays the main Menu screen
Adding the Date to Your Pictures
LCD displays the Date Stamp screen
Picture appears on the LCD with Icon displayed above
Deleting the Picture Just Taken
Press Button LCD displays the Delete Picture screen
Customizing Your Pictures
Adjusting the Camera Exposure
LCD displays the Exposure Compensation screen
Adding a Border to Your Picture
Picture is taken, the border cannot be removed
Effect, the effect cannot be removed
Capturing in Black-and-White, Sepia Tone, or Document
Black & White-takes a black-and-white picture
Adjusting the Picture Quality
Adjusting the Picture Resolution
Selecting a White Balance for Indoor Pictures
Center-Weighted-evaluates
Choosing a Metering System
Selecting the ISO Setting
LCD displays the Auto ISO screen. The current setting is
Sharpening and Softening a Picture
Locking in an Exposure Setting
Page
Reviewing Your Pictures
Viewing Your Pictures
Last picture taken appears on LCD screen
Magnifying Your Pictures
LCD displays a magnified view of the selected picture
Main Review Menu screen appears
Selecting Pictures for Printing
Last picture taken appears on the LCD screen
Print Order screen appears
Cancelling Pictures for Printing
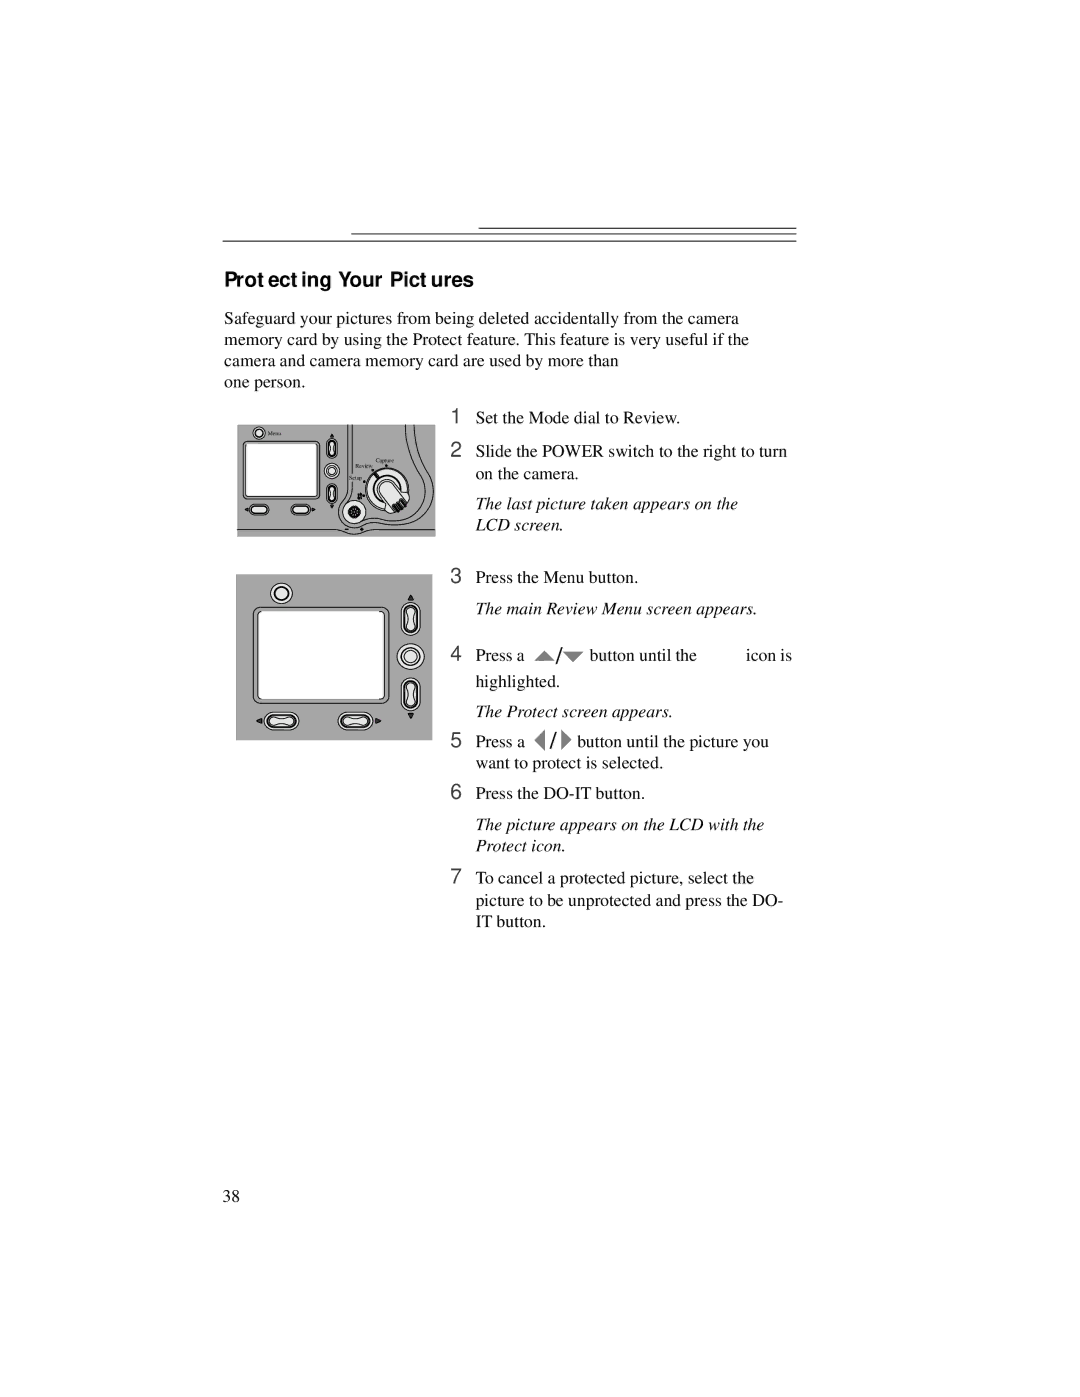
Protect screen appears
Protecting Your Pictures
Picture appears on the LCD with the Protect icon
Delete screen appears
Deleting One or All of Your Pictures
Pictures are deleted from the camera memory card
Running a Slide Show on Your Television
Slide Show Interval screen appears
Viewing Information About a Picture
Page