Setting a Flash Default
Adjust your camera so that it is set to a specific flash setting every time you turn on the camera. For more information about the Flash setting, see page 15.
Menu |
Capture |
Review |
Setup |
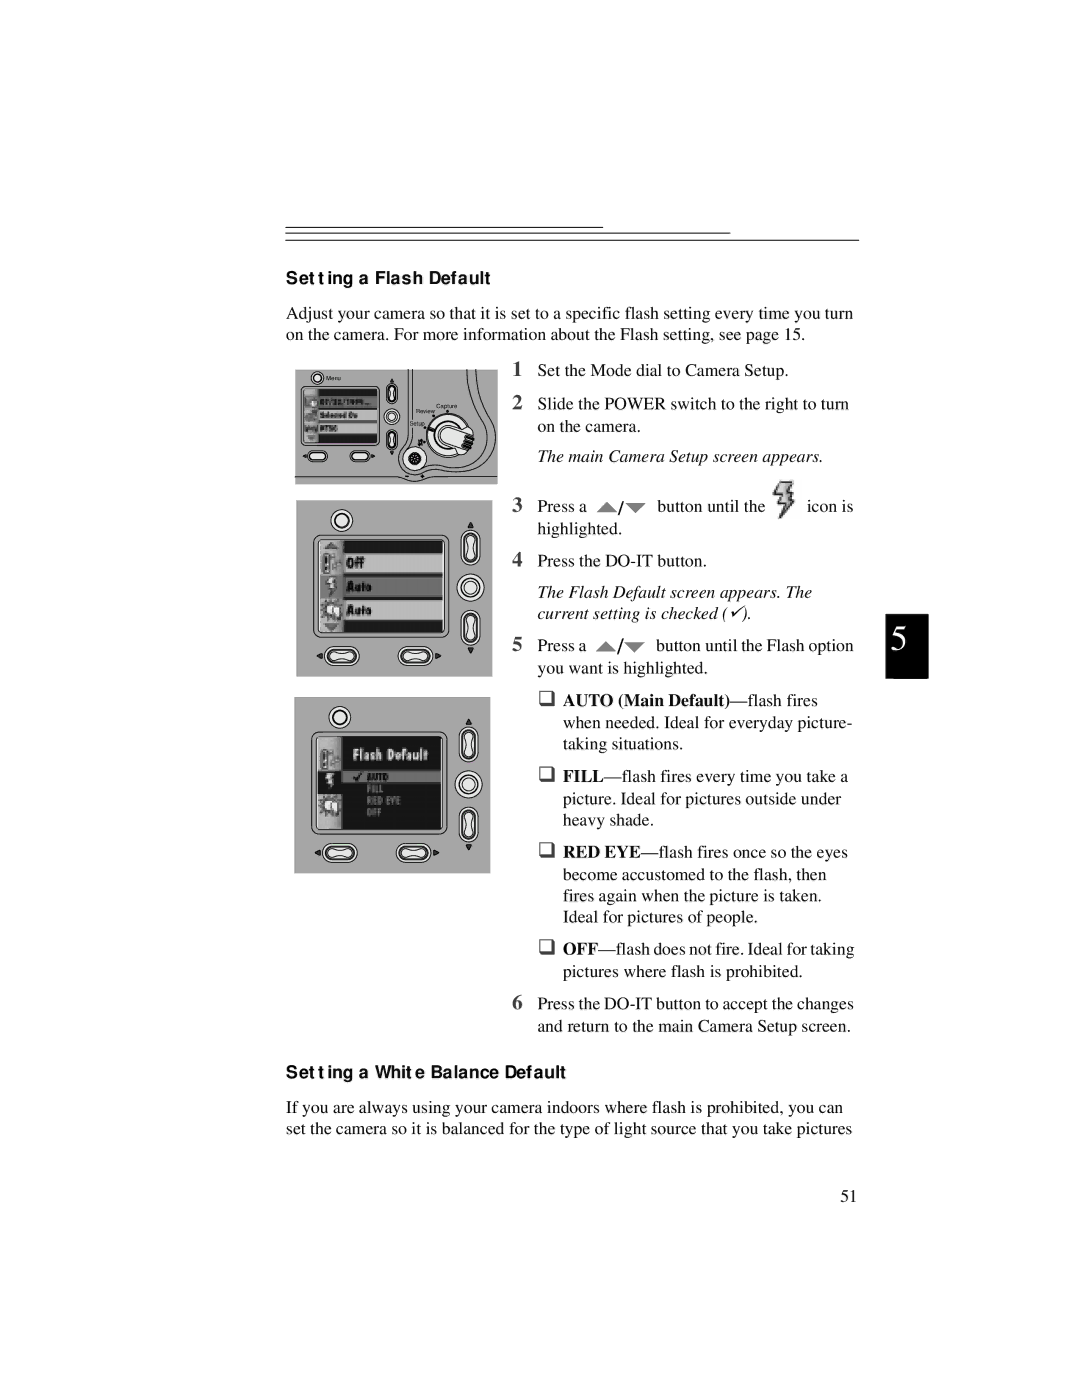
1Set the Mode dial to Camera Setup.
2Slide the POWER switch to the right to turn on the camera.
The main Camera Setup screen appears.
3 Press a | / | button until the | icon is |
highlighted. |
|
| |
4Press the
The Flash Default screen appears. The current setting is checked ().
5 Press a | / | button until the Flash option | 5 | |
you want is highlighted. |
|
| ||
|
| |||
θAUTO (Main Default)—flash fires
when needed. Ideal for everyday picture- taking situations.
θ
θRED
θ
6Press the
Setting a White Balance Default
If you are always using your camera indoors where flash is prohibited, you can set the camera so it is balanced for the type of light source that you take pictures
51
