SPECIAL EFFECTS
The
until the operation is completed. The
Adding a frame or border
An image can be captured with a frame or border using the
|
|
|
|
|
|
Frame 1 |
| Frame 2 |
| Border 1 |
|
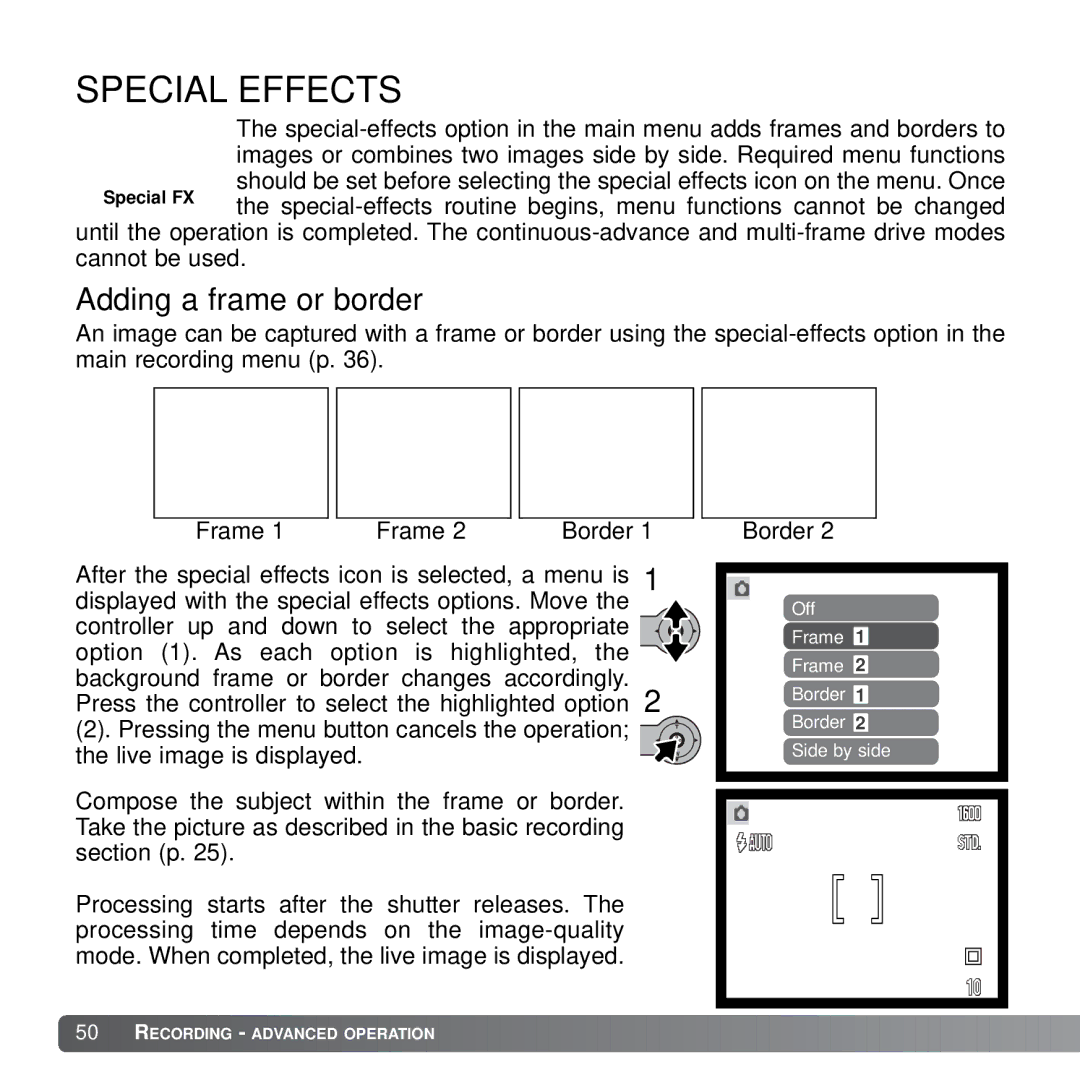
After the special effects icon is selected, a menu is 1 displayed with the special effects options. Move the controller up and down to select the appropriate ![]()
![]()
![]() option (1). As each option is highlighted, the
option (1). As each option is highlighted, the ![]() background frame or border changes accordingly. Press the controller to select the highlighted option 2
background frame or border changes accordingly. Press the controller to select the highlighted option 2
(2). Pressing the menu button cancels the operation; the live image is displayed.
Compose the subject within the frame or border. Take the picture as described in the basic recording section (p. 25).
Processing starts after the shutter releases. The processing time depends on the
Border 2
Off
Frame 1
Frame 2
Border 1
Border 2
Side by side
![]() 50
50![]()
![]() RECORDING - ADVANCED OPERATION
RECORDING - ADVANCED OPERATION ![]()
![]()
![]()
![]()
![]()
![]()
![]()
![]()
![]()
![]()
![]()
![]()
![]()
![]()
![]()
![]()
![]()
![]()
![]()
![]()
![]()
![]()
![]()
![]()
![]()
![]()
![]()
![]()
![]()
![]()
![]()
![]()
![]()
![]()
![]()
