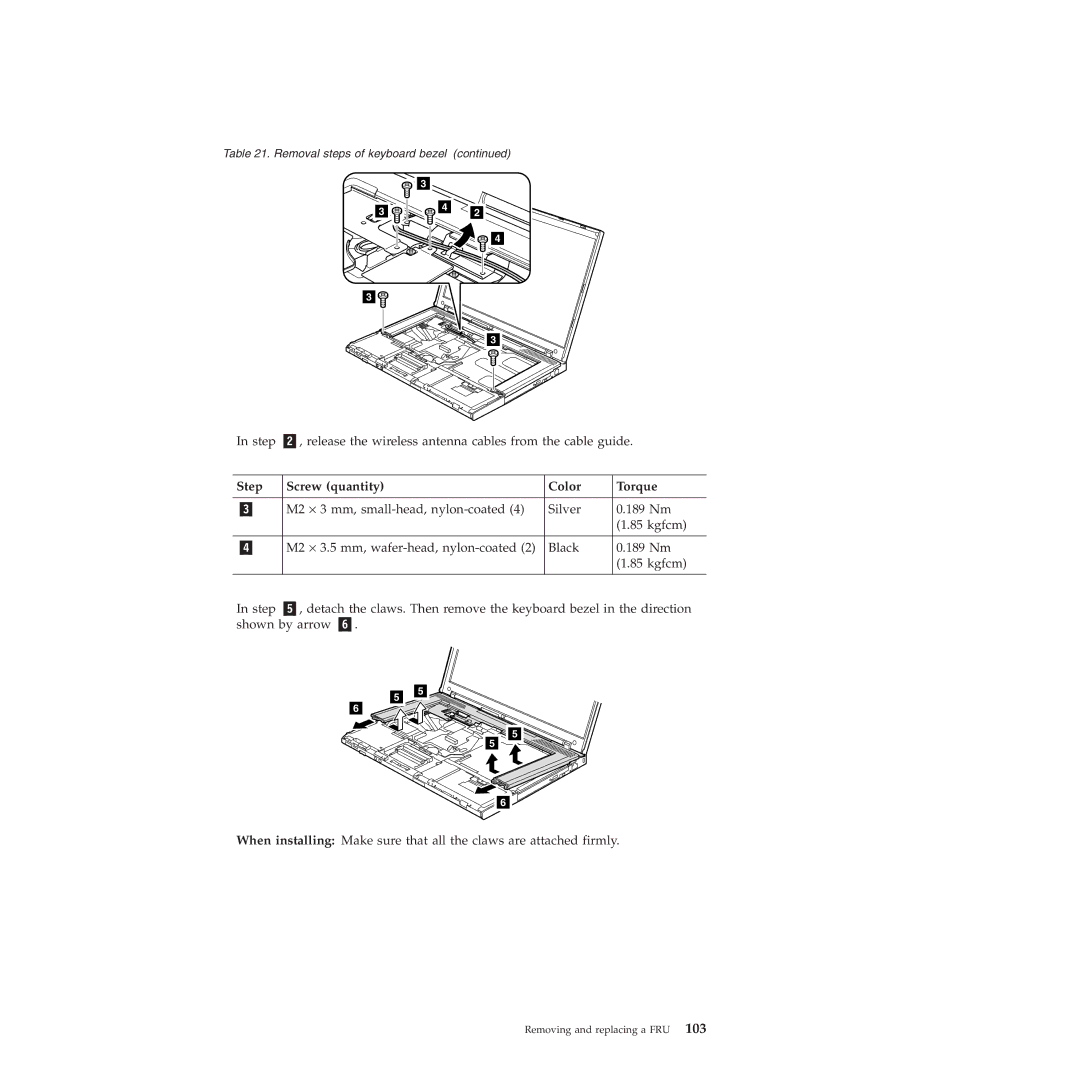
Table 21. Removal steps of keyboard bezel (continued)
| 3 |
|
3 | 4 | 2 |
|
![]() 4
4
3 ![]()
3 |
In step | , release the wireless antenna cables from the cable guide. | ||||
|
|
|
| ||
Step | Screw (quantity) | Color | Torque | ||
|
|
|
|
| |
| M2 | ⋅ 3 mm, | Silver | 0.189 Nm | |
|
|
|
|
| (1.85 kgfcm) |
|
|
|
|
| |
| M2 | ⋅ 3.5 mm, | Black | 0.189 Nm | |
|
|
|
|
| (1.85 kgfcm) |
|
|
|
| ||
In step | , detach the claws. Then remove the keyboard bezel in the direction | ||||
shown by arrow | . |
|
| ||
5
6
5
![]()
![]()
![]()
![]() 5
5 ![]() 5
5
6
When installing: Make sure that all the claws are attached firmly.
Removing and replacing a FRU 103