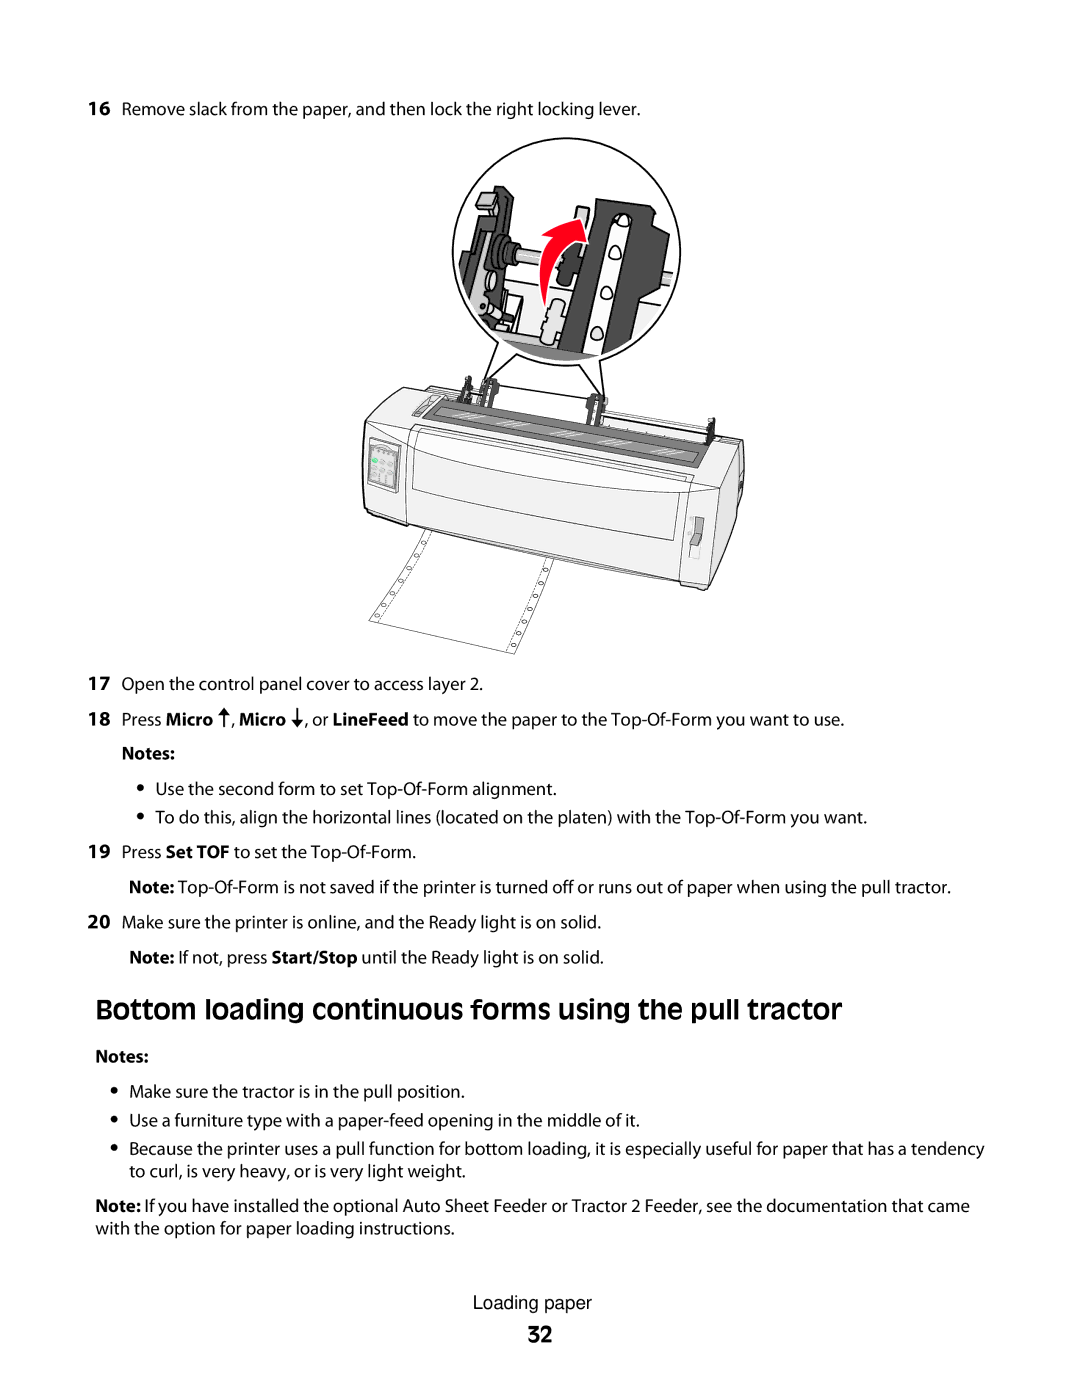
16Remove slack from the paper, and then lock the right locking lever.
17Open the control panel cover to access layer 2.
18Press Micro , Micro ![]() , or LineFeed to move the paper to the
, or LineFeed to move the paper to the
Notes:
•Use the second form to set
•To do this, align the horizontal lines (located on the platen) with the
19Press Set TOF to set the
Note:
20Make sure the printer is online, and the Ready light is on solid. Note: If not, press Start/Stop until the Ready light is on solid.
Bottom loading continuous forms using the pull tractor
Notes:
•Make sure the tractor is in the pull position.
•Use a furniture type with a
•Because the printer uses a pull function for bottom loading, it is especially useful for paper that has a tendency to curl, is very heavy, or is very light weight.
Note: If you have installed the optional Auto Sheet Feeder or Tractor 2 Feeder, see the documentation that came with the option for paper loading instructions.
Loading paper
32
