How to do a check strip test:
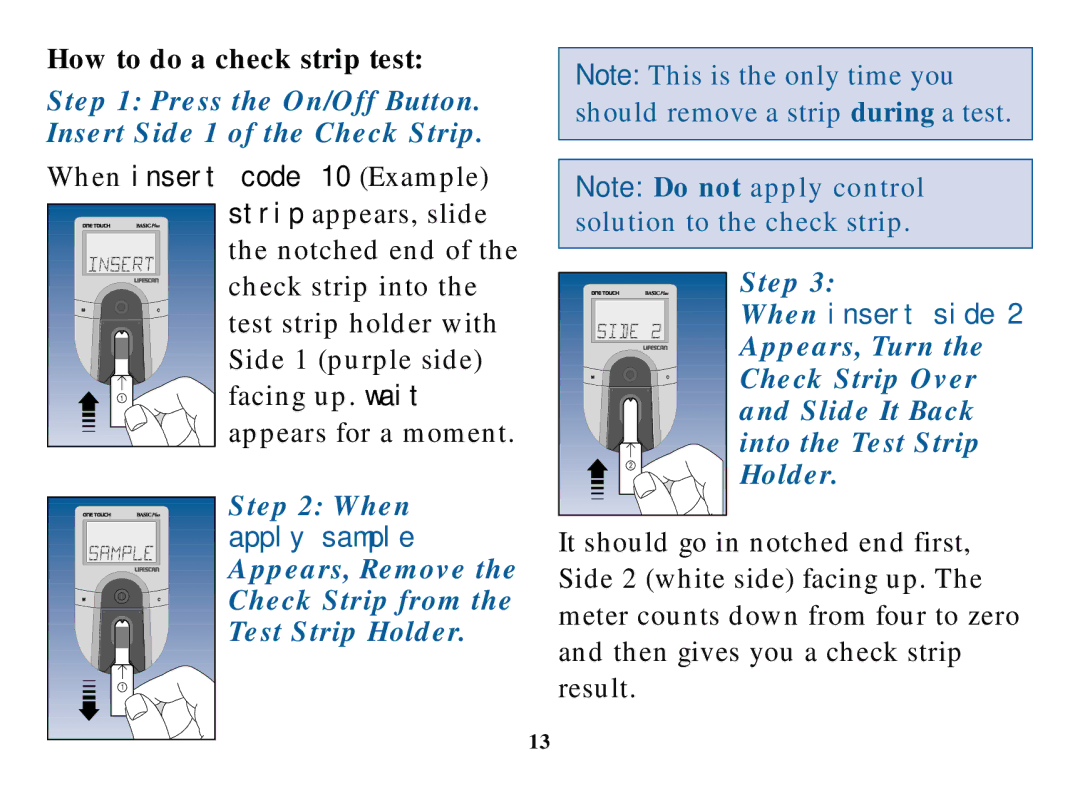
Step 1: Press the On/Off Button. Insert Side 1 of the Check Strip.
Note: This is the only time you should remove a strip during a test.
When insert code 10 (Example) |
strip appears, slide |
the notched end of the |
Note: Do not apply control solution to the check strip.
|
|
| check strip into the |
M |
| C | test strip holder with |
|
|
| |
|
|
| Side 1 (purple side) |
| 1 |
| facing up. wait |
| ✔ |
| |
|
|
| appears for a moment. |
M![]() C
C
2 |
✔ |
Step 3:
When insert side 2
Appears, Turn the Check Strip Over and Slide It Back into the Test Strip Holder.
M | C |
| 1 |
| ✔ |
Step 2: When
apply sample
Appears, Remove the Check Strip from the Test Strip Holder.
It should go in notched end first, Side 2 (white side) facing up. The meter counts down from four to zero and then gives you a check strip result.
13
