Instant EtherFast® Series
Rack-Mounting the Switch
The Switch can be used as a
Use the following instructions to
Before you begin, disconnect all cables from the Switch.
1.Place the Switch right side up, with the front panel facing you.
2.Position a mounting bracket over the screw holes on one side of the Switch.
3.Secure the mounting bracket by inserting three screws into the screw holes. Use a screwdriver to tighten the screws, ensuring that they are fastened firmly in place.
4.Repeat steps 2 and 3 to install the other mounting bracket on the opposite side of the Switch.
5.Insert the Switch into the
The
You can now
Powering on the Switch
To power on the Switch, simply connect the AC power cord to the back of the Switch, and then plug the power cord into an electrical outlet. The Switch will boot up within approximately 30 seconds.
Uplinking the Switch
Any of the 26 ports on the Switch can act as an uplink port, allowing you to uplink to other switches or hubs using a standard Ethernet connection. UTP Category 5e (or better) cable is recommended when using the Gigabit ports.
To uplink the switch, connect one end of a network cable into the Switch, and then connect the other end of the cable into the desired network device’s uplink port.
EtherFast® Layer 3 Management
Switch Management
The Switch offers an
•Enable/disable any port
•Set the communication mode for any port
•Configure SNMP parameters
•Add ports to network VLANs
•Create and manage VLAN Configurations
Local Console Management
You can manage the Switch locally using HyperTerminal; simply connect the Switch to a PC or workstation through the serial port.
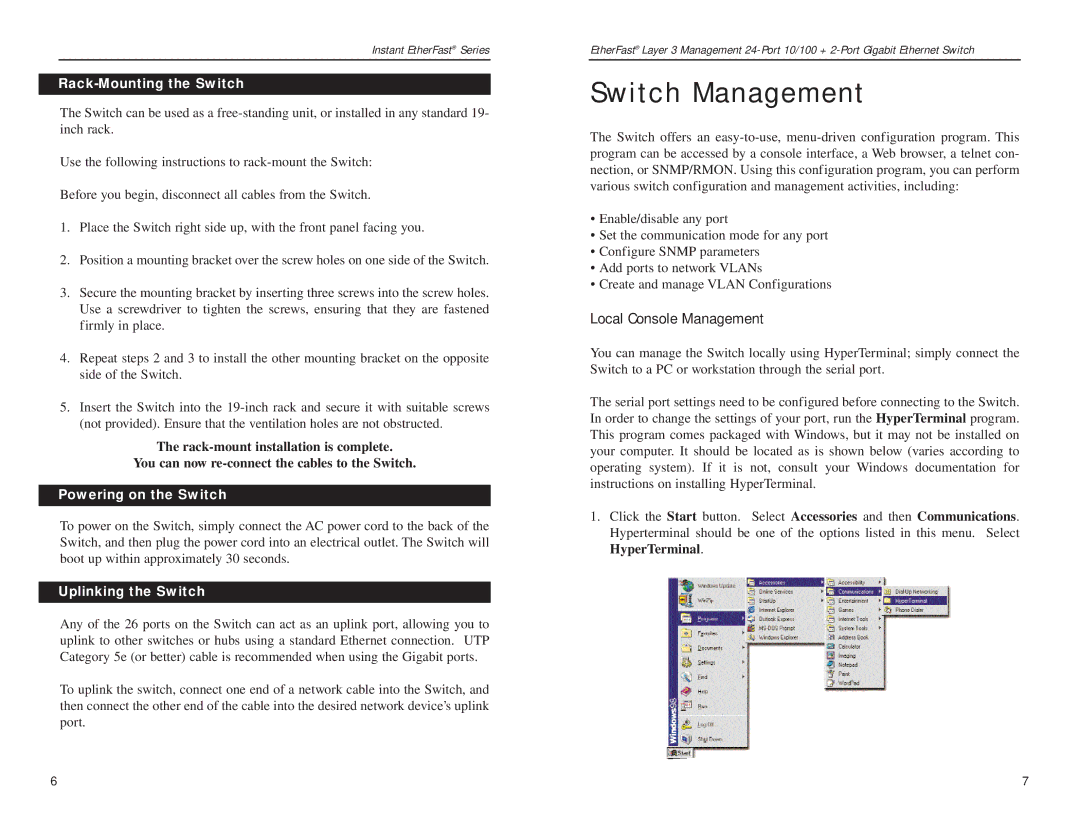
The serial port settings need to be configured before connecting to the Switch. In order to change the settings of your port, run the HyperTerminal program. This program comes packaged with Windows, but it may not be installed on your computer. It should be located as is shown below (varies according to operating system). If it is not, consult your Windows documentation for instructions on installing HyperTerminal.
1.Click the Start button. Select Accessories and then Communications. Hyperterminal should be one of the options listed in this menu. Select HyperTerminal.
6 | 7 |