Chapter 5 | Configuring the |
assigns an IP address to each PC on your network. Unless you already have one, it is highly recommended that you leave the Router enabled as a DHCP server.
Local DHCP Server DHCP is already enabled by factory default. If you already have a DHCP server on your network, set the Router’s DHCP option to Disabled. If you disable DHCP, assign a static IP address to the Router.
Start IP Address Enter a value for the DHCP server to start with when issuing IP addresses. This value must be 192.168.1. 2 or greater, but smaller than 192.168.1.254, because the default IP address for the Router is 192.168.1.1, and 192.168.1.255 is the broadcast IP address.
Number of Address Enter the maximum number of PCs that you want the DHCP server to assign IP addresses to. This number cannot be greater than 253. In order to determine the DHCP IP Address range, add the starting IP address (e.g., 100) to the number of DHCP users.
IP Address Range The range of DHCP addresses is displayed here.
Client Lease Time This is the amount of time a DHCP client can keep the assigned IP address before it sends a renewal request to the DHCP server.
The Static IP Table shows the mapping of MAC addresses to IP addresses. To use this feature, click Static IP Table, then enter the Static IP Address and MAC address in the fields, then click Add. To edit an entry, highlight the entry in the table, click Edit, make your changes in the fields, then click Add. To remove an entry, highlight the entry, then click Remove.
Manual DNS Setting To enter the DNS IP addresses manually, check the box, then enter up to two IP addresses in the fields provided.
Static IP Table
Time Settings
This is where you set the time for the Router. You can set the time and date manually or automatically.
Manually Select the date from the Date
Automatically Select your time zone from the Time Zone
When you have finished making changes to the screen, click Save Settings to save the changes, or click Cancel Changes to undo your changes.
Setup > VLAN
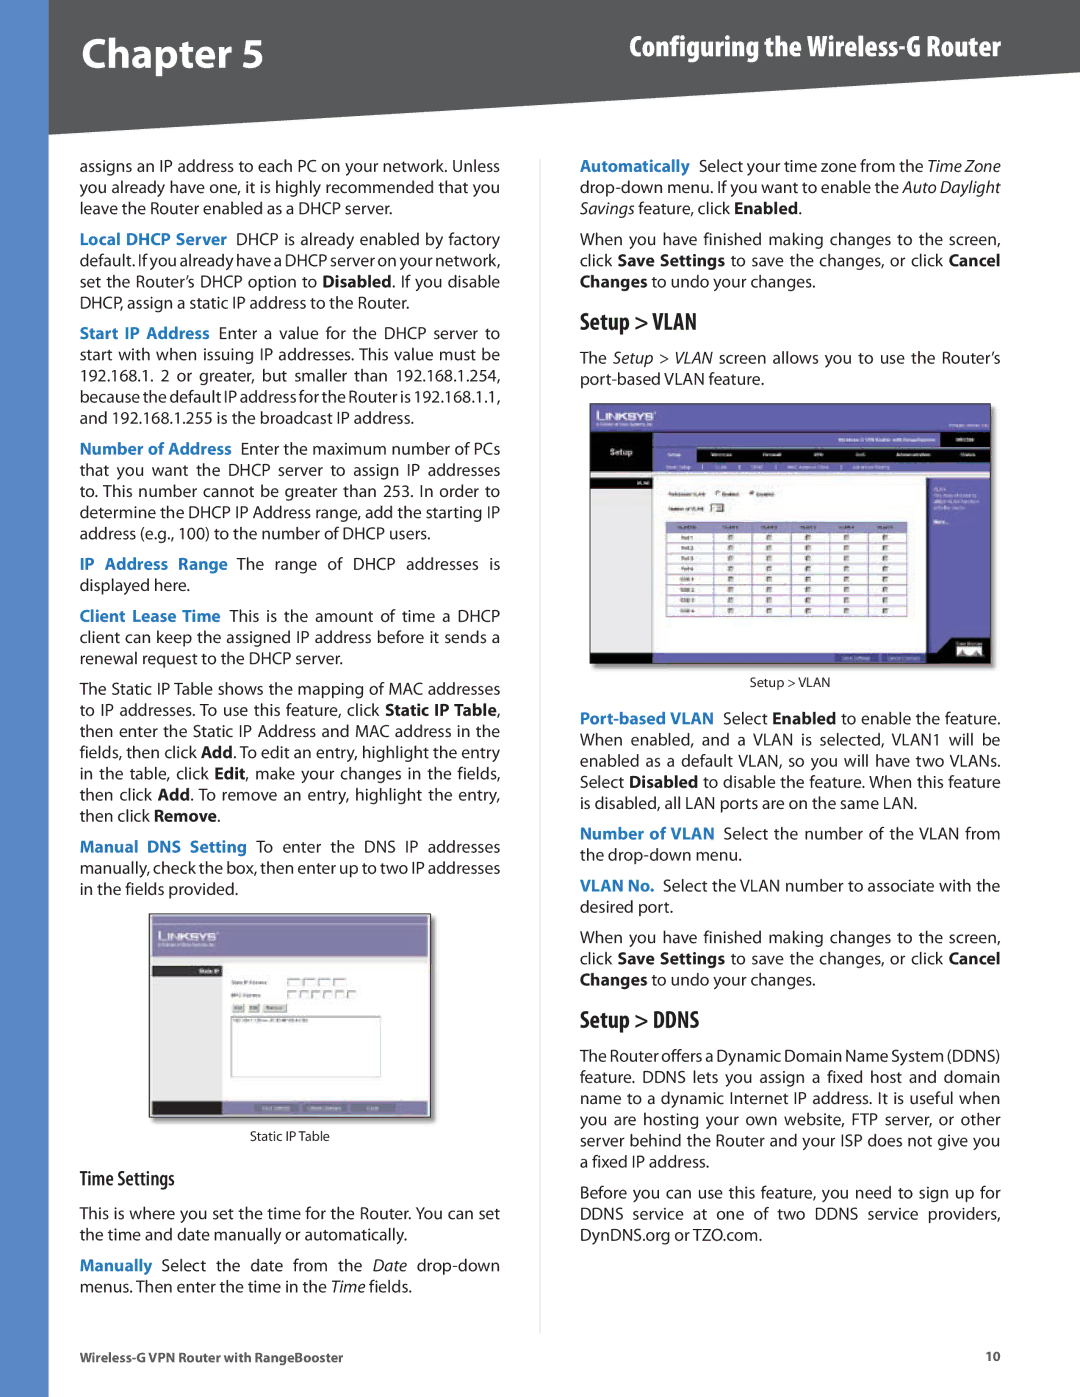
The Setup > VLAN screen allows you to use the Router’s
Setup > VLAN
Number of VLAN Select the number of the VLAN from the
VLAN No. Select the VLAN number to associate with the desired port.
When you have finished making changes to the screen, click Save Settings to save the changes, or click Cancel Changes to undo your changes.
Setup > DDNS
The Router offers a Dynamic Domain Name System (DDNS) feature. DDNS lets you assign a fixed host and domain name to a dynamic Internet IP address. It is useful when you are hosting your own website, FTP server, or other server behind the Router and your ISP does not give you a fixed IP address.
Before you can use this feature, you need to sign up for DDNS service at one of two DDNS service providers, DynDNS.org or TZO.com.
10 |
