Initial Installation
TV Audio
When recording bilingual TV you can select the audio channel to be recorded.
Audio 1+2: both languages are recorded
Audio 1: language 1 only
Audio 2: language 2 only
Rec Mode Set |
|
|
Rec Aspect |
|
|
DV Rec Audio |
|
|
TV Rec Audio |
|
|
| Sound 1+2 | |
Auto Chapter |
| Sound 1 |
Decoder at AV2 |
| Sound 2 |
|
|
|
Automatic Chapter
During recording chapter markers are placed at
fixed intervals. You can select intervals of 5, 10 or 15 minutes. If you select “None“ automatic chapter setting is switched off.
Rec Mode Set
Rec Aspect
DV Rec Audio
TV Rec Audio
Auto Chapter | None |
Decoder at AV2 | All 5 Min. |
| All 10 Min. |
| All 15 Min. |
Decoder at AV2
If you want to use an analog decoder at AV2, you have to set “Decoder at AV2” to “On” (see also “Decoder at AV1” on page 21). If you want to use the AV2 socket as a normal AV interface, set “Decoder at AV2” to “Off”.
Disc Menu
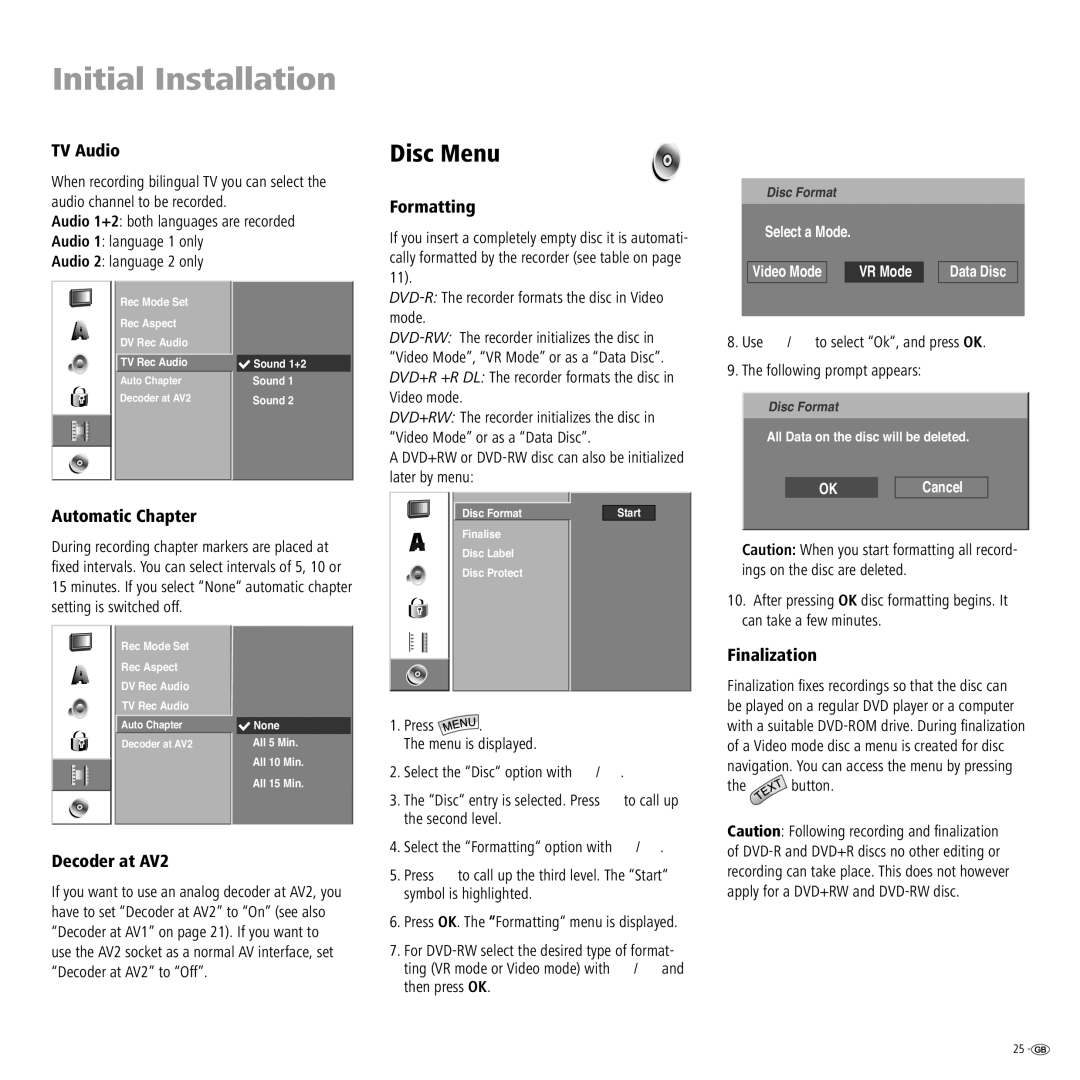
Formatting
If you insert a completely empty disc it is automati- cally formatted by the recorder (see table on page 11).
DVD+RW: The recorder initializes the disc in “Video Mode” or as a “Data Disc”.
A DVD+RW or
Disc Format | Start |
Finalise
Disc Label
Disc Protect
1.Press  .
.
The menu is displayed.
2. | Select the “Disc“ option with | / . | ||
3. | The “Disc“ entry is selected. Press | to call up | ||
| the second level. |
|
| |
4. | Select the “Formatting“ option with | / . | ||
5. | Press | to call up the third level. The “Start“ | ||
symbol is highlighted.
6.Press OK. The “Formatting“ menu is displayed.
7.For
ting (VR mode or Video mode) with / and then press OK.
Disc Format
Select a Mode. |
|
|
Video Mode | VR Mode | Data Disc |
8. Use | / | to select “Ok“, and press OK. |
9. The following prompt appears:
Disc Format
All Data on the disc will be deleted.
OK |
| Cancel |
Caution: When you start formatting all record- ings on the disc are deleted.
10. After pressing OK disc formatting begins. It can take a few minutes.
Finalization
Finalization fi xes recordings so that the disc can be played on a regular DVD player or a computer with a suitable
the ![]() button.
button.
Caution: Following recording and fi nalization of
25 ![]()