ROUTE/CONNECT CABLES & HAND PENDANT
! CAUTION
Never route an energized wire. Make sure the battery is disconnected. Always route electrical wire clear of any moving parts, brake lines, sharp edges, and ex- haust systems. Never route power cable next to a wiring harness on the vehicle. Do not loop excess cable. Cut the cable to fit and leave slack. Attach securely. If drilling is necessary, be sure to check underside of vehicle before drilling so you do not damage any fuel lines, vent lines, brake lines or wires. When routing electrical wire through a hole in vehicle floor, use supplied grommet to protect wires from chafing.
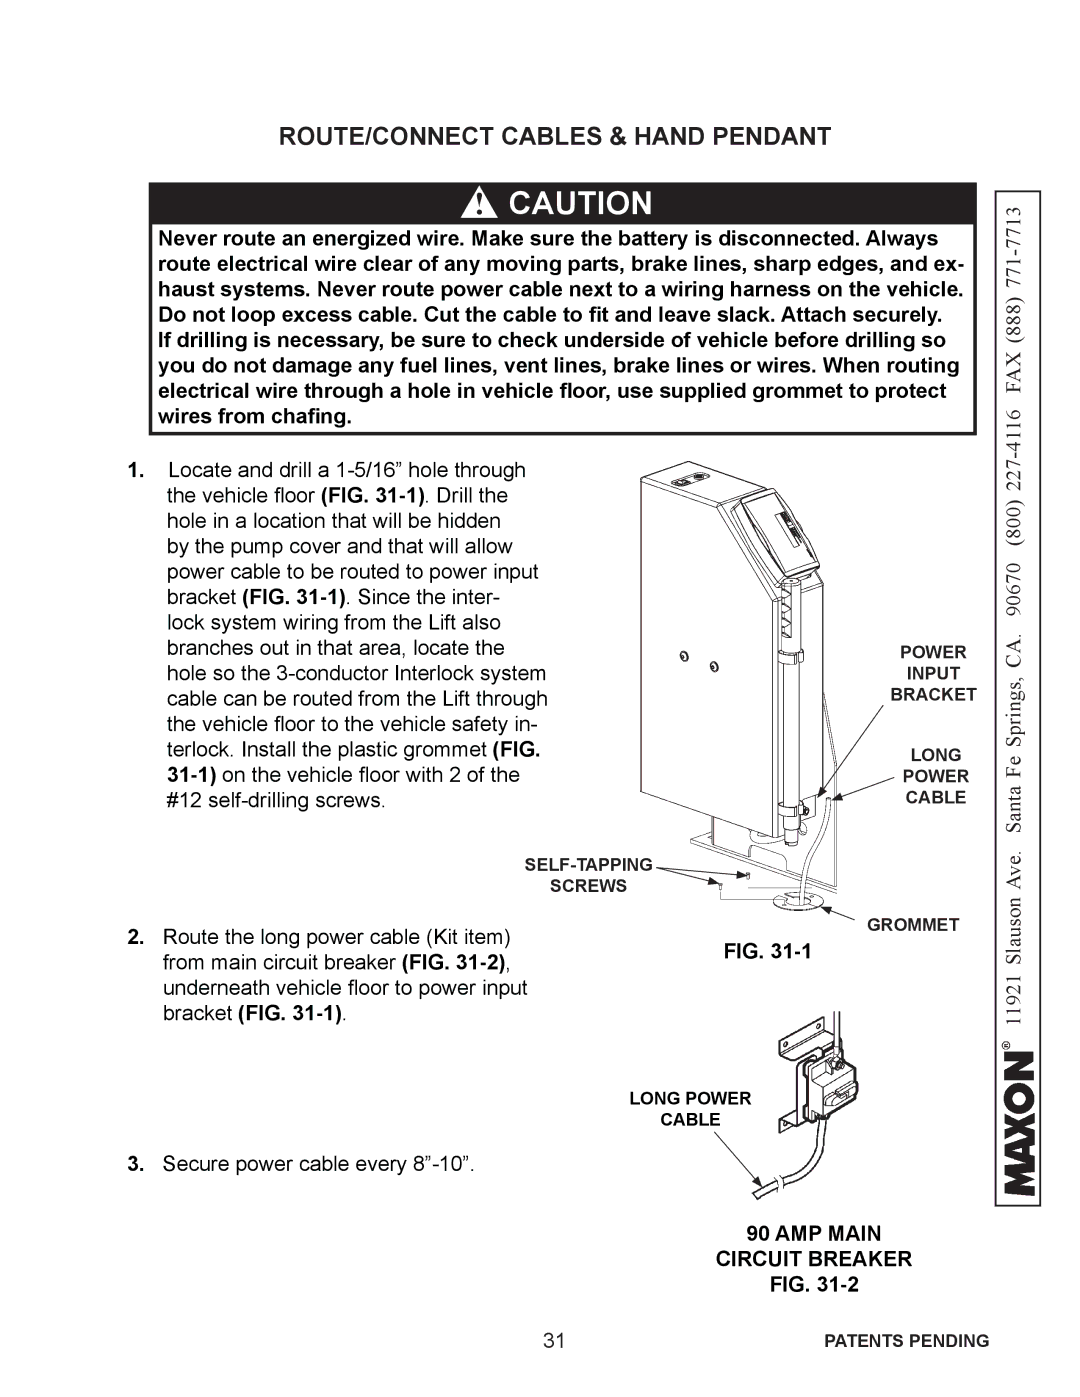
1.Locate and drill a
SCREWS
POWER
INPUT
BRACKET
LONG
POWER CABLE
Ave. Santa Fe Springs, CA. 90670 (800) 227
2.Route the long power cable (Kit item) from main circuit breaker (FIG.
3.Secure power cable every
FIG.
LONG POWER
CABLE
GROMMET
11921 Slauson
90 AMP MAIN
CIRCUIT BREAKER
FIG.
31 | PATENTS PENDING |
