System Settings
the setting mode by simply pressing the MAIN button or bring the cursor to 8. TO EXIT with the joystick and push the joy- stick down.
Clock Setting
Enter the Clock Setting Mode by moving the cursor on the TOUCH SCREEN to 6. SET DATE & CLOCK by using the joy- stick. Enter this mode by pushing the joy- stick down. Press the selection you wish to change from the TOUCH SCREEN and change them using the UP and DOWN buttons. Once you complete the setting, store them by pressing the SAVE button.
Touch Screen Alignment
Move the cursor on the TOUCH SCREEN to 1. TOUCH PAD ALIGNMENT with the joystick. Press the joystick down to enter the mode. Align the screen by pressing the three points that appear on TOUCH SCREEN one point at a time. Follow the
Note: If a new version of the Normal Modes of Operation Firmware has been uploaded into the UR12, a Touch Screen Aligment Procedure must be performed inorder for the Touch- buttons to become active.
Systems and Options
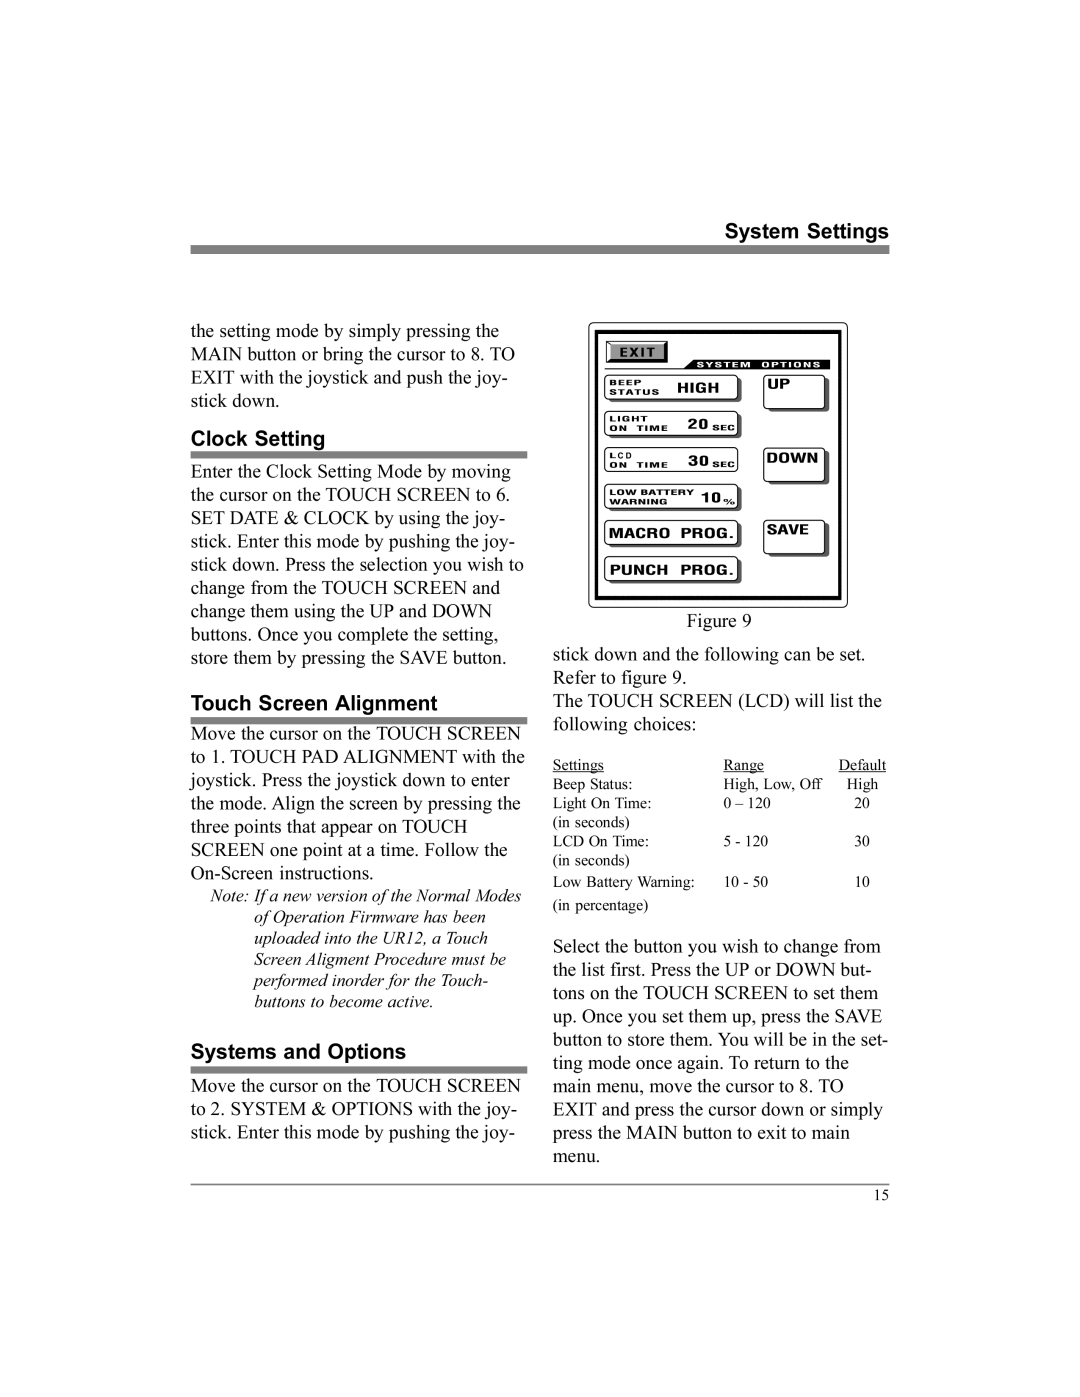
Move the cursor on the TOUCH SCREEN to 2. SYSTEM & OPTIONS with the joy- stick. Enter this mode by pushing the joy-
C D |
Figure 9
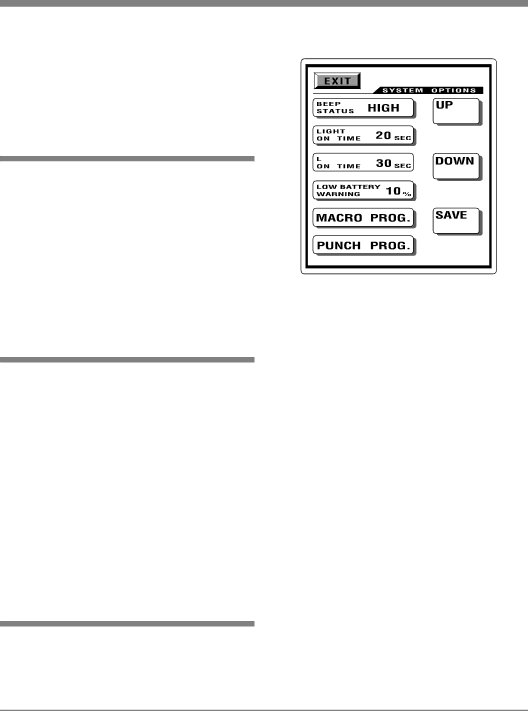
stick down and the following can be set. Refer to figure 9.
The TOUCH SCREEN (LCD) will list the following choices:
Settings | Range | Default |
Beep Status: | High, Low, Off | High |
Light On Time: | 0 – 120 | 20 |
(in seconds) |
|
|
LCD On Time: | 5 - 120 | 30 |
(in seconds) |
|
|
Low Battery Warning: | 10 - 50 | 10 |
(in percentage) |
|
|
Select the button you wish to change from the list first. Press the UP or DOWN but- tons on the TOUCH SCREEN to set them up. Once you set them up, press the SAVE button to store them. You will be in the set- ting mode once again. To return to the main menu, move the cursor to 8. TO EXIT and press the cursor down or simply press the MAIN button to exit to main menu.
15
