C. Connecting the Camera
1.Connect the camera to your computer, using the provided USB cable.
•Connect one end of the USB cable to the camera’s USB connector.
•Connect the other end of the USB cable to the USB connector of your computer.
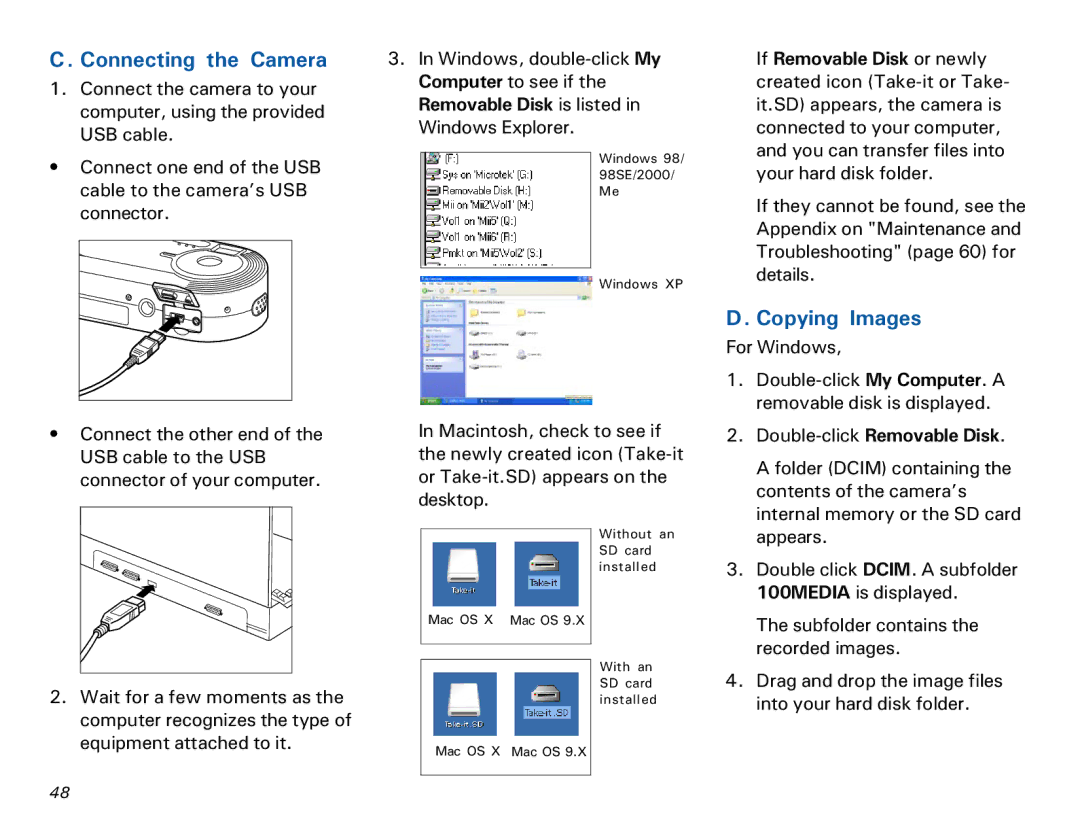
3.In Windows,
Windows 98/ 98SE/2000/ Me
Windows XP
In Macintosh, check to see if the newly created icon
If Removable Disk or newly created icon
If they cannot be found, see the Appendix on "Maintenance and Troubleshooting" (page 60) for details.
D. Copying Images
For Windows,
1. | |
| removable disk is displayed. |
2. | |
| A folder (DCIM) containing the |
| contents of the camera’s |
| internal memory or the SD card |
2. Wait for a few moments as the |
computer recognizes the type of |
equipment attached to it. |
Mac OS X Mac OS 9.X
Without an SD card installed
With an SD card installed
| appears. |
3. | Double click DCIM. A subfolder |
| 100MEDIA is displayed. |
| The subfolder contains the |
| recorded images. |
4. | Drag and drop the image files |
| into your hard disk folder. |
Mac OS X Mac OS 9.X
"&