Configuring the
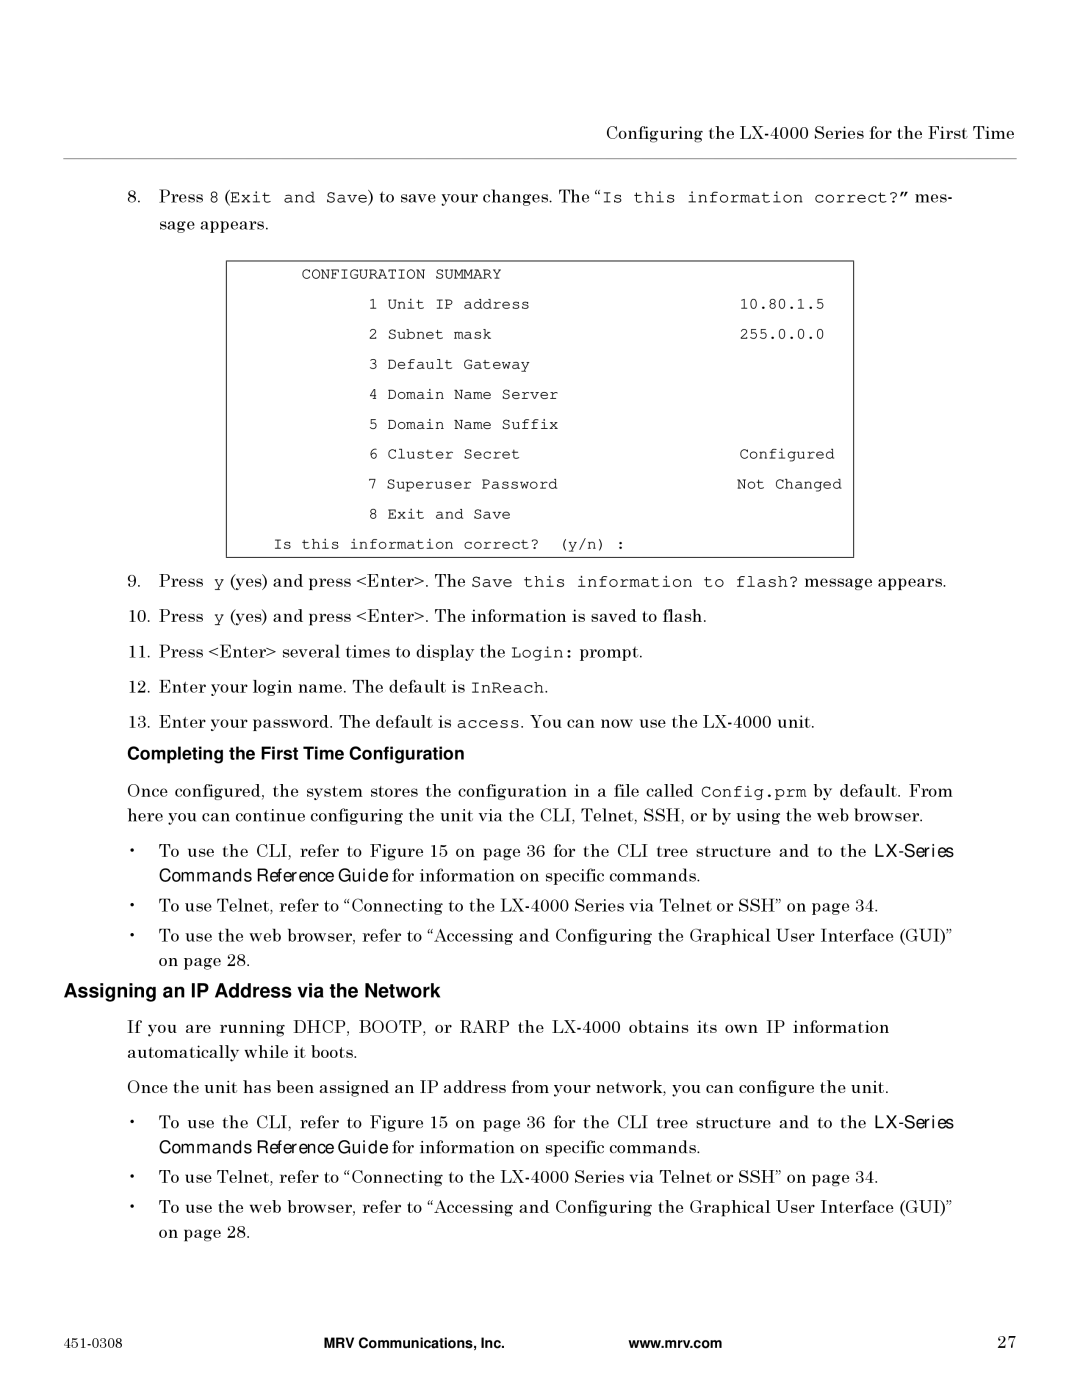
8.Press 8 (Exit and Save) to save your changes. The “Is this information correct?” mes- sage appears.
CONFIGURATION SUMMARY |
| ||
1 | Unit IP | address | 10.80.1.5 |
2 | Subnet mask | 255.0.0.0 | |
3 | Default | Gateway |
|
4 | Domain Name Server |
| |
5 | Domain Name Suffix |
| |
6 | Cluster | Secret | Configured |
7 Superuser Password | Not Changed | ||
8 | Exit and Save |
| |
Is this information | correct? | (y/n) : | |
9.Press y (yes) and press <Enter>. The Save this information to flash? message appears.
10.Press y (yes) and press <Enter>. The information is saved to flash.
11.Press <Enter> several times to display the Login: prompt.
12.Enter your login name. The default is InReach.
13.Enter your password. The default is access. You can now use the
Completing the First Time Configuration
Once configured, the system stores the configuration in a file called Config.prm by default. From here you can continue configuring the unit via the CLI, Telnet, SSH, or by using the web browser.
•To use the CLI, refer to Figure 15 on page 36 for the CLI tree structure and to the
•To use Telnet, refer to “Connecting to the
•To use the web browser, refer to “Accessing and Configuring the Graphical User Interface (GUI)” on page 28.
Assigning an IP Address via the Network
If you are running DHCP, BOOTP, or RARP the
Once the unit has been assigned an IP address from your network, you can configure the unit.
•To use the CLI, refer to Figure 15 on page 36 for the CLI tree structure and to the
•To use Telnet, refer to “Connecting to the
•To use the web browser, refer to “Accessing and Configuring the Graphical User Interface (GUI)” on page 28.
MRV Communications, Inc. | www.mrv.com | 27 |
