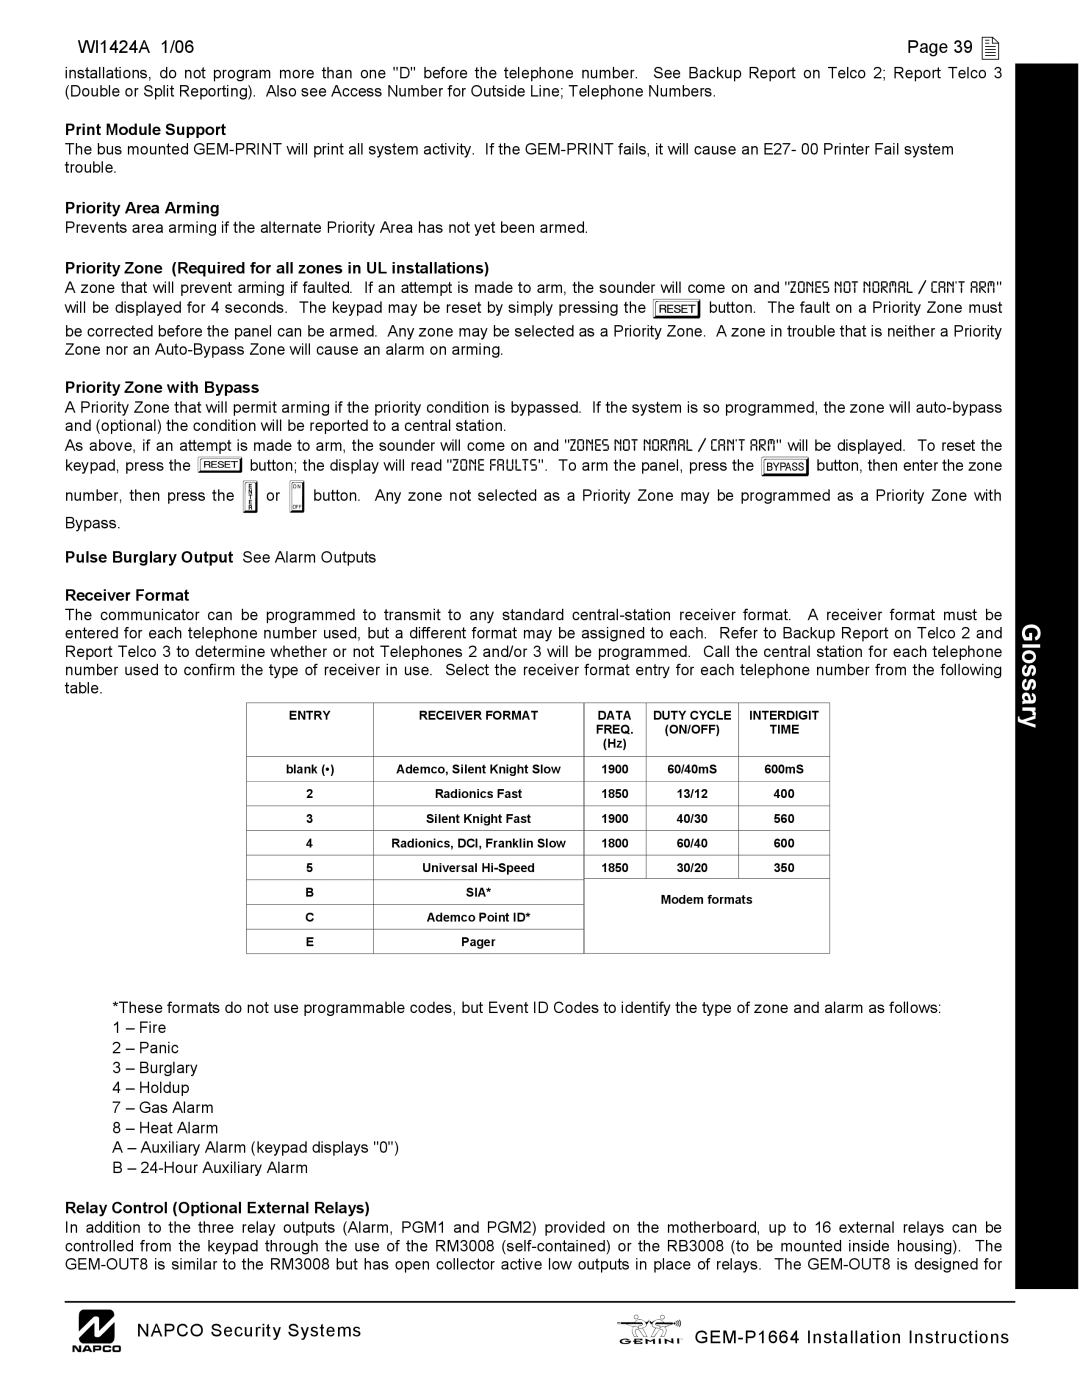
GEM-P1664 specifications
Napco Security Technologies has long been a leader in the security industry, recognized for its innovative solutions that enhance safety and monitoring capabilities. One of its standout products is the GEM-P1664, a versatile and robust control panel designed for both residential and commercial security applications. This advanced system combines user-friendly features with cutting-edge technology, making it an ideal choice for those looking to bolster their security measures.The GEM-P1664 boasts a 16-zone configuration, allowing users to monitor multiple areas within a property simultaneously. Each zone can be independently programmed, providing flexibility in how security is managed. This feature is particularly valuable for larger facilities or homes with multiple entry points, as it ensures that all areas are adequately protected. The panel supports both hardwired and wireless zones, delivering versatility to suit various installation preferences.
One of the core technologies integrated into the GEM-P1664 is the use of Event Management and Reporting tools. The panel can automatically log security events, sending alerts via email or SMS in real-time. This capability is essential for maintaining awareness of security status, allowing users to respond promptly to any unauthorized access or unusual activity.
The user interface of the GEM-P1664 is designed with simplicity in mind. Its intuitive layout and navigation make it easy for both trained professionals and everyday users to operate the system without extensive technical knowledge. Additionally, the panel supports multiple user codes, allowing different levels of access for family members or staff, enhancing both security and convenience.
Another notable characteristic of the GEM-P1664 is its compatibility with various Napco peripherals and add-ons, including motion detectors, door/window sensors, and surveillance cameras. This interoperability enables users to create a comprehensive security ecosystem tailored to their specific needs. Furthermore, the GEM-P1664 is also compatible with mobile applications, allowing clients to monitor their security systems remotely via smartphones or tablets.
Lastly, the GEM-P1664 is built with future-proofing in mind. It is designed to be easily upgradable, ensuring that users can incorporate the latest technological advancements and security features as they become available. This forward-thinking approach ensures that the investment in the GEM-P1664 remains relevant and effective over time.
In summary, the Napco Security Technologies GEM-P1664 control panel is a powerful and flexible solution for anyone looking to enhance their security infrastructure. With its robust zone configuration, user-friendly interface, advanced reporting capabilities, and compatibility with a range of devices, the GEM-P1664 stands out as a top choice in the security technology landscape.

