To setup a virtual server entry:
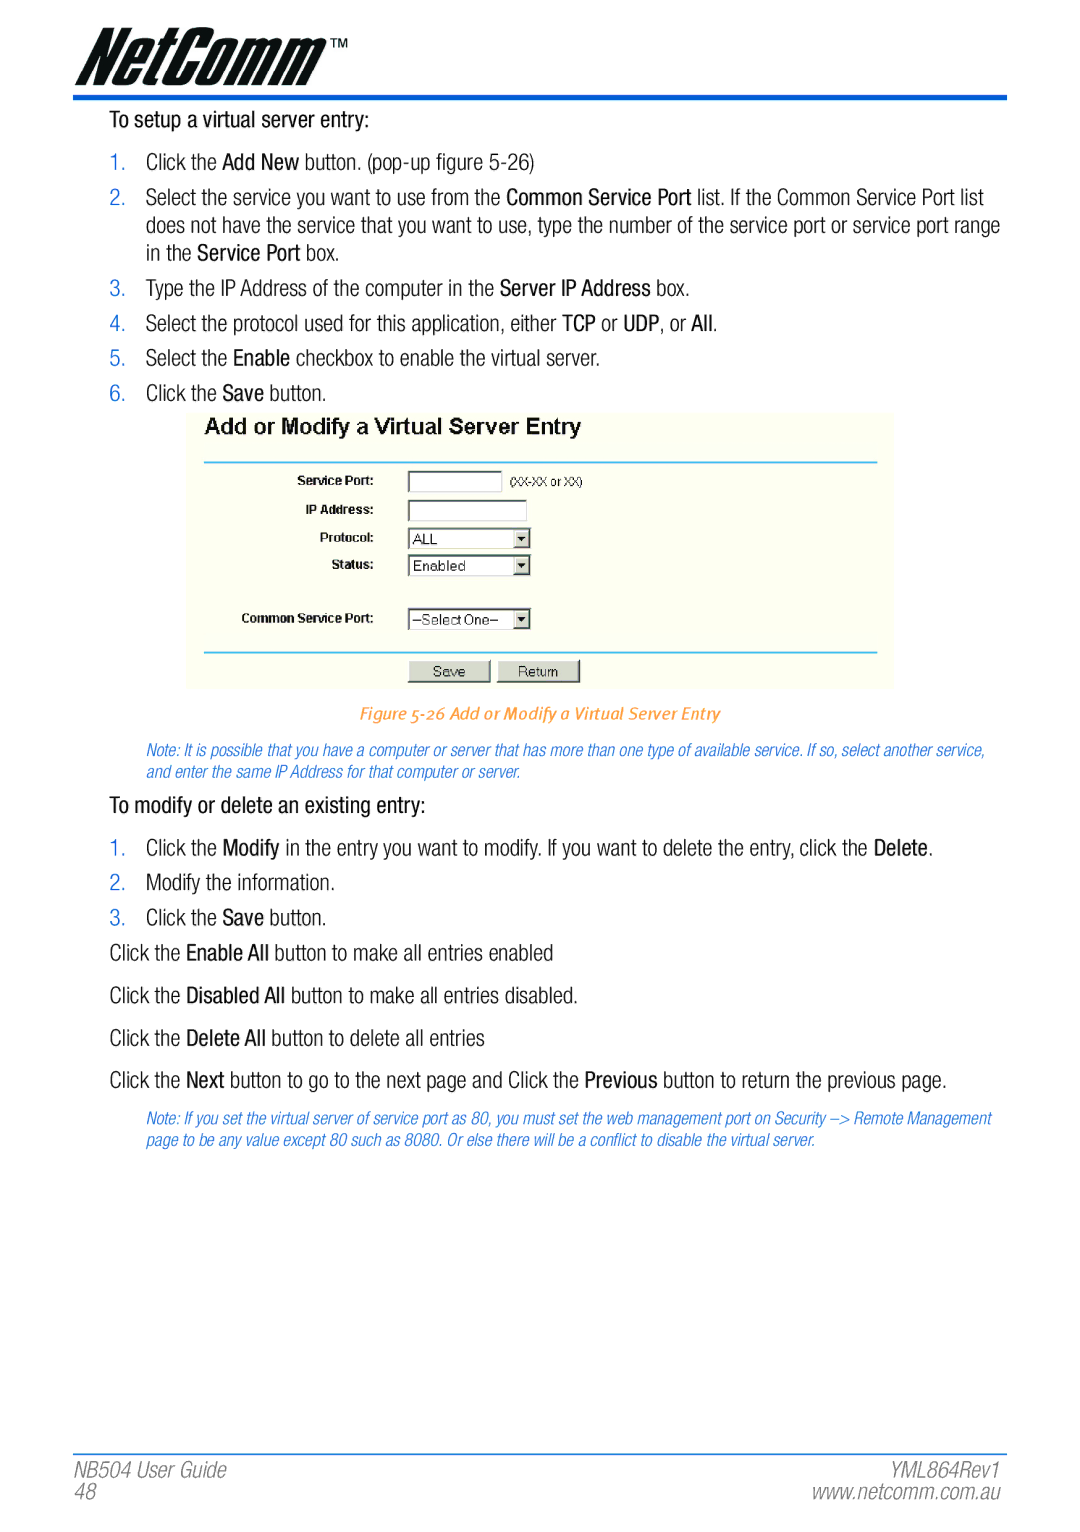
1.Click the Add New button.
2.Select the service you want to use from the Common Service Port list. If the Common Service Port list does not have the service that you want to use, type the number of the service port or service port range in the Service Port box.
3.Type the IP Address of the computer in the Server IP Address box.
4.Select the protocol used for this application, either TCP or UDP, or All.
5.Select the Enable checkbox to enable the virtual server.
6.Click the Save button.
Figure 5-26 Add or Modify a Virtual Server Entry
Note: It is possible that you have a computer� or� ser�ver� that has mor�e than one type of available ser�vice. If so, select another� ser�vice, and enter� the same IP Addr�ess for� that computer� or� ser�ver�.
To modify or delete an existing entry:
1.Click the Modify in the entry you want to modify. If you want to delete the entry, click the Delete.
2.Modify the information.
3.Click the Save button.
Click the Enable All button to make all entries enabled Click the Disabled All button to make all entries disabled. Click the Delete All button to delete all entries
Click the Next button to go to the next page and Click the Previous button to return the previous page.
Note: If you set the vir�tual ser�ver� of ser�vice por�t as 80, you must set the web management por�t on Securi�ty
NB504 User� Guide | YML864Rev1 |
48 | www.netcomm.com.au |