There are 3 distinct categories of PRESETS:
Factory PRESETS |
|
| Factory PRESETS can be used normally, temporarily modified, but can't be cancelled, |
| overwritten or permanently modified. Factory PRESETS contain some specific settings |
| for certain types of enclosures and all the system's usable configurations. For this |
| reason they're the ideal starting point for creating custom PRESETS. |
User PRESETS | Stored data that can be programmed by users. |
| User PRESETS are internal memory areas in which your own personal settings can |
| be saved. |
Card PRESETS | Stored data which can be programmed by users on a Multimedia Memory Card. |
| Card PRESETS are external memory areas in which your own personal settings can |
| be saved. |
5.1.1Load PRESET
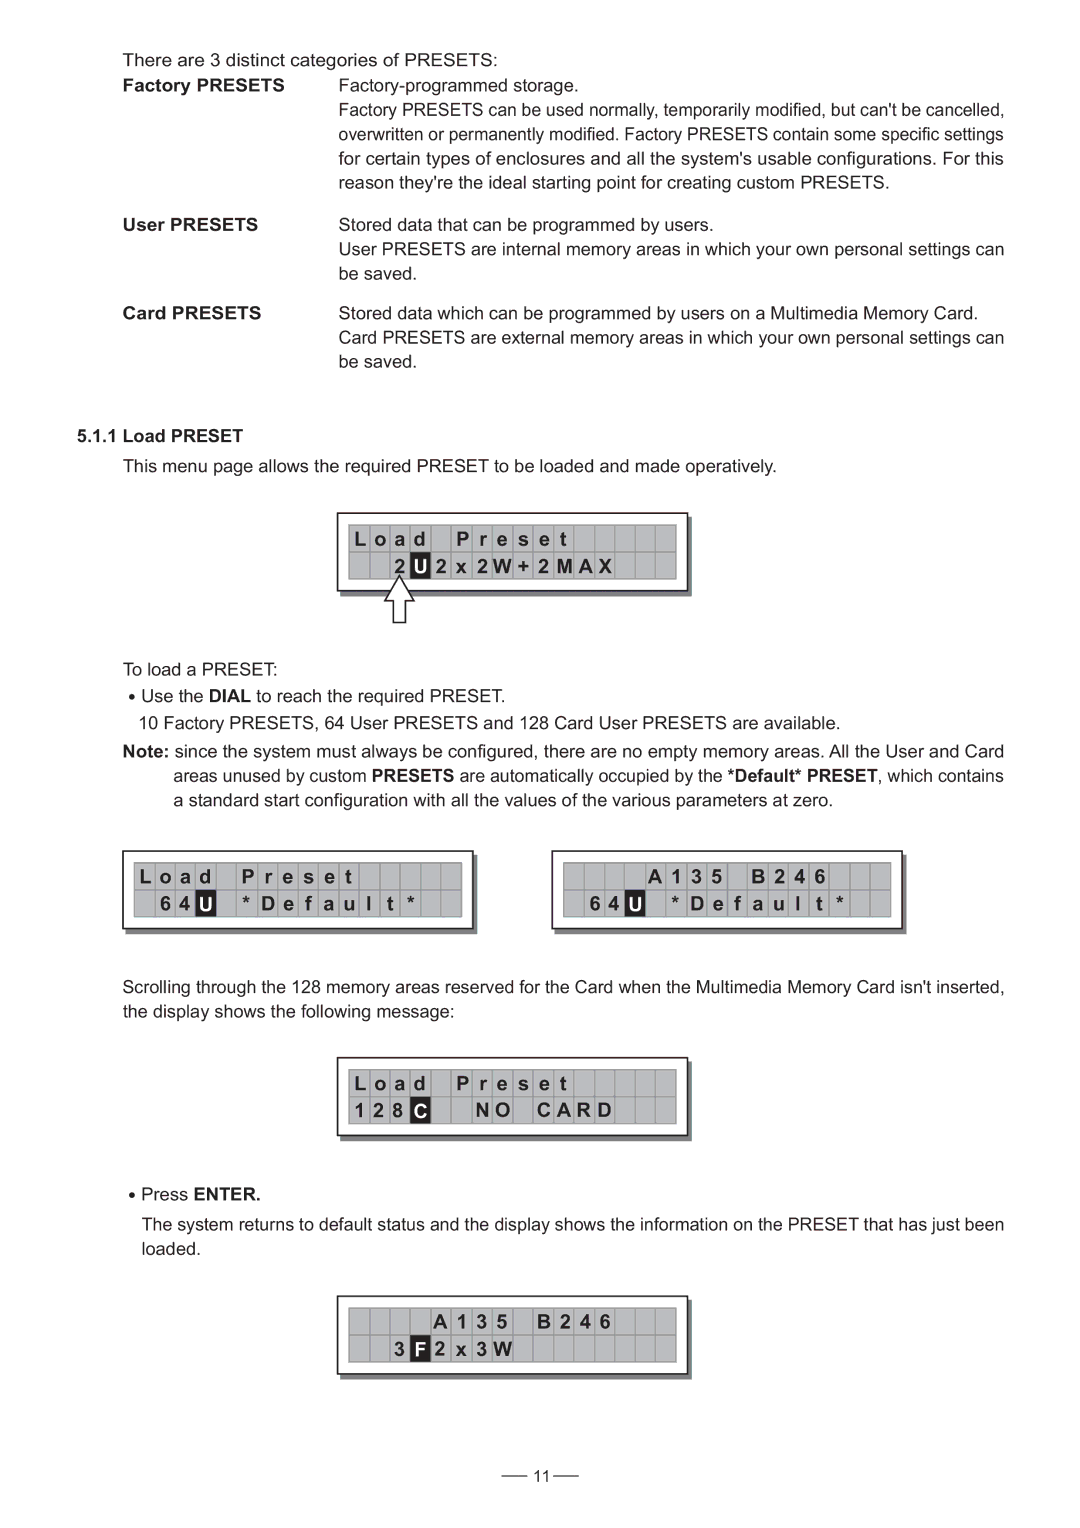
This menu page allows the required PRESET to be loaded and made operatively.
L o a d P r e s e t
2 U 2 x 2 W + 2 M A X
To load a PRESET:
![]() Use the DIAL to reach the required PRESET.
Use the DIAL to reach the required PRESET.
10 Factory PRESETS, 64 User PRESETS and 128 Card User PRESETS are available.
Note: since the system must always be configured, there are no empty memory areas. All the User and Card areas unused by custom PRESETS are automatically occupied by the *Default* PRESET, which contains a standard start configuration with all the values of the various parameters at zero.
L o a d P r e s e t
6 4 U * D e f a u l t *
|
|
|
|
|
|
|
|
|
|
|
|
|
|
|
|
|
|
|
|
|
|
|
|
|
|
|
|
|
|
|
|
|
|
|
|
|
|
|
|
|
|
|
|
|
| A | 1 | 3 | 5 |
| B | 2 | 4 | 6 |
|
|
|
|
|
|
|
| 6 | 4 | U |
| * | D | e | f | a | u | l | t | * |
|
|
|
|
|
|
|
|
|
|
|
|
|
|
|
|
|
|
|
|
|
|
|
|
|
|
|
|
|
|
|
|
|
|
|
|
|
|
|
|
|
|
|
|
Scrolling through the 128 memory areas reserved for the Card when the Multimedia Memory Card isn't inserted, the display shows the following message:
L o a d P r e s e t | |
1 2 8 C | N O C A R D |
![]() Press ENTER.
Press ENTER.
The system returns to default status and the display shows the information on the PRESET that has just been loaded.
A 1 3 5 B 2 4 6
3 F 2 x 3 W
11
