•Press the <SEL> key to select the new configuration step or press the <Trigger> key to switch the instrument
10.4Date & Real Time clock setting
The two following pages allow respectively date and real time updating .
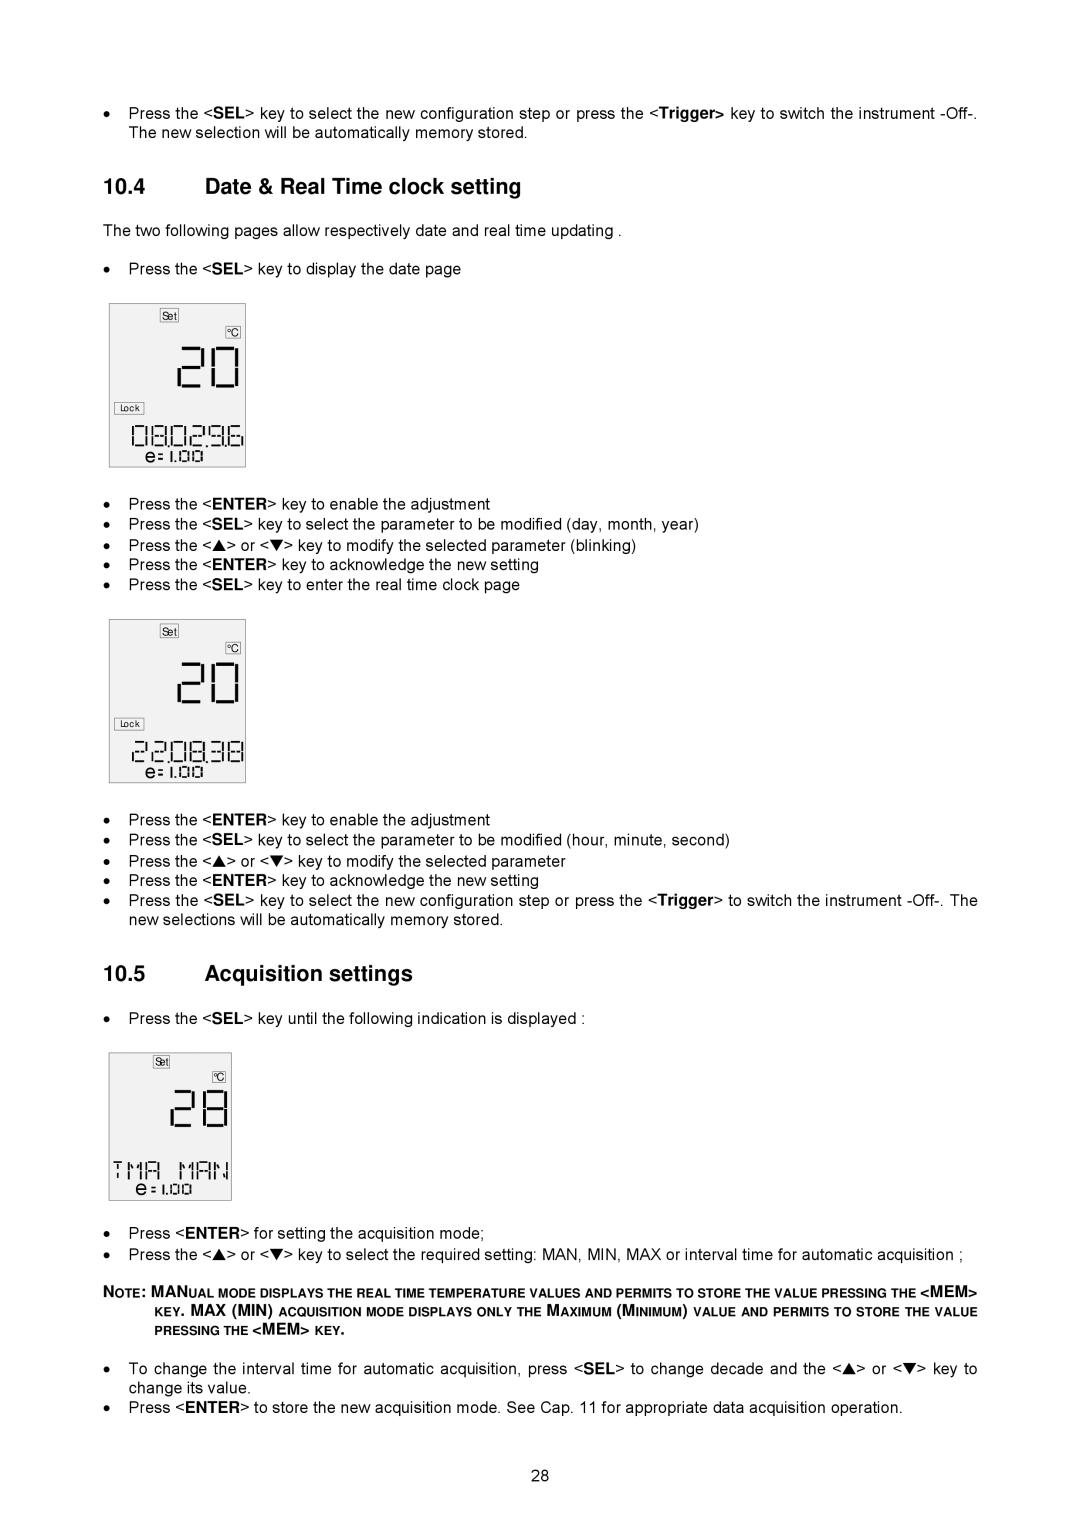
•Press the <SEL> key to display the date page
Set
°C
Lock
e![]()
![]()
![]()
![]()
![]()
![]()
![]()
![]()
![]()
![]()
![]()
![]()
•Press the <ENTER> key to enable the adjustment
•Press the <SEL> key to select the parameter to be modified (day, month, year)
•Press the <▲> or <▼> key to modify the selected parameter (blinking)
•Press the <ENTER> key to acknowledge the new setting
•Press the <SEL> key to enter the real time clock page
Set
°C
Lock
e![]()
![]()
![]()
![]()
![]()
![]()
![]()
![]()
![]()
![]()
![]()
•Press the <ENTER> key to enable the adjustment
•Press the <SEL> key to select the parameter to be modified (hour, minute, second)
•Press the <▲> or <▼> key to modify the selected parameter
•Press the <ENTER> key to acknowledge the new setting
•Press the <SEL> key to select the new configuration step or press the <Trigger> to switch the instrument
10.5Acquisition settings
•Press the <SEL> key until the following indication is displayed :
Set
°C
e ![]()
![]()
![]()
![]()
![]()
![]()
![]()
![]()
![]()
•Press <ENTER> for setting the acquisition mode;
•Press the <▲> or <▼> key to select the required setting: MAN, MIN, MAX or interval time for automatic acquisition ;
NOTE: MANUAL MODE DISPLAYS THE REAL TIME TEMPERATURE VALUES AND PERMITS TO STORE THE VALUE PRESSING THE <MEM>
KEY. MAX (MIN) ACQUISITION MODE DISPLAYS ONLY THE MAXIMUM (MINIMUM) VALUE AND PERMITS TO STORE THE VALUE PRESSING THE <MEM> KEY.
•To change the interval time for automatic acquisition, press <SEL> to change decade and the <▲> or <▼> key to change its value.
•Press <ENTER> to store the new acquisition mode. See Cap. 11 for appropriate data acquisition operation.
28