13 OPTIONS & ACCESSORIES
13.1Printer operations
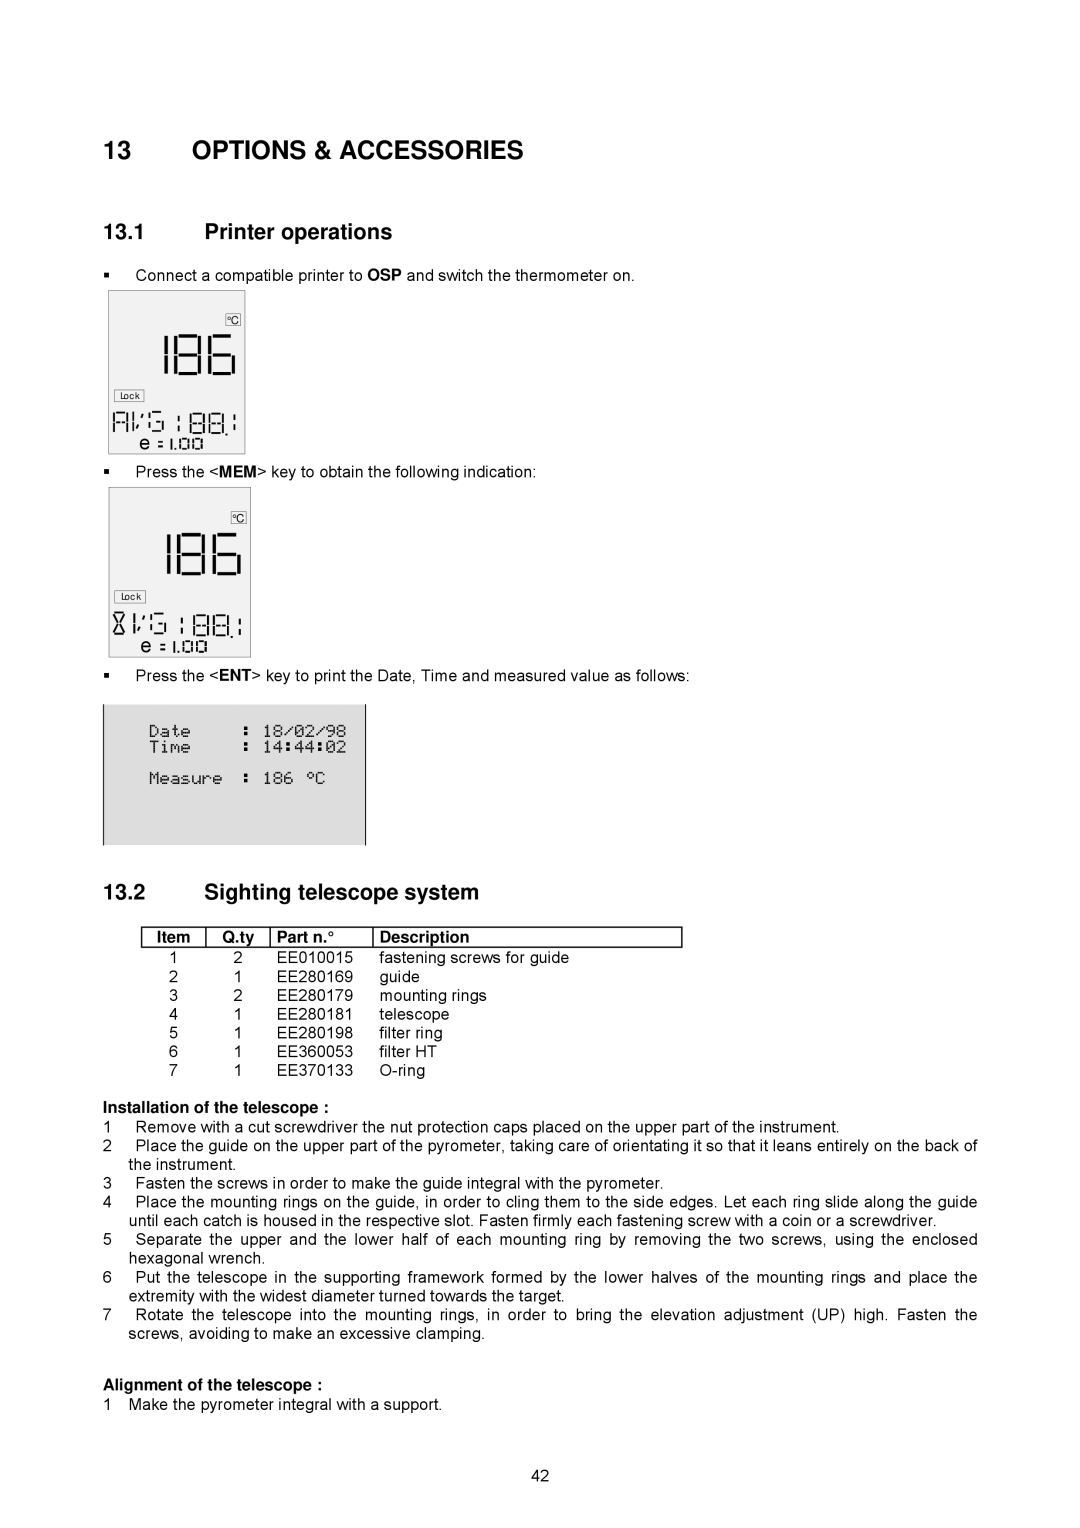
"Connect a compatible printer to OSP and switch the thermometer on.
°C
Lock
e ![]()
![]()
![]()
![]()
![]()
![]()
![]()
![]()
![]()
![]()
![]()
"Press the <MEM> key to obtain the following indication:
°C
Lock
e ![]()
![]()
![]()
![]()
![]()
![]()
![]()
![]()
![]()
![]()
![]()
"Press the <ENT> key to print the Date, Time and measured value as follows:
Date : 18/02/98
Time : 14:44:02
Measure : 186 °C
13.2Sighting telescope system
Item
Q.ty Part n.°
Description
1 | 2 | EE010015 fastening screws for guide | |
2 | 1 | EE280169 | guide |
3 | 2 | EE280179 | mounting rings |
4 | 1 | EE280181 | telescope |
5 | 1 | EE280198 | filter ring |
6 | 1 | EE360053 | filter HT |
7 | 1 | EE370133 | |
Installation of the telescope :
1Remove with a cut screwdriver the nut protection caps placed on the upper part of the instrument.
2Place the guide on the upper part of the pyrometer, taking care of orientating it so that it leans entirely on the back of the instrument.
3Fasten the screws in order to make the guide integral with the pyrometer.
4Place the mounting rings on the guide, in order to cling them to the side edges. Let each ring slide along the guide until each catch is housed in the respective slot. Fasten firmly each fastening screw with a coin or a screwdriver.
5Separate the upper and the lower half of each mounting ring by removing the two screws, using the enclosed hexagonal wrench.
6Put the telescope in the supporting framework formed by the lower halves of the mounting rings and place the extremity with the widest diameter turned towards the target.
7Rotate the telescope into the mounting rings, in order to bring the elevation adjustment (UP) high. Fasten the screws, avoiding to make an excessive clamping.
Alignment of the telescope :
1 Make the pyrometer integral with a support.
42