Index parts and facilities

Index parts and facilities

For further operational instructions, see the pages indicated in brackets [ ].

POWER switch (for all models other than USA and Canadian models) [30]

Press to turn on and off the main power supply for the TX-NR900/ 900E. When the TX-NR900/900E is turned on with the POWER switch, the STANDBY indicator lights.

Before turning on the power, check to make sure that all cords are properly connected.

When the power is turned on, a sudden surge of current will occur that may adversely affect the operation of other devices. To prevent this, do not plug the TX-NR900/900E into the same circuit used by sensitive equipment, e.g., computers.

STANDBY/ON button [30]

If pressed with the POWER switch turned on (with the receiver plugged in for US models), the TX-NR900/900E turns on and the display lights up. If pressed again, the TX-NR900/900E returns to the standby state. In the standby state, the display is turned off and the TX-NR900/900E cannot be operated.

STANDBY indicator [7, 30]

Lights when the TX-NR900/900E is in the standby state and when a signal is received from the remote controller.

AUDIO SELECTOR button [35]

Press to select the type of audio input signal.

Input source buttons and indicators (DVD, VIDEO 1–5, TAPE, TUNER, PHONO, CD, and NET AUDIO) [31, 36, 40, 42]

Press these buttons to select the input source for the main zone.

To select the input source for the remote zone (Zone 2) or recording out (Rec Out), first press the ZONE 2 or REC OUT button, and then press the desired input source button. The input channel with its indicator lit red is output to REC OUT and the one with its indicator lit green is output to ZONE 2.

Front display

Remote control sensor [7]

DISPLAY button [34]

Press to display information about the current input source signal. Each time you press the DISPLAY button, the screen changes to show you different information concerning the input signal.

MASTER VOLUME dial [35]

Use to control the volume in the main zone. The volume for the remote zone (Zone 2) is independent.

UPSAMPLING indicator [59]

Lights during upsampling. This function is available when the input source is Analog/PCM and the listening mode is set to the stereo or surround mode.

PURE AUDIO indicator [33]

Lights during pure audio playback.

DIRECT/PURE AUDIO button [33, 35]

Press to switch between the direct and pure audio listening modes.

PHONES jack [32]

This is a standard stereo jack for connecting stereo headphones.

ZONE 2 LEVEL Manual background/Manual background buttons [43]

Press to enter the mode for adjusting the volume in the remote zone (Zone 2).

REC OUT/ZONE 2/OFF buttons [40-43]

These buttons allow you to use the TX-NR900/900E to output to a remote zone (Zone 2) or to another component for recording (Rec Out). Press the REC OUT button to output the audio and video signals to a recording component for recording. Press the ZONE 2 button to enjoy the output from the TX-NR900/900E in a different room, which is referred to as the remote zone (Zone 2).

When either button is pressed, the currently selected input source for recording or outputting to the remote zone is displayed in the front panel display. If “SOURCE” is displayed, then the same input source as that selected for the main zone will be output.

To select an input source, press the desired button (REC OUT or ZONE 2) and then press one of the input source button within 8 seconds. That source will be output for recording or viewing in the remote zone.

To set the output to the source channel, press the desired button (REC OUT or ZONE 2) twice in succession. To turn off the output, press the desired button (REC OUT or ZONE 2) and then press the OFF button within 8 seconds.

Note:

The Rec Out and Zone 2 buttons use the same circuit and therefore cannot be used at the same time. When REC OUT is selected, nothing is output to Zone 2. When ZONE 2 is selected, REC OUT is automatically fixed to SOURCE.

STEREO button [33]

Selects for the stereo listening mode.

SURROUND button [33]

Selects for the Dolby Pro Logic II, DTS Neo:6, Dolby Digital, or DTS listening modes.

THX button [33]

Selects for the THX listening mode.

DSP Manual background/Manual background buttons [33]

Switches to the DSP (Digital Signal Processing) modes.

DIMMER button (Other than European models) [34]

Press to set the brightness of the front display. There are three settings available: normal, dark, and very dark.

The brightness of the front display can also be performed using the remote controller.

RT/PTY/TP button (European models only) [39]

This button is only available on European models. Press this button to tune into the Radio Data System (RDS) for FM broadcasting. RDS was developed within the European Broadcasting Union (EBU) and is available in most European countries. Each time the button is pressed, the display changes from RT (radio text) to PTY (program type) to TP (traffic program) and then back to RT again.

9

Page 9
Image 9
Onkyo TX-NR900E instruction manual Index parts and facilities

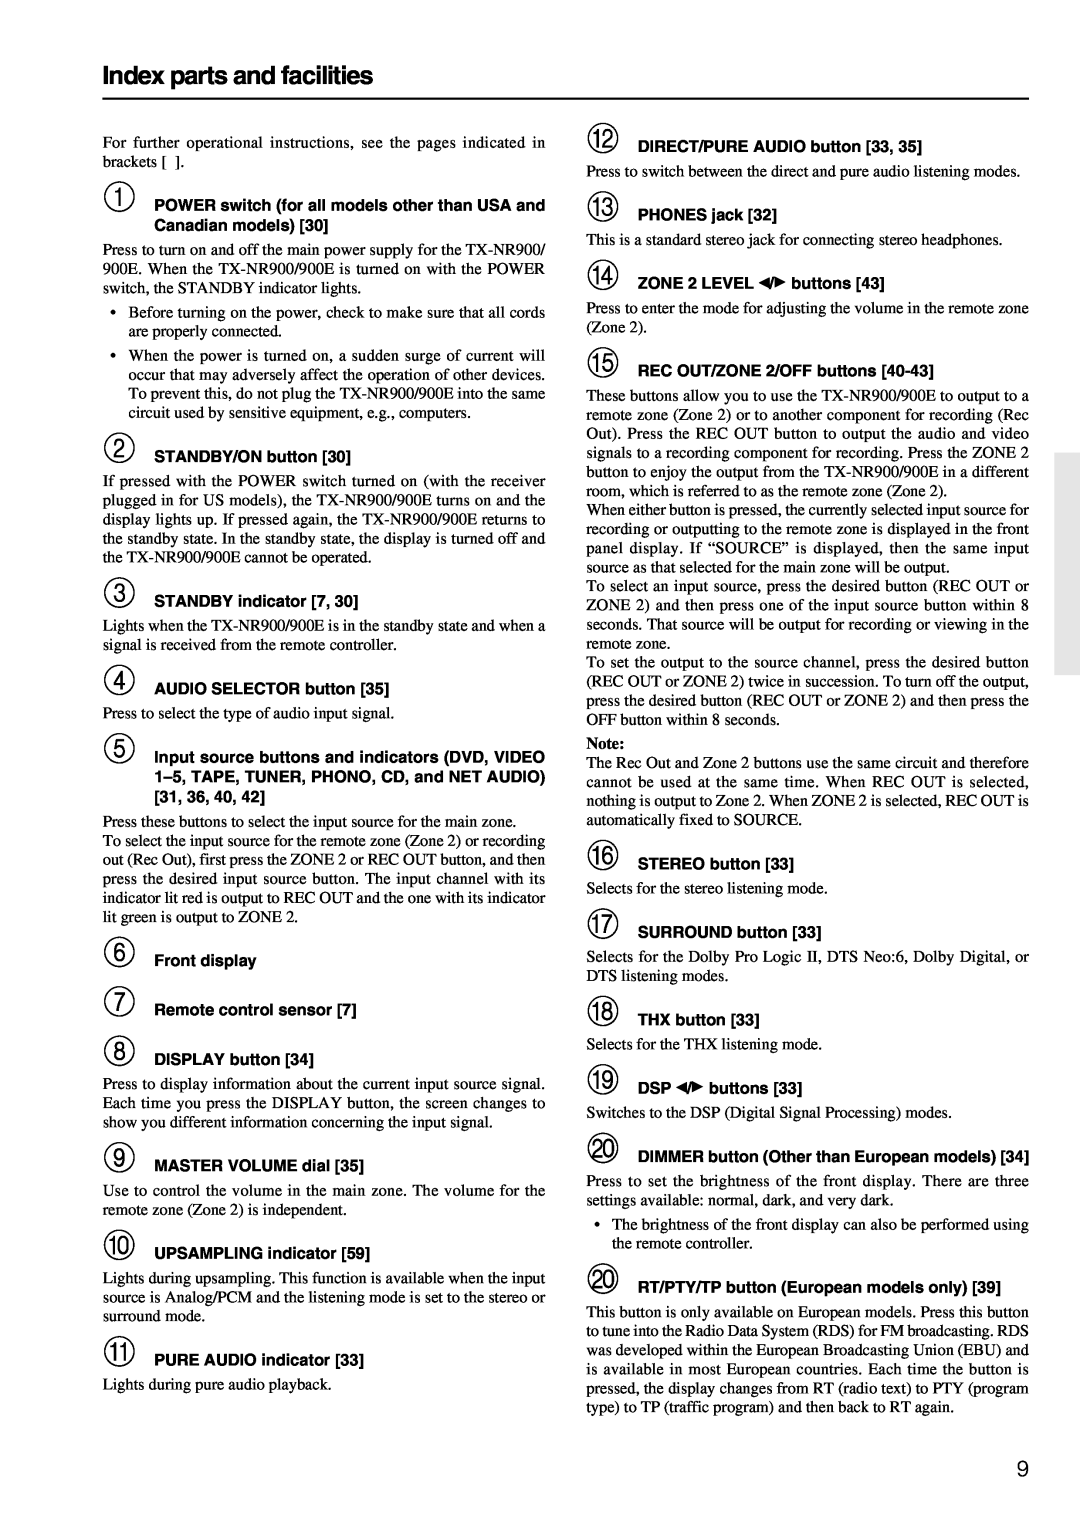
TX-NR900E, TX-NR900 specifications

The Onkyo TX-NR900 and TX-NR900E are advanced A/V receivers that epitomize high-quality audio and video performance for home theater enthusiasts. Released as part of Onkyo's flagship range, these models are designed to deliver a comprehensive and immersive entertainment experience.

One of the standout features of the TX-NR900 is its support for multi-channel audio formats, including Dolby Atmos and DTS:X. This allows for a three-dimensional sound experience that places you right at the center of your favorite movie or music. With the capability to decode various formats, users can enjoy rich, multidimensional soundscapes that enhance their viewing experience.

The TX-NR900 also boasts an impressive power output, with a robust amplification stage capable of driving multiple speaker configurations efficiently. Featuring high-current capability and low-impedance drive, this receiver ensures that audio remains clear and dynamic even at higher volumes. The inclusion of WRAT (Wide Range Amplifier Technology) further enhances audio fidelity, providing a clean sound across the frequency spectrum.

In terms of video capabilities, the TX-NR900 is equipped with advanced HDMI features, including support for 4K video input/output and HDR (High Dynamic Range) compatibility. This means users can enjoy ultra-high-definition resolution with vibrant colors and contrast, making it ideal for modern gaming consoles and streaming devices.

Networking capabilities of the TX-NR900 include built-in Wi-Fi and Bluetooth, allowing users to stream music directly from their smartphones or other compatible devices. Additionally, support for various streaming services, including Spotify, Tidal, and others, broadens the options for music enjoyment.

For users seeking customization, the TX-NR900 includes advanced room calibration technology, which automatically adjusts the receiver's settings to adapt to the acoustic characteristics of the room. This ensures optimal sound delivery based on speaker placement and listening positions.

The TX-NR900E, a European variant, offers similar features, with potential modifications to meet regional standards and requirements. Both models come equipped with a user-friendly interface and intuitive remote control, making it easy to navigate through different inputs and settings.

Overall, the Onkyo TX-NR900 and TX-NR900E represent the pinnacle of home theater technology, combining powerful audio performance, advanced video capabilities, and modern streaming features. They are perfect for audiophiles and cinephiles alike, looking to elevate their home entertainment systems.