Chapter 5 Preparation
Adjusting the lens flange
If the subject is not focused properly in the telephoto and
Once this adjustment is done, it need not be redone unless the lens is replaced.
<Note>
For details on the adjustment method and lens positions, refer also to the operating instructions that accompany the lens.
1 Attach the lens to the camera.
At this stage, do not forget to connect the lens cable.
2 Set the lens aperture to manual and open the aperture.
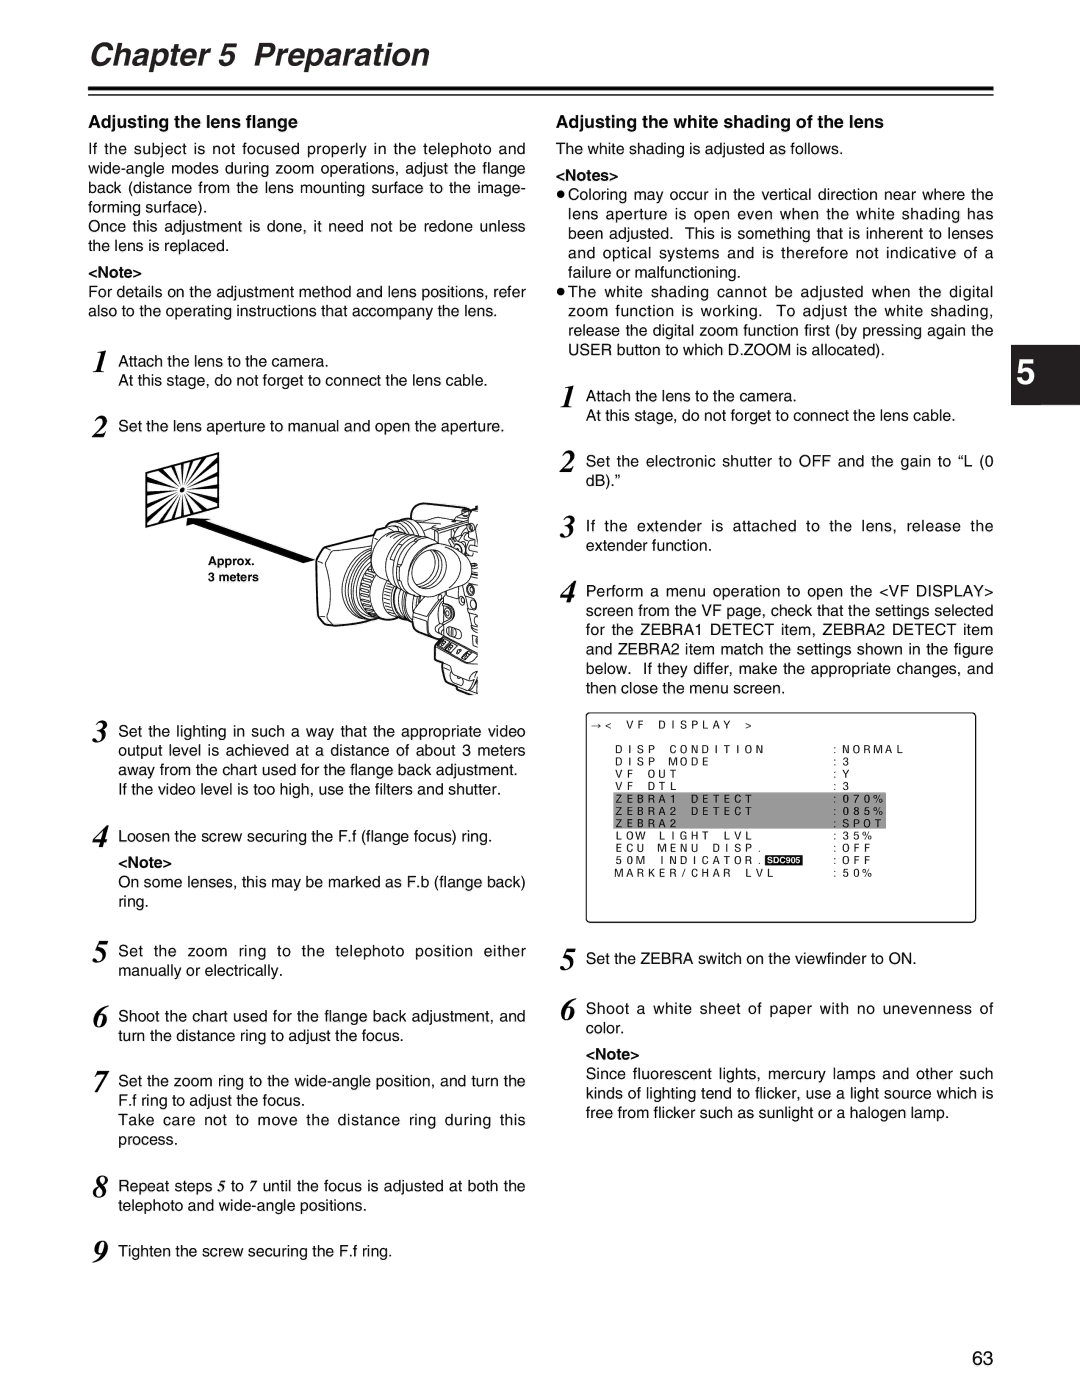
Approx. 3 meters
3 Set the lighting in such a way that the appropriate video output level is achieved at a distance of about 3 meters away from the chart used for the flange back adjustment.
If the video level is too high, use the filters and shutter.
4 Loosen the screw securing the F.f (flange focus) ring.
<Note>
On some lenses, this may be marked as F.b (flange back) ring.
5 Set the zoom ring to the telephoto position either manually or electrically.
6 Shoot the chart used for the flange back adjustment, and turn the distance ring to adjust the focus.
7 Set the zoom ring to the
Take care not to move the distance ring during this process.
8 Repeat steps 5 to 7 until the focus is adjusted at both the telephoto and
9 Tighten the screw securing the F.f ring.
Adjusting the white shading of the lens
The white shading is adjusted as follows.
<Notes>
≥Coloring may occur in the vertical direction near where the lens aperture is open even when the white shading has been adjusted. This is something that is inherent to lenses and optical systems and is therefore not indicative of a failure or malfunctioning.
≥The white shading cannot be adjusted when the digital zoom function is working. To adjust the white shading, release the digital zoom function first (by pressing again the USER button to which D.ZOOM is allocated).
5
1 Attach the lens to the camera.
At this stage, do not forget to connect the lens cable.
2 Set the electronic shutter to OFF and the gain to “L (0 dB).”
3 If the extender is attached to the lens, release the extender function.
4 Perform a menu operation to open the <VF DISPLAY> screen from the VF page, check that the settings selected for the ZEBRA1 DETECT item, ZEBRA2 DETECT item and ZEBRA2 item match the settings shown in the figure below. If they differ, make the appropriate changes, and then close the menu screen.
#< VF DISPLAY > |
|
| ||
DISP CONDITION | :NORMAL | |||
DISP MODE | :3 |
| ||
VF OUT | :Y | |||
VF DTL | :3 |
| ||
| ZEBRA1 DETECT | :070% |
| |
| ZEBRA2 DETECT | :085% |
| |
| ZEBRA2 | :SPOT |
| |
LOW LIGHT LVL | :35% |
| ||
ECU MENU DISP. | :OFF | |||
50M INDICATOR. | SDC905 | :OFF | ||
MARKER/CHAR LVL | :50% |
| ||
5 Set the ZEBRA switch on the viewfinder to ON.
6 Shoot a white sheet of paper with no unevenness of color.
<Note>
Since fluorescent lights, mercury lamps and other such kinds of lighting tend to flicker, use a light source which is free from flicker such as sunlight or a halogen lamp.
63