|
|
|
| Using the [Setup] menu | |
|
|
|
|
| |
••For details about the setting procedure in the [Setup] menu (→51) |
| ||||
|
|
|
|
|
|
|
| Item |
| Settings, notes |
|
|
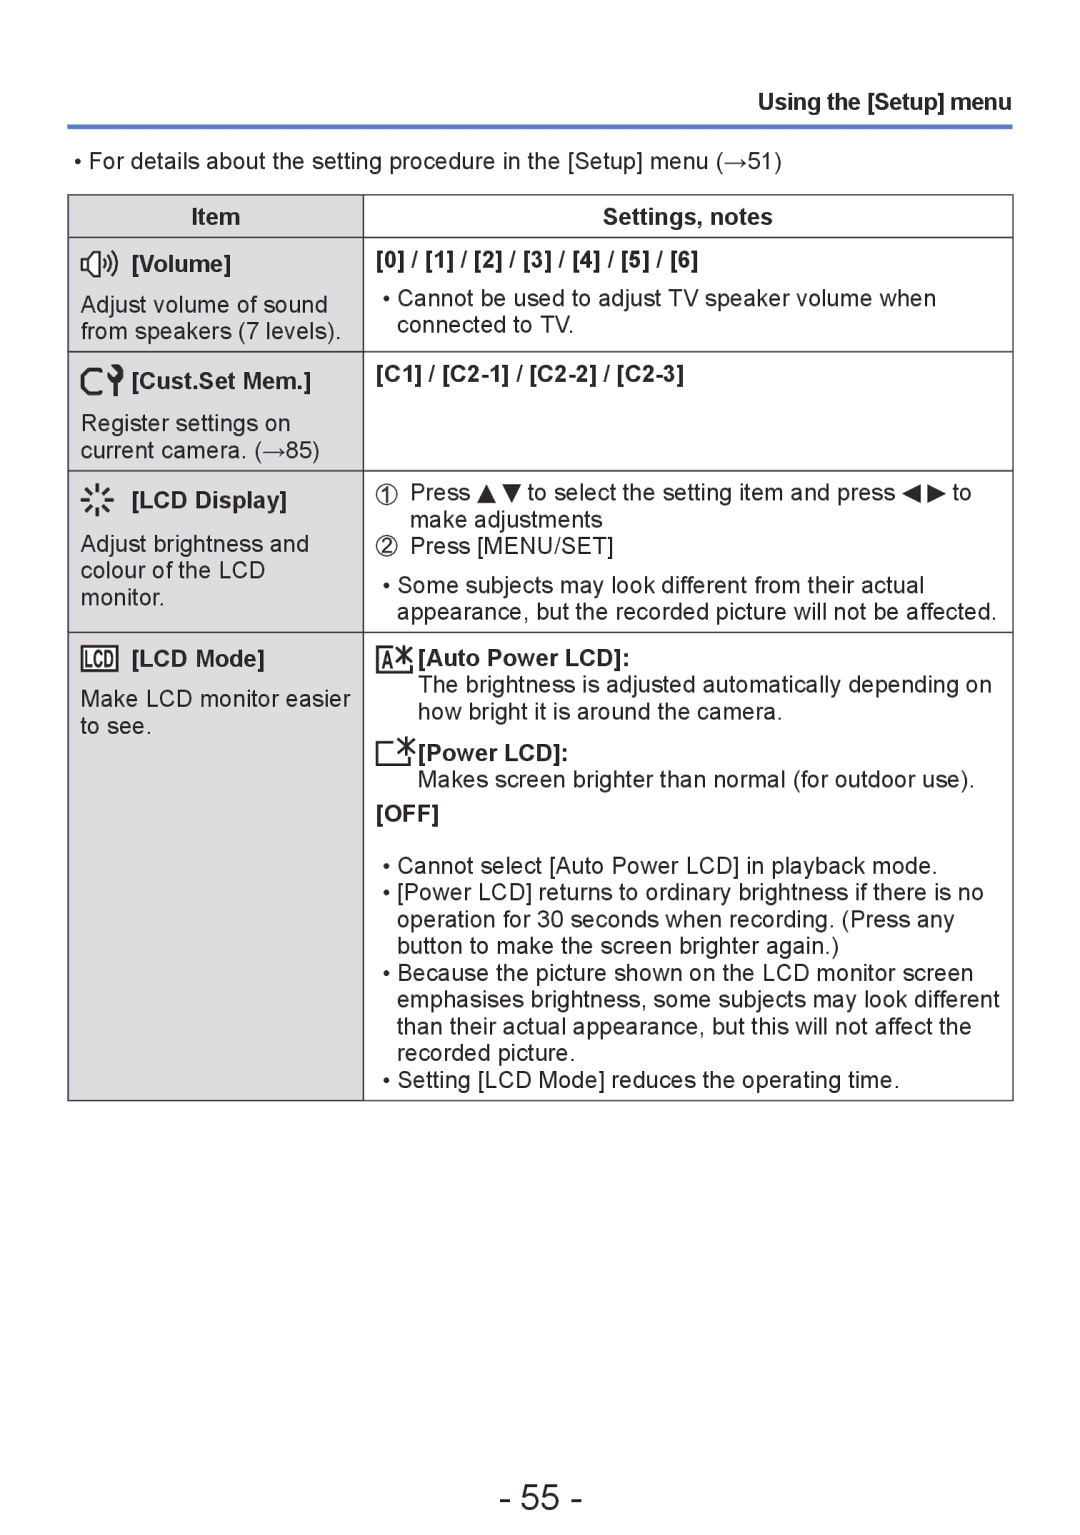
| [Volume] | [0] / [1] / [2] / [3] / [4] / [5] / [6] |
| |
| Adjust volume of sound | ••Cannot be used to adjust TV speaker volume when |
| ||
| from speakers (7 levels). | connected to TV. |
| ||
|
|
|
|
| |
|
| [Cust.Set Mem.] | [C1] / |
| |
| Register settings on |
|
|
| |
| current camera. (→85) |
|
|
| |
|
| [LCD Display] | Press | to select the setting item and press | to |
| Adjust brightness and | make adjustments |
| ||
| Press [MENU/SET] |
| |||
| colour of the LCD | ••Some subjects may look different from their actual |
| ||
| monitor. |
| |||
| appearance, but the recorded picture will not be affected. | ||||
|
|
| |||
|
|
|
|
| |
|
| [LCD Mode] | [Auto Power LCD]: |
| |
|
|
| |||
| Make LCD monitor easier | The brightness is adjusted automatically depending on | |||
| how bright it is around the camera. |
| |||
| to see. |
| |||
| [Power LCD]: |
| |||
|
|
|
| ||
|
|
| Makes screen brighter than normal (for outdoor use). | ||
|
|
| [OFF] |
|
|
|
|
| ••Cannot select [Auto Power LCD] in playback mode. |
| |
|
|
| ••[Power LCD] returns to ordinary brightness if there is no | ||
|
|
| operation for 30 seconds when recording. (Press any | ||
|
|
| button to make the screen brighter again.) |
| |
|
|
| ••Because the picture shown on the LCD monitor screen | ||
|
|
| emphasises brightness, some subjects may look different | ||
|
|
| than their actual appearance, but this will not affect the | ||
|
|
| recorded picture. |
| |
|
|
| ••Setting [LCD Mode] reduces the operating time. |
| |
- 55 -
