Taking pictures according to the scene [Scene Mode]
••How to select a scene (→77) ••Using flash in Scene Modes (→66)
Improves the skin tone of subjects for a healthier appearance in bright daylight conditions.
[Portrait] | Tips | ||
••The closer the zoom is positioned to the T (telephoto) edge and the closer the | |||
|
|
| camera is brought to the subject, the greater the effect will be. |
|
|
| Smooths skin colours in bright, outdoor daylight conditions (portraits |
|
|
| from chest upwards). |
|
|
| |
|
|
| Tips |
| [Soft Skin] | ||
| ••The closer the zoom is positioned to the T (telephoto) edge and the closer the | ||
|
|
| camera is brought to the subject, the greater the effect will be. |
Takes clear pictures of wide, distant subjects.
[Scenery]
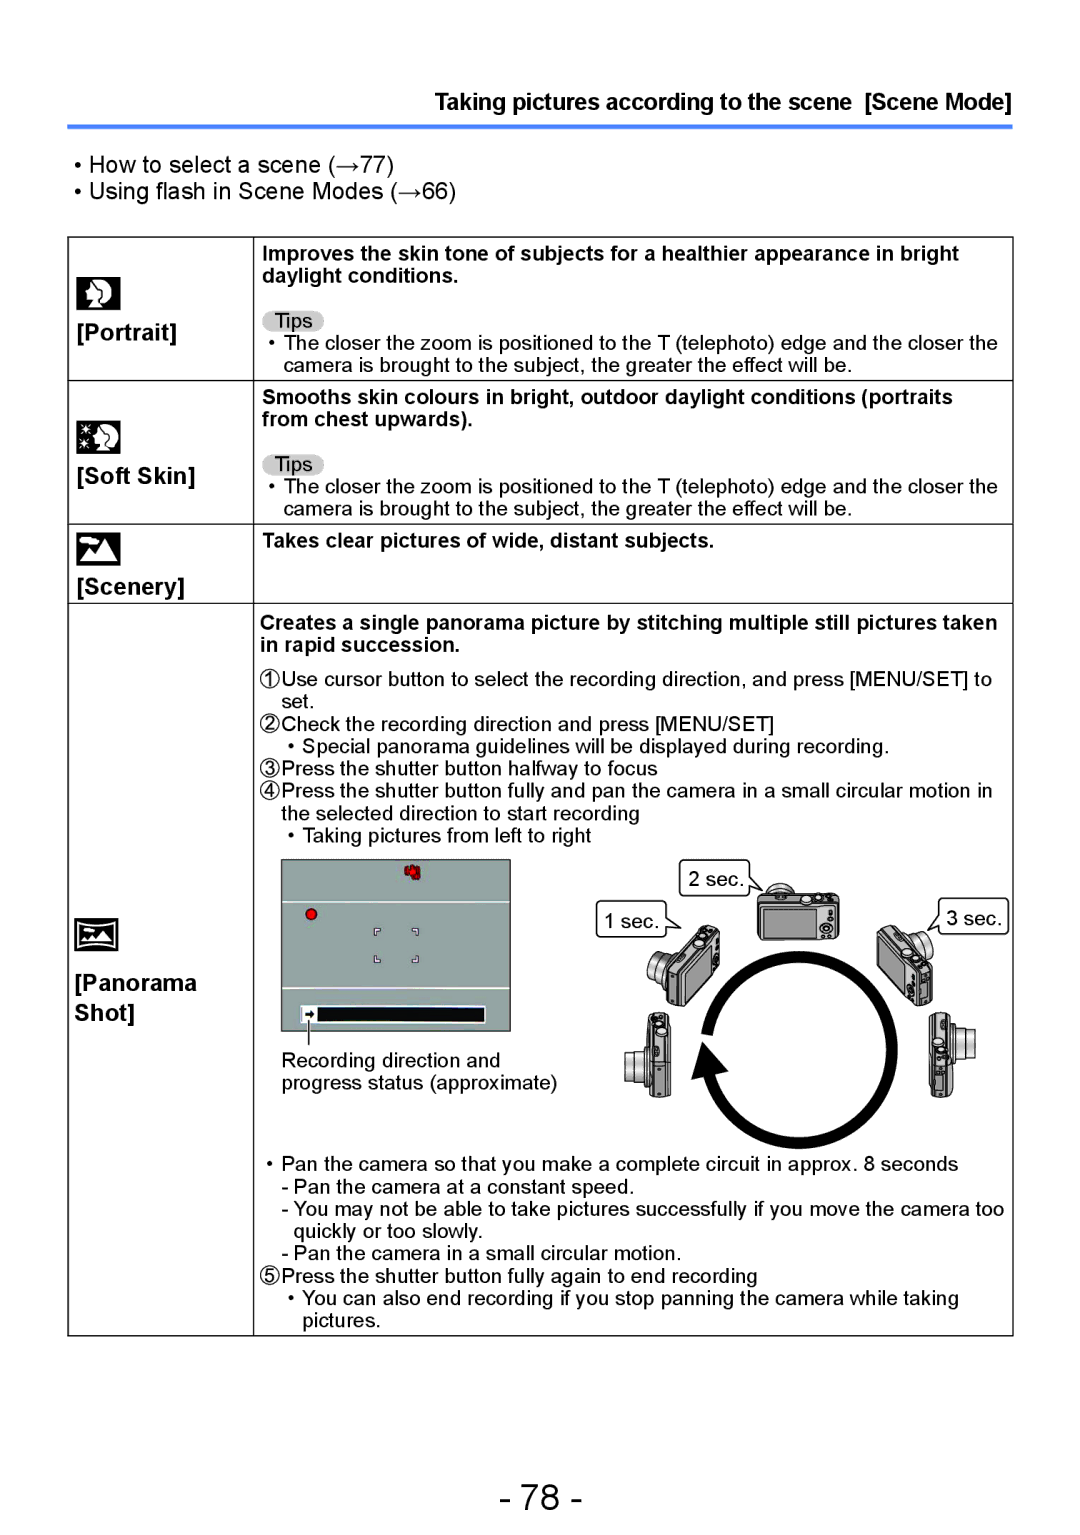
Creates a single panorama picture by stitching multiple still pictures taken in rapid succession.
![]() Use cursor button to select the recording direction, and press [MENU/SET] to set.
Use cursor button to select the recording direction, and press [MENU/SET] to set.
![]() Check the recording direction and press [MENU/SET]
Check the recording direction and press [MENU/SET]
••Special panorama guidelines will be displayed during recording. ![]() Press the shutter button halfway to focus
Press the shutter button halfway to focus
![]() Press the shutter button fully and pan the camera in a small circular motion in the selected direction to start recording
Press the shutter button fully and pan the camera in a small circular motion in the selected direction to start recording
••Taking pictures from left to right
2 sec.
1 sec. | 3 sec. |
[Panorama
Shot]
Recording direction and progress status (approximate)
••Pan the camera so that you make a complete circuit in approx. 8 seconds
-Pan the camera at a constant speed.
-You may not be able to take pictures successfully if you move the camera too quickly or too slowly.
-Pan the camera in a small circular motion.
![]() Press the shutter button fully again to end recording
Press the shutter button fully again to end recording
••You can also end recording if you stop panning the camera while taking pictures.
- 78 -
