Timer recording
Refer to the control reference on page 17.
[RAM] [DVD-R]
You can enter up to 16 programmes up to a month in advance. (Each daily or weekly programme is counted as one programme.)
Manually programming timer recordings
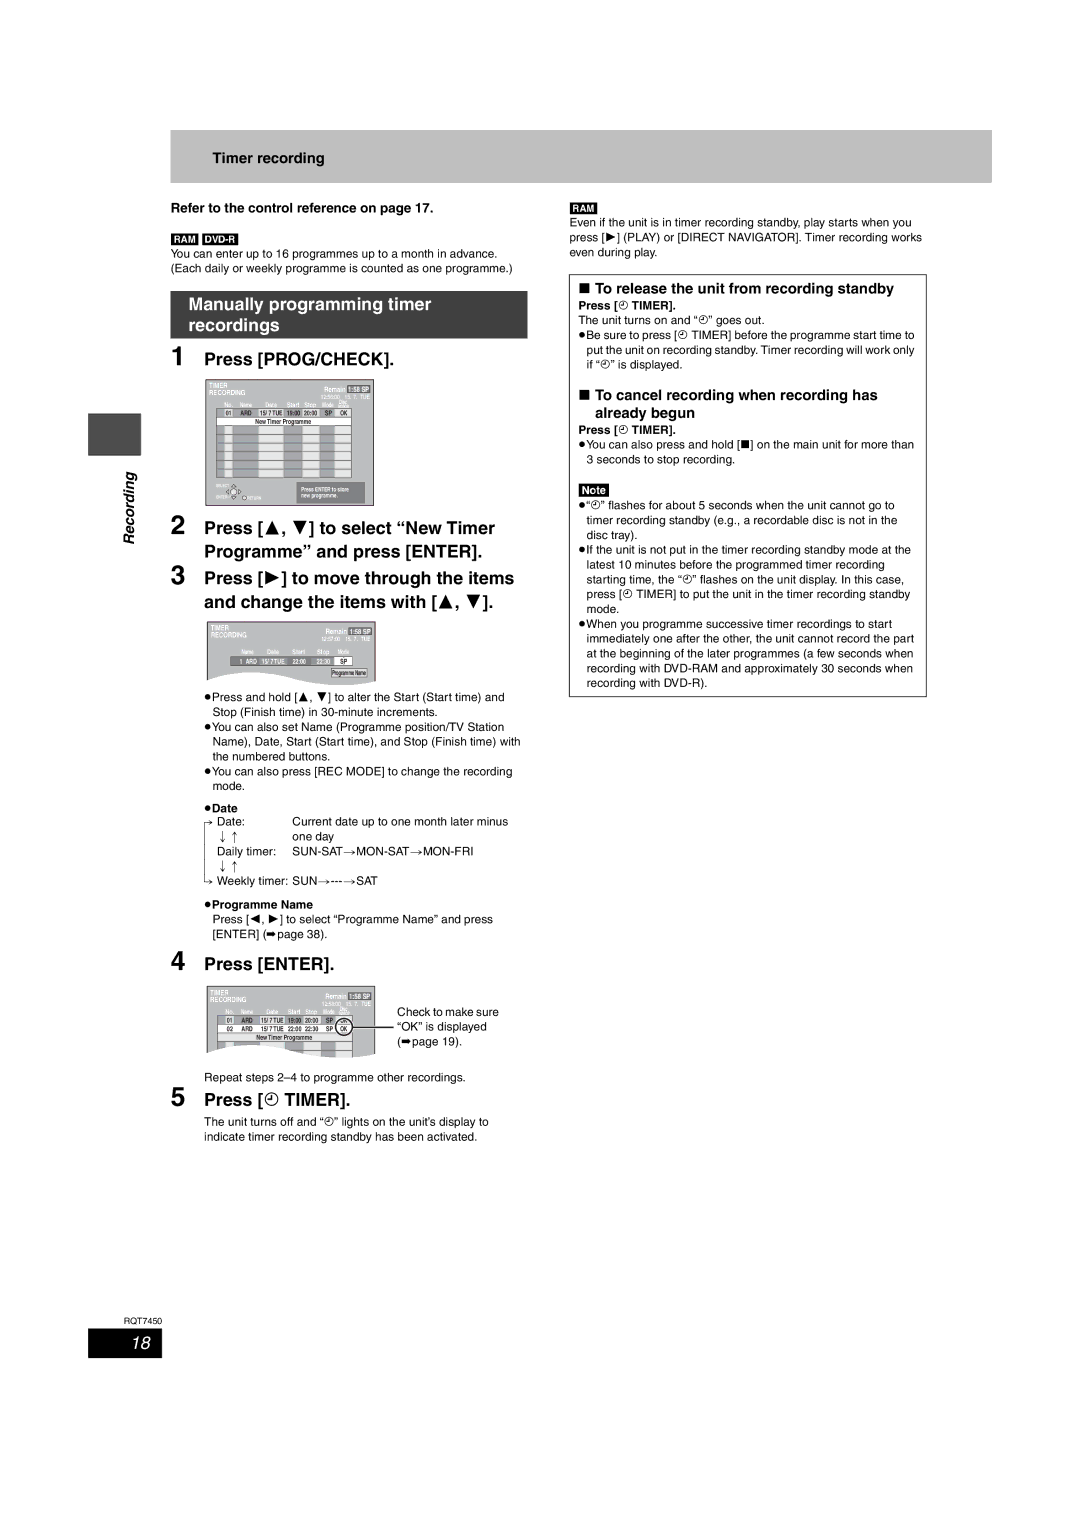
1 Press [PROG/CHECK].
| TIMER |
|
|
| Remain 1:58 SP | |
| RECORDING |
|
| |||
|
|
| 12:56:00 15. 7. TUE | |||
| No. Name | Date Start | Stop | Mode | spaceDisc | |
| 01 | ARD | 15/ 7 TUE 19:00 | 20:00 | SP | OK |
Recording |
|
| New Timer Programme |
|
| |
SELECT |
|
| Press ENTER to store | |||
|
|
|
| |||
| ENTER | RETURN | new programme. |
| ||
|
|
|
| |||
| 2 Press [3, 4] to select “New Timer | |||||
| Programme” and press [ENTER]. | |||||
| 3 Press [1] to move through the items | |||||
| and change the items with [3, 4]. | |||||
TIMER |
|
| Remain 1:58 SP | |
RECORDING |
|
| ||
|
| 12:57:00 15. 7. TUE | ||
|
|
| ||
Name | Date | Start | Stop | Mode |
1 ARD | 15/ 7 TUE | 22:00 | 22:30 | SP |
|
|
|
| Programme Name |
≥Press and hold [3, 4] to alter the Start (Start time) and Stop (Finish time) in
≥You can also set Name (Programme position/TV Station Name), Date, Start (Start time), and Stop (Finish time) with the numbered buttons.
≥You can also press [REC MODE] to change the recording mode.
≥Date |
|
[. Date: | Current date up to one month later minus |
l ;: | one day |
lDaily timer:
l;:
a.Weekly timer:
≥Programme Name
Press [2, 1] to select “Programme Name” and press [ENTER] (➡page 38).
4 Press [ENTER].
TIMER |
|
|
|
| Remain |
|
|
|
|
| ||||
|
|
|
| 1:58 SP |
|
| ||||||||
RECORDING |
|
|
|
|
| |||||||||
|
|
| 12:58:00 15. 7. | TUE | Check to make sure | |||||||||
|
|
|
|
|
|
|
| |||||||
| No. | Name | Date | Start | Stop | Mode spaceDisc |
|
|
|
| ||||
|
| 01 |
| ARD | 15/ 7 TUE | 19:00 | 20:00 | SP | OK |
|
|
|
| “OK” is displayed |
| 02 |
| ARD | 15/ 7 TUE | 22:00 | 22:30 | SP | OK |
|
|
|
| ||
|
|
|
|
| New Timer | Program | me |
|
|
|
|
|
| (➡page 19). |
|
|
|
|
|
|
|
|
|
|
|
|
|
| |
|
|
|
|
|
|
|
|
|
|
|
|
|
|
|
Repeat steps
5 Press [F TIMER].
The unit turns off and “F” lights on the unit’s display to indicate timer recording standby has been activated.
RQT7450
[RAM]
Even if the unit is in timer recording standby, play starts when you press [1] (PLAY) or [DIRECT NAVIGATOR]. Timer recording works even during play.
∫To release the unit from recording standby
Press [F TIMER].
The unit turns on and “F” goes out.
≥Be sure to press [F TIMER] before the programme start time to put the unit on recording standby. Timer recording will work only if “F” is displayed.
∫To cancel recording when recording has
already begun
Press [F TIMER].
≥You can also press and hold [∫] on the main unit for more than 3 seconds to stop recording.
[Note]
≥“F” flashes for about 5 seconds when the unit cannot go to timer recording standby (e.g., a recordable disc is not in the disc tray).
≥If the unit is not put in the timer recording standby mode at the latest 10 minutes before the programmed timer recording starting time, the “F” flashes on the unit display. In this case, press [F TIMER] to put the unit in the timer recording standby mode.
≥When you programme successive timer recordings to start immediately one after the other, the unit cannot record the part at the beginning of the later programmes (a few seconds when recording with
18