Changing the unit’s settings
Others
(All factory default settings are indicated with underlined text.)
Remote Control
Change the remote control code on the main unit and the remote control (the two must match) if you place other Panasonic products close together.
[DVD 1] | [DVD 2] | [DVD 3] |
Use “DVD 1”, the factory set code, under normal circumstances.
1Press [3, 4] to select the code (“DVD 1”, “DVD 2” or “DVD 3”) and press [OK].
Setup | Remote Control |
| Press “” and “OK” together |
| for more than 5 seconds on the remote |
Tuning | |
| control. |
Disc
Picture
To change the code on the remote control
2While pressing [OK], press and hold the numbered button ([1], [2] or [3]) for more than 5 seconds.
3Press [OK].
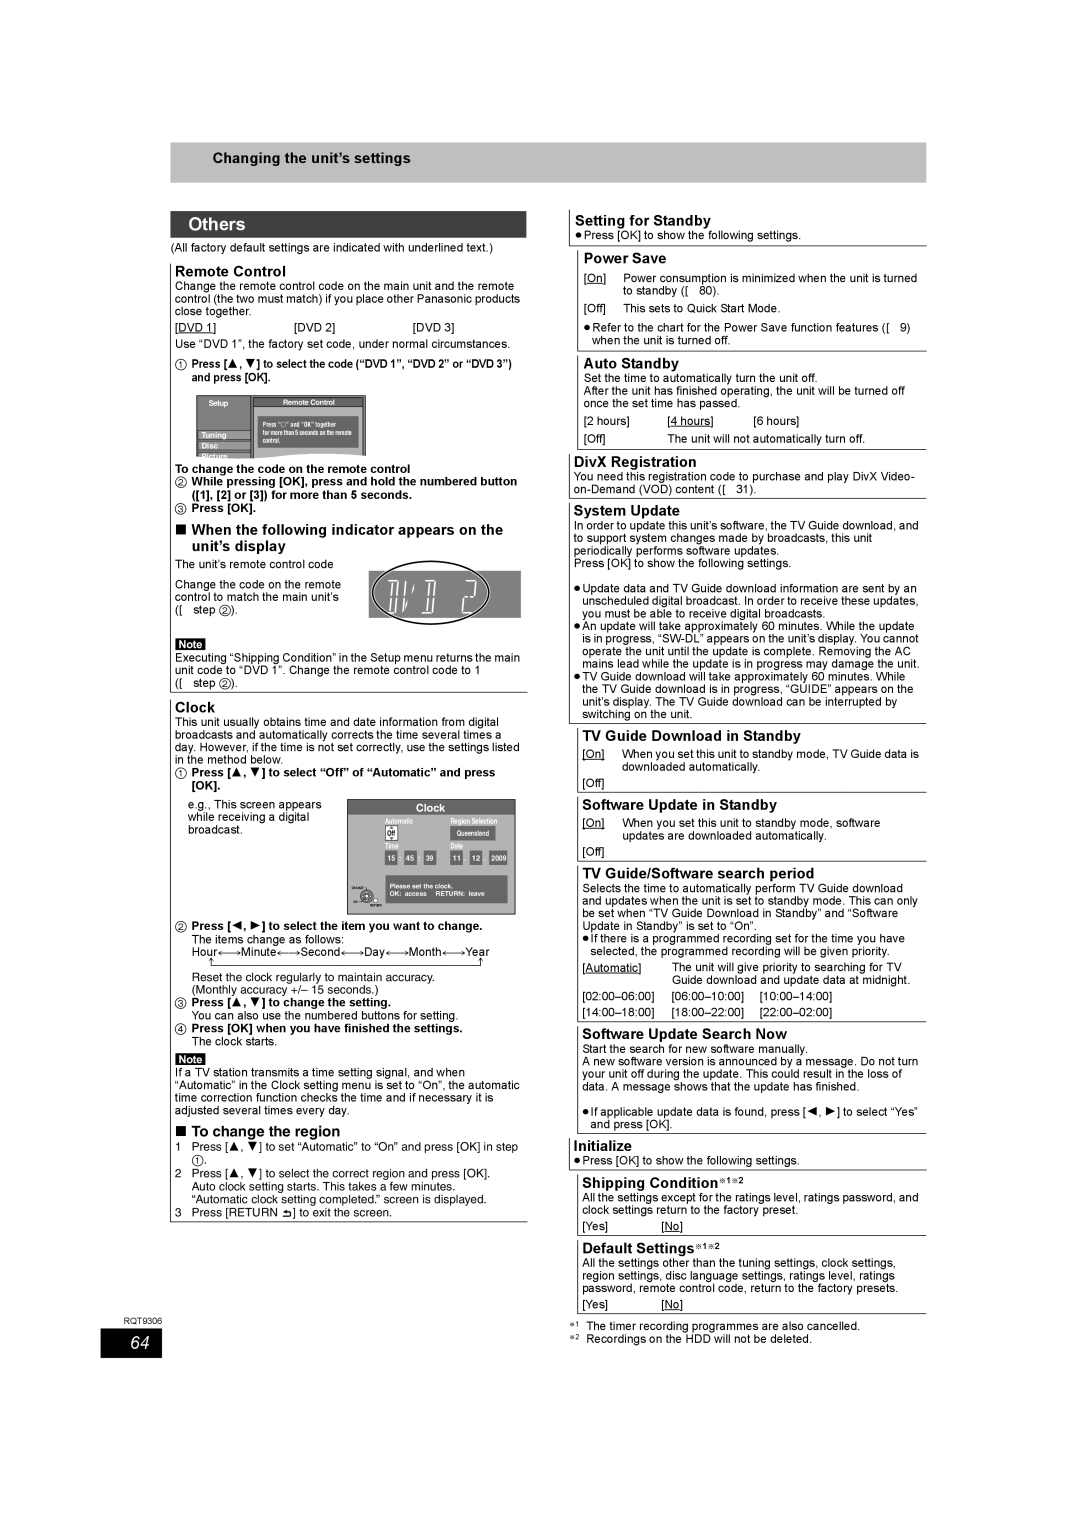
∫When the following indicator appears on the unit’s display
The unit’s remote control code
Change the code on the remote control to match the main unit’s (> step 2).
Note
Executing “Shipping Condition” in the Setup menu returns the main unit code to “DVD 1”. Change the remote control code to 1
(> step 2).
Clock
This unit usually obtains time and date information from digital broadcasts and automatically corrects the time several times a day. However, if the time is not set correctly, use the settings listed in the method below.
1Press [3, 4] to select “Off” of “Automatic” and press [OK].
e.g., This screen appears |
|
|
| Clock | ||
while receiving a digital | Automatic |
| Region Selection | |||
broadcast. |
|
|
|
|
|
|
| Off |
|
| Queensland |
| |
TimeDate
15 : | 45 | : | 39 | 11 . 12 . 2009 |
CHANGE | Please set the clock. |
| OK: access RETURN: leave |
OK | RETURN |
|
2Press [2, 1] to select the item you want to change. The items change as follows: Hour!#Minute!#Second!#Day!#Month!#Year
Reset the clock regularly to maintain accuracy.
(Monthly accuracy +/– 15 seconds.)
3Press [3, 4] to change the setting.
You can also use the numbered buttons for setting.
4Press [OK] when you have finished the settings. The clock starts.
Note
If a TV station transmits a time setting signal, and when “Automatic” in the Clock setting menu is set to “On”, the automatic time correction function checks the time and if necessary it is adjusted several times every day.
∫To change the region
1Press [3, 4] to set “Automatic” to “On” and press [OK] in step
1.
2Press [3, 4] to select the correct region and press [OK]. Auto clock setting starts. This takes a few minutes. “Automatic clock setting completed.” screen is displayed.
3Press [RETURN ![]() ] to exit the screen.
] to exit the screen.
RQT9306
64
Setting for Standby
≥Press [OK] to show the following settings.
Power Save
[On] | Power consumption is minimized when the unit is turned |
| to standby (> 80). |
[Off] | This sets to Quick Start Mode. |
≥Refer to the chart for the Power Save function features (> 9) when the unit is turned off.
Auto Standby
Set the time to automatically turn the unit off.
After the unit has finished operating, the unit will be turned off once the set time has passed.
[2 hours] | [4 hours] | [6 hours] |
[Off] | The unit will not automatically turn off. | |
DivX Registration
You need this registration code to purchase and play DivX Video-
System Update
In order to update this unit’s software, the TV Guide download, and to support system changes made by broadcasts, this unit periodically performs software updates.
Press [OK] to show the following settings.
≥Update data and TV Guide download information are sent by an unscheduled digital broadcast. In order to receive these updates, you must be able to receive digital broadcasts.
≥An update will take approximately 60 minutes. While the update is in progress,
≥TV Guide download will take approximately 60 minutes. While the TV Guide download is in progress, “GUIDE” appears on the unit’s display. The TV Guide download can be interrupted by switching on the unit.
TV Guide Download in Standby
[On] | When you set this unit to standby mode, TV Guide data is |
| downloaded automatically. |
[Off] |
|
Software Update in Standby
[On] | When you set this unit to standby mode, software |
| updates are downloaded automatically. |
[Off] |
|
TV Guide/Software search period
Selects the time to automatically perform TV Guide download and updates when the unit is set to standby mode. This can only be set when “TV Guide Download in Standby” and “Software Update in Standby” is set to “On”.
≥If there is a programmed recording set for the time you have selected, the programmed recording will be given priority.
[Automatic] | The unit will give priority to searching for TV | |
| Guide download and update data at midnight. | |
Software Update Search Now
Start the search for new software manually.
A new software version is announced by a message. Do not turn your unit off during the update. This could result in the loss of data. A message shows that the update has finished.
≥If applicable update data is found, press [2, 1] to select “Yes” and press [OK].
Initialize
≥Press [OK] to show the following settings.
Shipping Condition§1§2
All the settings except for the ratings level, ratings password, and clock settings return to the factory preset.
[Yes] [No]
Default Settings§1§2
All the settings other than the tuning settings, clock settings, region settings, disc language settings, ratings level, ratings password, remote control code, return to the factory presets.
[Yes] [No]
§1 The timer recording programmes are also cancelled. §2 Recordings on the HDD will not be deleted.