Recording
Built-in flash
(SD)
Use the
¬Rotate the mode dial to select  .
.
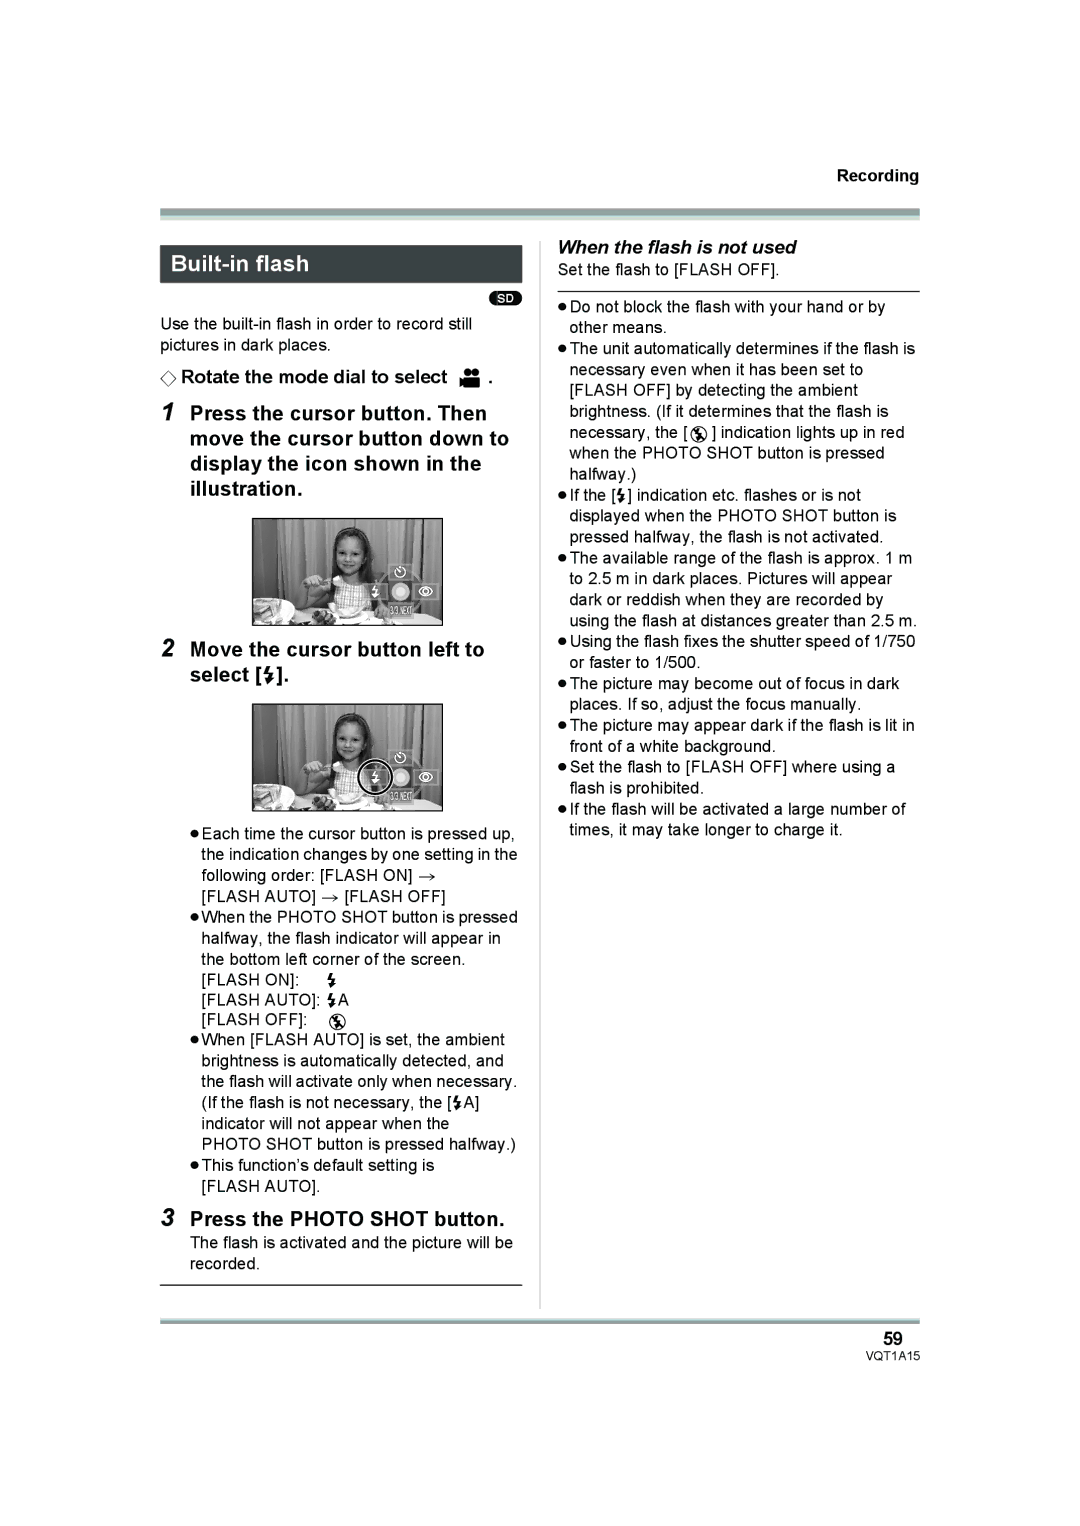
1Press the cursor button. Then move the cursor button down to display the icon shown in the illustration.
2Move the cursor button left to select [ß].
≥Each time the cursor button is pressed up, the indication changes by one setting in the following order: [FLASH ON] > [FLASH AUTO] > [FLASH OFF]
≥When the PHOTO SHOT button is pressed halfway, the flash indicator will appear in the bottom left corner of the screen. [FLASH ON]: ß
[FLASH AUTO]: ßA
[FLASH OFF]:
≥When [FLASH AUTO] is set, the ambient brightness is automatically detected, and the flash will activate only when necessary. (If the flash is not necessary, the [ßA] indicator will not appear when the PHOTO SHOT button is pressed halfway.)
≥This function’s default setting is [FLASH AUTO].
3Press the PHOTO SHOT button.
The flash is activated and the picture will be recorded.
When the flash is not used
Set the flash to [FLASH OFF].
≥Do not block the flash with your hand or by other means.
≥The unit automatically determines if the flash is necessary even when it has been set to [FLASH OFF] by detecting the ambient brightness. (If it determines that the flash is necessary, the [ ![]() ] indication lights up in red when the PHOTO SHOT button is pressed halfway.)
] indication lights up in red when the PHOTO SHOT button is pressed halfway.)
≥If the [ß] indication etc. flashes or is not displayed when the PHOTO SHOT button is
pressed halfway, the flash is not activated. ≥The available range of the flash is approx. 1 m to 2.5 m in dark places. Pictures will appear dark or reddish when they are recorded by
using the flash at distances greater than 2.5 m. ≥Using the flash fixes the shutter speed of 1/750
or faster to 1/500.
≥The picture may become out of focus in dark places. If so, adjust the focus manually.
≥The picture may appear dark if the flash is lit in front of a white background.
≥Set the flash to [FLASH OFF] where using a flash is prohibited.
≥If the flash will be activated a large number of times, it may take longer to charge it.
59
