Operating Instructions
Warranty Registration
Date of purchase
600001 08700 to Fax
Terms and Conditions
Declaration of Conformity
For your future reference
Date of purchase Serial number
Trademarks
Safety instructions
Important safety instructions
Toner cartridge
Laser radiation
Fuser unit
Drum unit
Installation
Important Information
Important Information
Method of connection
Fitting a plug to the mains lead
Table of Contents
Fax sending/receiving using Multi-Function Station software
Using the fax machine as a printer
Using the fax machine as a scanner
Advanced features
Operating instructions
Accessories
Included accessories
Toner cartridge Complementary starter toner cartridge
Toner cartridge 1 pack For replacement, see See
Accessory information
Model No Usage Specifications
Toner cartridge 2 packs For replacement, see See
Help function
Help Button
Help SET
Front view
Finding the Controls
Overview
Rear view
To redial the last number dialled
Location
To insert a pause during dialling
Unlocking the shipping lock
Setup
Connecting the document cover
Label for unlocking
Toner cartridge and drum unit
Green drum surface
Toner save feature
Paper stacker
Paper stacker and paper tray
Paper tray
Recording paper
Adding paper
Connections
Date and time, your logo and facsimile telephone number
Setting the date and time
Menu SET
Handset Mute
Setting your logo
Stop
To select characters with the dial keypad
To select characters using +or
Display order of characters
Enter your facsimile telephone number, up to
Setting your facsimile telephone number
Digits, using the dial keypad
To delete a number
Button!to use the recall feature
Volumes / Recall Feature
Adjusting volume
Ringer volume
Storing names and telephone numbers into one-touch dial
Automatic Dialling
Lower SET Stop
Menu SET Stop
Menu
Editing a stored entry
Erasing a stored entry
SET Stop
Monitor
Using one-touch dial
Using the directory
Lower
Caller ID
Caller ID service from your phone company
To confirm caller information using the Caller ID list
How Caller ID is displayed
To display the caller’s telephone number
Viewing and calling back using caller information
Stop FAX Start Caller ID
Display while viewing
Display Press w
To cancel erasing, press , then p Press w
Erasing caller information
Stop SET
Station keys
For navigator directory Press or
Lower SET
Sending Faxes
Using the auto document feeder
REDIAL/PAUSE Scan Resolution FAX Start
Sending a fax manually
Resolution Stop
Using the scanner glass
Scan
Documents you can send
Sending a fax using one-touch dial and navigator directory
Lower Resolution Scan FAX Start Stop
Manual Broad
Broadcast transmission
Programming entries into the broadcast memory
Broadcast Manual Broad Menu Lower SET
Adding a new entry into the broadcast memory
Display Press +or -until the following is Displayed
To cancel erasing, press Press w
Erasing a stored entry in the broadcast memory
To cancel the broadcast setting
Manual Broad Stop Scan Resolution FAX Start SET
To send the same document using the scanner glass
Sending the same document to pre-programmed parties
When receiving phone calls
Setting the unit to receive faxes
When receiving calls
When receiving faxes
Turn Auto Answer off by pressing PQ
Remote Fax activation
Activating TEL mode
TEL mode Answering all calls manually
Receiving a fax manually
Activating FAX only mode
FAX only mode All calls are received as faxes
If the FAX on light is off, turn it on by pressing Display
Set the fax machine to the desired receiving mode p
Using the unit with an answering machine
Setting up the fax machine and an answering machine
Activate the answering machine
How the fax machine and answering machine work
Extension telephone
Receiving a voice message and fax document in one call
Making a copy
Stop Copy Start Resolution
Copying
To stop copying
To enlarge a document
Using the auto document feeder
Using the scanner glass
To reduce a document
Setup PC
Connecting to a computer
Installing Multi-Function Station software
Activating Multi-Function Station software
Printing PC
Using the fax machine as a printer
Setting the printer properties
Printing from Windows applications
Use transparencies designed for laser printing
Transparencies
Labels
Use labels designed for laser printing
Envelopes
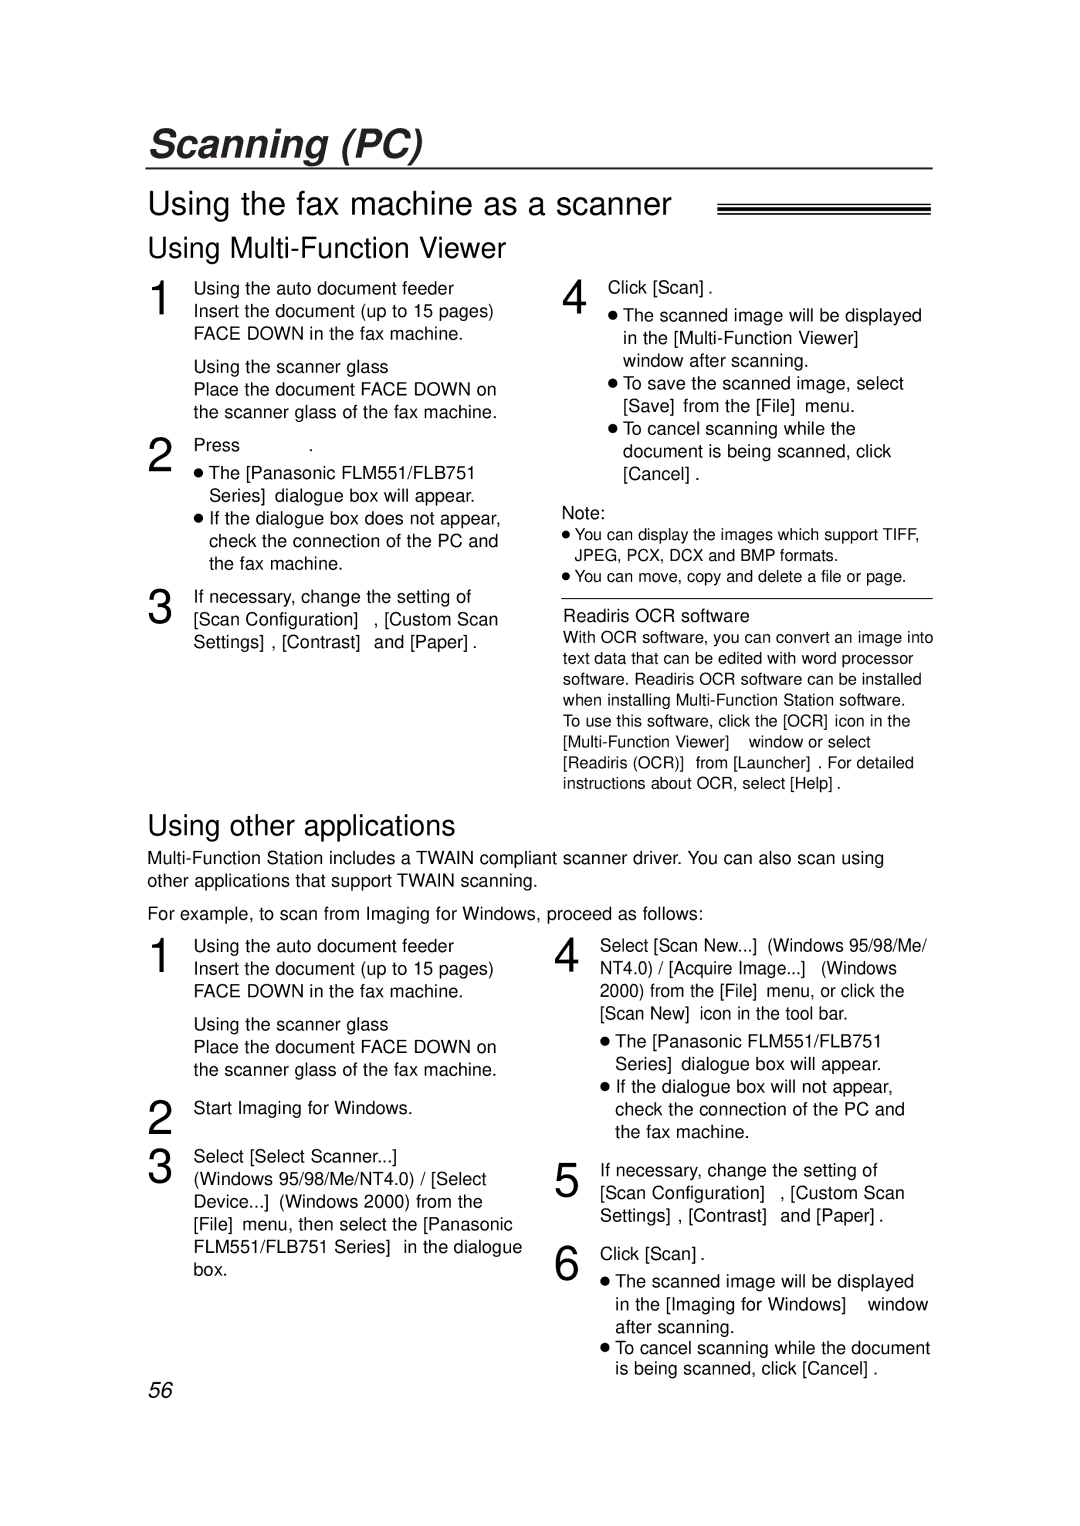
Using other applications
Using the fax machine as a scanner
Using Multi-Function Viewer
Scanning PC
Remote Control PC
Operating the fax machine from your computer
Fax sending/receiving using Multi-Function Station software
PC Fax
If the fax machine’s memory stores a received fax document
Receiving a fax into your PC
Viewing a received document
You can load the document into your PC
Programming
Features Summary
General programming method
Programming table
Basic features
Error
OFF
How to set menu options
Parallel
Advanced features
Normal
Setting the connecting tone
Setting the Error Correction
Mode ECM
Resetting advanced features to
Error Messages
Reports
Display message Cause & solution
Display
When making a copy, the document being stored exceeds
You cannot change the cable type setting feature #15 on
While using the handset or the monitor. Hang up and try
Service personnel
General
Operations
Fax sending
Fax receiving
Receiving mode
Copying
Using an answering machine
Multi-Function Station
Remove the document and reinsert it
If a power failure occurs
Even after clicking Cancel, scanning continues
Multi-Function Station does not work properly
Replacing the toner cartridge and the drum unit
Replacement
New toner cartridge, shake it vertically
Surface
Recording paper jam
Replacement / Jams
When the recording paper has jammed in the unit
Waste disposal method
Jams
When the recording paper is not fed into the unit properly
Near the drum and toner unit
White plate and glasses
Jams / Cleaning
Document jams sending
White plate and scanner glass
Cleaning
Lower glass
Document feeder rollers
Reference lists and reports
Printed Reports
Press wto start printing
Technical data about this product
Specifications
ITU-T No Test Chart
Paper specifications
Panasonic Business Systems U.K
Guarantee
Condition of guarantee
Please keep these Operating Instructions with your receipt
Program index
Code Feature name
Index
Index
Printer
Page
Page
Sales Department Panasonic Business Systems U.K
PFQX1822ZA DM0303NK0