Various projection methods (cont.)
16-screen index style
When the projector is set to
1Press the
2Check the status indication on the launcher to make sure that transmission is possible (check that the green lamp is lit).
3Click [ ] on the launcher.
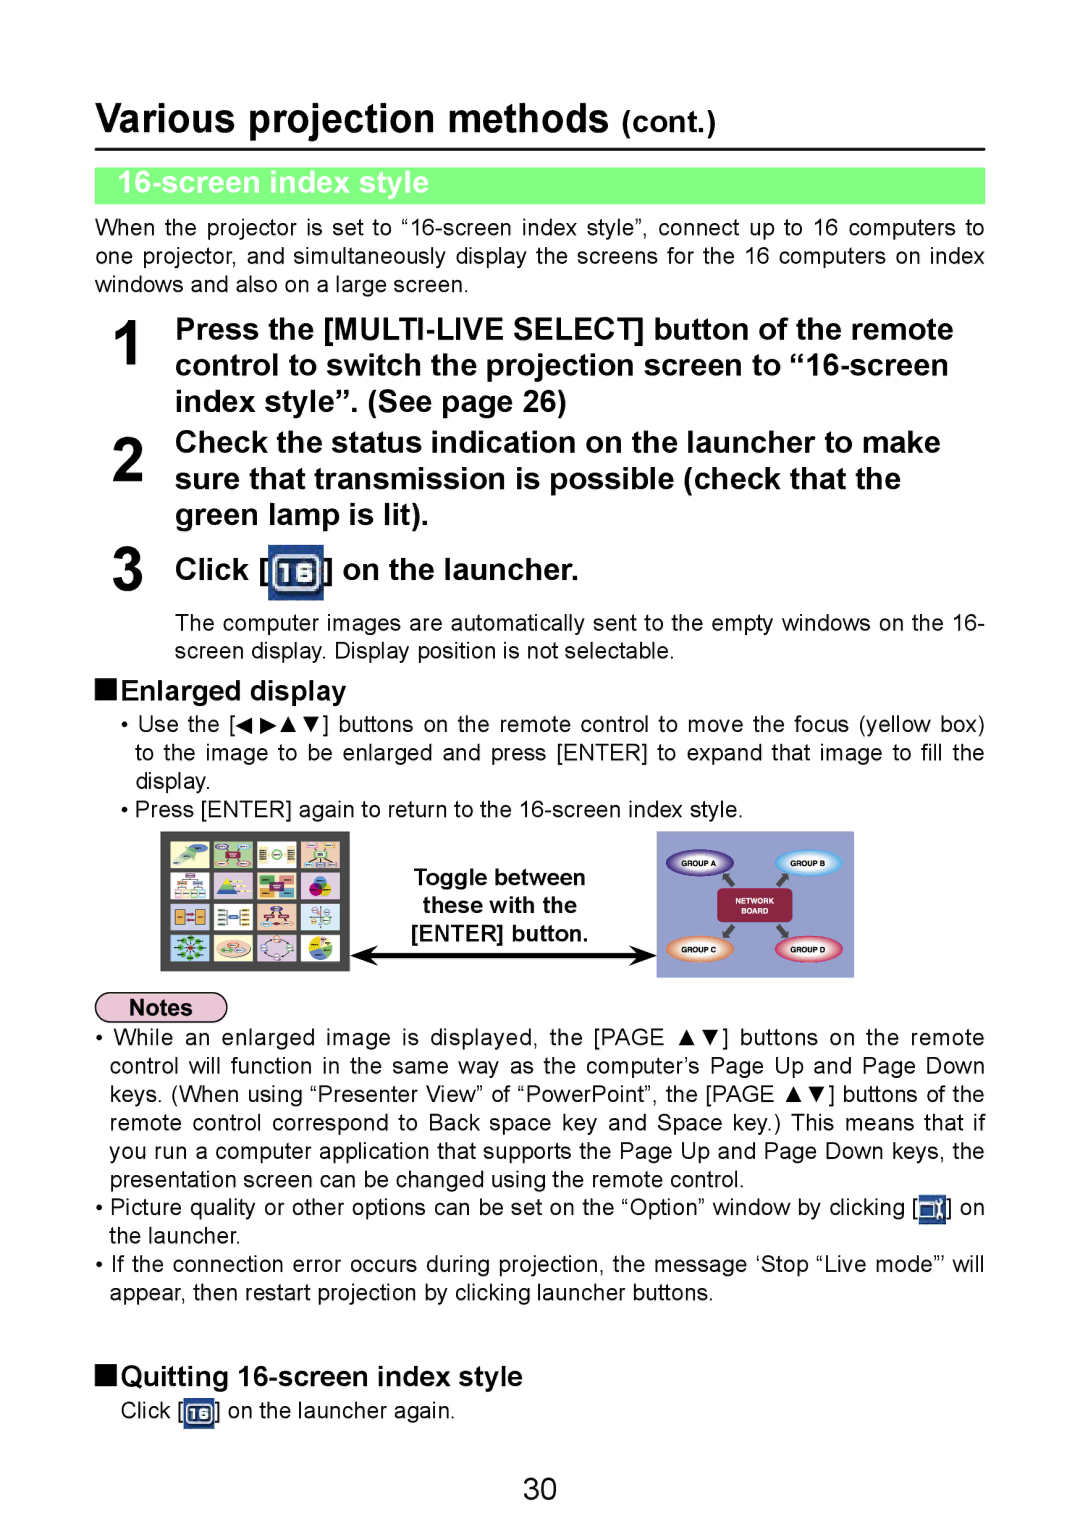
The computer images are automatically sent to the empty windows on the 16- screen display. Display position is not selectable.
 Enlarged display
•Use the [![]()
![]() ▲▼] buttons on the remote control to move the focus (yellow box) to the image to be enlarged and press [ENTER] to expand that image to fill the display.
▲▼] buttons on the remote control to move the focus (yellow box) to the image to be enlarged and press [ENTER] to expand that image to fill the display.
•Press [ENTER] again to return to the
Toggle between
these with the
[ENTER] button.
•While an enlarged image is displayed, the [PAGE ▲▼] buttons on the remote control will function in the same way as the computer’s Page Up and Page Down keys. (When using “Presenter View” of “PowerPoint”, the [PAGE ▲▼] buttons of the remote control correspond to Back space key and Space key.) This means that if you run a computer application that supports the Page Up and Page Down keys, the
presentation screen can be changed using the remote control.
• Picture quality or other options can be set on the “Option” window by clicking [ ] on the launcher.
•If the connection error occurs during projection, the message ‘Stop “Live mode”’ will appear, then restart projection by clicking launcher buttons.
 Quitting
 16-screen index style
Click [![]() ] on the launcher again.
] on the launcher again.
30